Tile Backsplash Calculator
Estimate mosaic sheets, individual tiles, cartons, and pattern waste for a kitchen or bath backsplash. Enter total square footage or wall length and height, then choose a layout to add the right waste allowance.
🎯Real Backsplash Presets
📝Backsplash Inputs
Used when method is total area entered directly.
Total combined length of the backsplash runs.
Counter to cabinet is often 18 in. Full height near 30 in.
Subtract windows or the range hood gap.
A 12 × 12 mosaic sheet covers 1 sq ft.
Used when tile format is individual tile.
Auto-set by pattern. Edit for cuts, breakage, or attic stock.
🔢Coverage Snapshot
🧱Pattern Waste Reference
| Pattern | Suggested Waste | Cut Difficulty | Best Tile Type | Notes |
|---|---|---|---|---|
| Straight / stacked | 10% | Low | Square, subway | Grid lines align, fewest offcuts |
| Offset brick | 12% | Low to medium | Subway, plank | Half-tile stagger at each row end |
| Diagonal | 15% | Medium | Square, mosaic | Angled edge cuts on all borders |
| Herringbone | 20% | High | Rectangle, plank | Many 45 degree cuts, most waste |
| Mosaic sheet grid | 10% | Low | Mesh mosaic sheets | Trim mesh between tiles to fit |
📐Mosaic Sheet Coverage
| Sheet Size | Sq In | Sq Ft Each | Sheets / 10 sqft | Sheets / 30 sqft |
|---|---|---|---|---|
| 12 × 12 in | 144 | 1.00 | 10 | 30 |
| 12 × 12.2 in | 146 | 1.02 | 10 | 30 |
| 11.8 × 11.8 in | 139 | 0.97 | 11 | 32 |
| 10 × 12 in | 120 | 0.83 | 12 | 36 |
| 12 × 24 in | 288 | 2.00 | 5 | 15 |
📏Individual Tile Coverage
| Tile Size | Sq In | Sq Ft Each | Tiles / Sq Ft | Common Pattern |
|---|---|---|---|---|
| 3 × 6 in subway | 18 | 0.125 | 8.0 | Offset brick |
| 2 × 8 in mini plank | 16 | 0.111 | 9.0 | Herringbone |
| 4 × 4 in square | 16 | 0.111 | 9.0 | Straight grid |
| 4 × 12 in plank | 48 | 0.333 | 3.0 | Offset brick |
| 6 × 6 in square | 36 | 0.250 | 4.0 | Diagonal |
| 1 × 1 in penny (loose) | 1 | 0.007 | 144.0 | Mosaic sheet |
📊Sheets Per Area Quick Table
| Backsplash Area | Straight 10% | Diagonal 15% | Herringbone 20% | 12x12 Sheets (10%) | Boxes of 10 |
|---|---|---|---|---|---|
| 10 sq ft | 11 sq ft | 12 sq ft | 12 sq ft | 11 sheets | 2 boxes |
| 15 sq ft | 17 sq ft | 18 sq ft | 18 sq ft | 17 sheets | 2 boxes |
| 20 sq ft | 22 sq ft | 23 sq ft | 24 sq ft | 22 sheets | 3 boxes |
| 25 sq ft | 28 sq ft | 29 sq ft | 30 sq ft | 28 sheets | 3 boxes |
| 30 sq ft | 33 sq ft | 35 sq ft | 36 sq ft | 33 sheets | 4 boxes |
| 40 sq ft | 44 sq ft | 46 sq ft | 48 sq ft | 44 sheets | 5 boxes |
| 50 sq ft | 55 sq ft | 58 sq ft | 60 sq ft | 55 sheets | 6 boxes |
🗂Backsplash Project Comparison
| Project | Area | Format | Pattern | Waste | Units + Boxes |
|---|---|---|---|---|---|
| Standard kitchen strip | 30 sq ft | 12x12 sheet | Mosaic 10% | 10% | 33 sheets, 4 boxes |
| Subway behind range | 22 sq ft | 3x6 tile | Offset 12% | 12% | 198 tiles, 5 boxes |
| Herringbone accent | 18 sq ft | 2x8 plank | Herringbone | 20% | 195 tiles, 5 boxes |
| Penny round bath | 15 sq ft | 12x12 sheet | Mosaic 10% | 10% | 17 sheets, 2 boxes |
| Hex mosaic vanity | 12 sq ft | 12x12 sheet | Mosaic 10% | 10% | 14 sheets, 2 boxes |
| Diagonal feature wall | 40 sq ft | 6x6 tile | Diagonal 15% | 15% | 184 tiles, 8 boxes |
⚙Full Formula Breakdown
💡Practical Tiling Tips
There it is, the empty spot on your kitchen wall between the cabinets and the counter. Do you need more or less then what you think? Are you buying too much of the tile you want? That’s one of the design-meets-math problems you run into while renovating. Get the wrong amount, and you either run out of material before finishing your backsplash or end up with leftover tiles.
The calculator on this page will turn your wall measurements into number of boxes of material to order. It will also show the number of sheets needed and how many tiles you should expect to buy. (It even accounts for corner cuts and outlet cutouts.)
How to Choose the Right Amount of Tiles
Once you know how much area you will be covering with tile, we need to establish what that area actualy looks like. Typically, most folks count all the way around their countertop (including the length). Then they take into account backsplash height, which is usually eighteen inches for a standard backsplash and thirty inches when it extend above a stove. Next, deduct any square footage for a range hood or window that breaks up the wall; otherwise, the measurements you enter into the calculator won’t add up.
I know it sounds like common sense, but once you’re halfway through your installation, that’s when everyone remember to account for spaces between. Oops. Now they must order tiles for solid walls… which don’t exist. You can plug in these subtractions right away within the calculator, making sure you have an accurate base area from beginning.
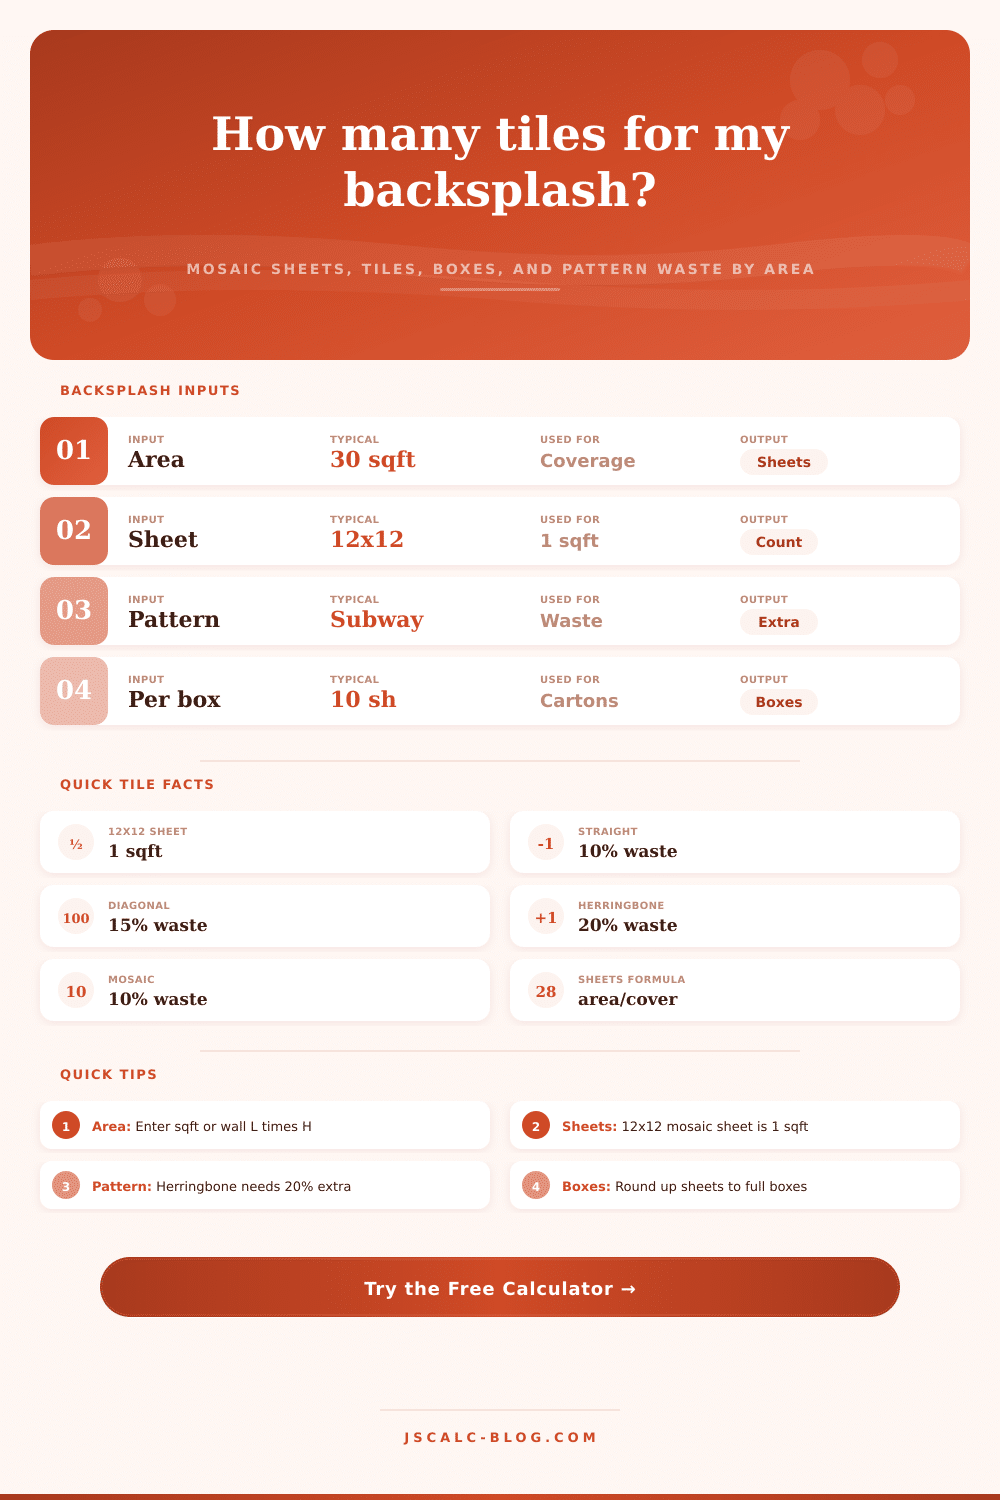
After calculating the square footage, it’s time to reconsider whether to buy individual tiles or mosaic sheets. When using sheets, the mental math is easy. Each sheet measures one square foot, as shown here in this basic twelve by twelve inch mesh-backed sheet. So instead of visualizing the area in fractional terms, we can see it in terms of units: how many square feet per sheet?
But when laying individual tiles, such as these hexagons or any other loose tile like subway tiles; we turn on the calculator again and start counting. The reason is that most tiles comes in boxes for purchase; they don’t necessarily arrive in finished grid form. Buying by the box results in lots of leftover tiles that aren’t easy to be reused somewhere else. Counting out individual tiles lets us get a sense of just how many will fit into our space.
But here’s where it gets interesting. Your layout pattern. A simple, straight stacked grid is easy (you don’t need much additional material for cutting), and a ten percent waste allowance should of been more than enough. However, if you step outside the box with an offset brick pattern, or something even crazier like a herringbone layout, then the amount of angled cuts drastically increases.
In fact, herringbone layouts can be especially difficult since almost each individual tile at the edges and corners has to make a 45 degree cut. That’s why the reference table on the page points out that higher percentage allowance are suggested for complex patterns. This is what people do wrong. They purchase just enough tile to complete the visible portion, but they forget that the odd leftover pieces ends up in the trash instead of being used on the wall.
Finally, think about how they arrive, i.e. It arrives packaged. It’s not like tile comes in any amount needed; it arrives at a store in boxes of 10 sheets (or however many individual tiles). The calculator rounds UP to the next complete box so you’ll know exactly how many cartons to order. It also shows what fraction of a box you’ll have leftover, which is important for making repairs in the future. Over time, different dye lot numbers get used and there will be no way to perfectly match them to your existing tiles five years down the road. By having some spares stashed away, you’ll be able to swap out any tiles that chip or crack.
In the end, it’s a matter of balancing what looks good with what makes sense. For example, choosing a simple straight pattern saves money on labor and materials, which means you can afford better quality ceramic or glass. A more complicated diagonal or herringbone pattern will make for a beautiful backsplash. However, it require more material and more patience when installing. There are no wrong answers, just compromises.
Running your exact measurements into the estimator eliminates all of the guesswork from your shopping experience. When you go to the store, you know exactly how many boxes you’ll be grabbing. You can have confidence that someone else ran the numbers for you, so you can focus on making your kitchen look just the way you want it.