Telescope Field of View Calculator
Estimate visual true field, camera sensor field, arcminutes, target framing, and eyepiece drift time from one telescope setup.
| Quantity | Formula | What To Enter | Output Unit |
|---|---|---|---|
| Magnification | effective focal length / eyepiece focal length | Telescope focal length, reducer or Barlow, eyepiece focal length | times, shown as × |
| Visual TFOV | AFOV / magnification | Eyepiece apparent field and calculated magnification | degrees and arcminutes |
| Sensor FOV | 2 × atan(sensor size / (2 × focal length)) | Sensor width or height and effective focal length | degrees and arcminutes |
| Drift time | TFOV × 240 / cos(declination) | Visual true field and target declination | seconds, then minutes |
| Eyepiece Type | Typical AFOV | Visual Effect | TFOV At 50× | Notes |
|---|---|---|---|---|
| Orthoscopic | 40°–45° | Narrow, high contrast | 0.8°–0.9° | Common for lunar and planetary work |
| Plossl | 48°–52° | Standard field | 1.0° | Useful baseline for many telescopes |
| Wide field | 60°–70° | Roomier star fields | 1.2°–1.4° | Good for clusters and nebulae |
| Ultra-wide | 80°–84° | Large apparent window | 1.6°–1.7° | Helps manual mounts keep targets longer |
| Hyper-wide | 100°–110° | Very immersive field | 2.0°–2.2° | Often large and demanding on optics |
| Sensor Format | Width | Height | Diagonal | Typical Use |
|---|---|---|---|---|
| Small planetary | 4.8 mm | 3.6 mm | 6.0 mm | Planets, lunar closeups |
| 1/2 inch class | 6.4 mm | 4.8 mm | 8.0 mm | Guiding, compact cameras |
| 1 inch class | 13.2 mm | 8.8 mm | 15.9 mm | Small deep-sky sensors |
| Four Thirds | 17.3 mm | 13.0 mm | 21.6 mm | Nebulae and galaxies |
| APS-C | 22.3 mm | 14.9 mm | 26.8 mm | Wide deep-sky framing |
| Full frame | 36.0 mm | 24.0 mm | 43.3 mm | Very wide imaging fields |
| Target | Approx Size | Declination | Field Needed | Calculator Use |
|---|---|---|---|---|
| Moon | 31 arcmin | 0° sample | 0.6°+ | Lunar disk checks |
| Sun | 32 arcmin | 0° sample | 0.6°+ | Solar disk size only |
| Orion Nebula | 65 arcmin | -5° | 1.2°+ | Medium nebula framing |
| Pleiades | 110 arcmin | +24° | 2.2°+ | Open cluster framing |
| Andromeda Galaxy | 190 arcmin | +41° | 3.5°+ | Large galaxy framing |
| Jupiter | 0.8 arcmin | 0° sample | High power | Planet scale checks |
| Saturn rings | 0.7 arcmin | 0° sample | High power | Planet scale checks |
| Rosette Nebula | 80 arcmin | +5° | 1.6°+ | Large nebula framing |
With a telescope pointed at some vague smudge high overhead, you stand there wondering: Is it a galaxy? Or is it merely a cloud of gas my instrument can’t see clearly? In many cases, field of view matters more then the size of your mirror. Will you be able to see a nebula’s entire structure, or only its middle?
Aperture seems so powerful, but most amateurs starts with it and end up frustrated because they cannot frame their targets. Field of view determines what they actualy see! They’ll grow frustrated that they can never frame their targets.
Why Field of View Matters
The calculator above does all the math for you when you input your optics. No more guesses about conversions and coefficients. Those box specifications translates into what you’re seeing through the eyepiece.
Two main factors determines your true field of view. One is the apparent field of view of the eyepiece, and the other is magnification, which is calculated by dividing focal length of your telescope by your eyepiece’s focal length. An ultra-wide design eyepiece can be more than eighty degrees while a standard Plossl eyepiece may only provide forty-five degrees of apparent field. The calculator divides your apparent field by your magnification to find the true field in degrees. Then you compare it with what you see in the sky.
Nearly three degrees across is the span of the Andromeda Galaxy. If your true field is only two degrees, you will cut off the outer halo of that galaxy and only see a small portion of it. That’s because people often make mistake of buying expensive glass but never consider whether or not target will fit into the frame.
It includes reducers and Barlows as well. For example, a two-times Barlow multiplies your focal length by two. That increase your magnification by two, and decreases your actual field of view by half. That’s great news if you’re looking at Jupiter, where you really want some detail; bad news when you’re looking at an open cluster, where you want to see what’s going on around there, too. As soon as you enter the value of that reducer or barlow, the calculator updates the effective focal length accordingly. Note how a reducer increase the size of your imaging window.
It converts from degrees to arcminutes, since that’s how we typically do celestial mechanics. Sixty arcminutes equal a degree. The Moon is roughly thirty arcminutes in diameter. So if you have a particular eyepiece combination that yields a one-degree field, you’ll immediately know the Moon will fill half your field of view. All this help you decide whether you’ll have enough room around the object.
Imagers need to think in sensors, not eyepieces. Small cameras such as those used for planetary imaging has very small diagonals, while a full-frame sensor is wide. The calculator uses the inverse tangent formula to calculate the field based off your sensor size. For small fields, this is more precise than simple linear approximation calculation. When it comes to framing a nebula that is slightly taller than the sensor, it makes a difference.
If the calculator reports that the target covers one hundred twenty percent of the sensor width, you’ll know you’re going to need to switch to shorter focal length or mosaic your images. That way you won’t be disappointed with a perfect exposure that cuts off edge of what you wanted to image.”
Another real-world result is drift time. Because the Earth is rotating, stars will drift across field at a rate that depends on their distance from the celestial equator (declination). It takes about four minutes for each degree of field. The calculator corrects for your target’s declination. For example, targets closer to the poles will drift more slowly; targets close to the celestial equator moves faster. That lets you know how long it takes to observe your target.
In a high-power planetary eyepiece, where you might have only three minutes of drift time, you’ll be pushing or tracking the mount often. It makes what can be a chaotic scramble into a measured process.
The tool includes reference tables that list typical sensor sizes and eyepiece fields. You do not need to look it up somewhere else. Just use these as a quick sanity check for what you input.
Choosing eyepieces involves tradeoffs. With eyepieces it’s always a tradeoff. Do I want a wide field that pulls me into the scene, or a narrow field where everything is sharp in the center but hard to find? If your optics aren’t perfect, then some wide fields will have a bit of distortion near the edges.
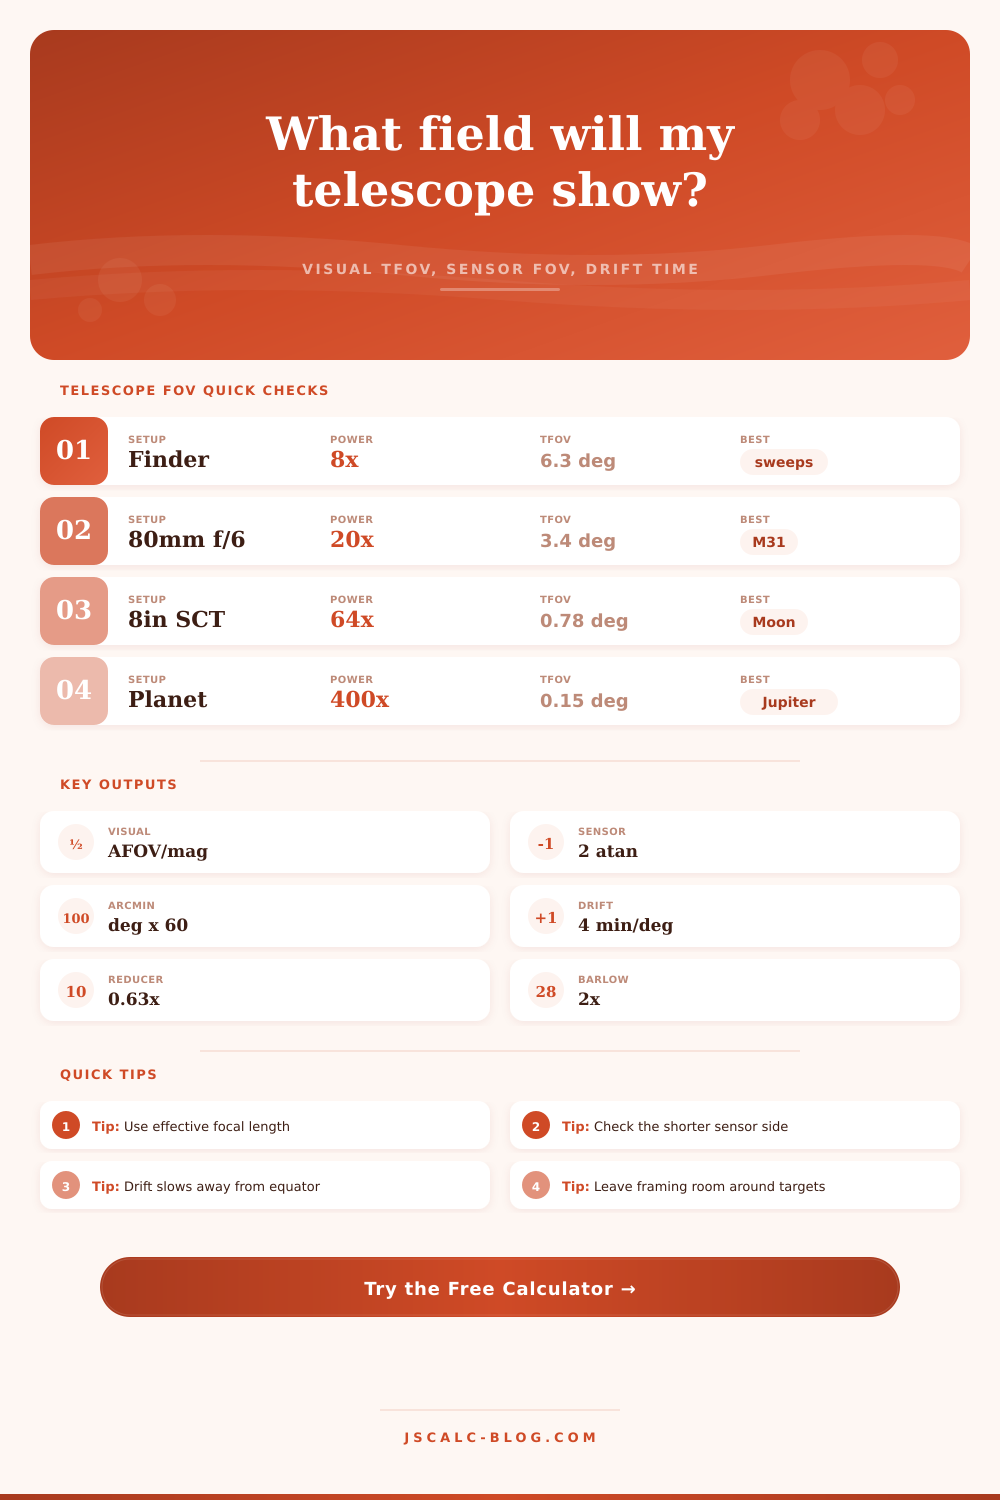
The calculator makes it easy to switch between presets like planets with a Barlow or a sweep-around with a finder scope. But it’s even better to be able to compare them side by side. How much does it feel different when I put on a ten-millimeter eyepiece instead of a twenty-four-millimeter eyepiece? Well, it makes things narrower. It gives higher magnification. It shortens my drift time. They’re all interrelated.
Understanding what’s out there makes your telescope more than just another length of glass tubing. It matches your tools to the sky. It frames things too large to view and stops you from pursuing things that aren’t bright enough. The numbers don’t lie (but they can be interpreted). Remember: the math you put into it tells you what you’ll see when you look up next time. The sky is full; your window is finite. That’s where the art of observation comes in (making that window yours).