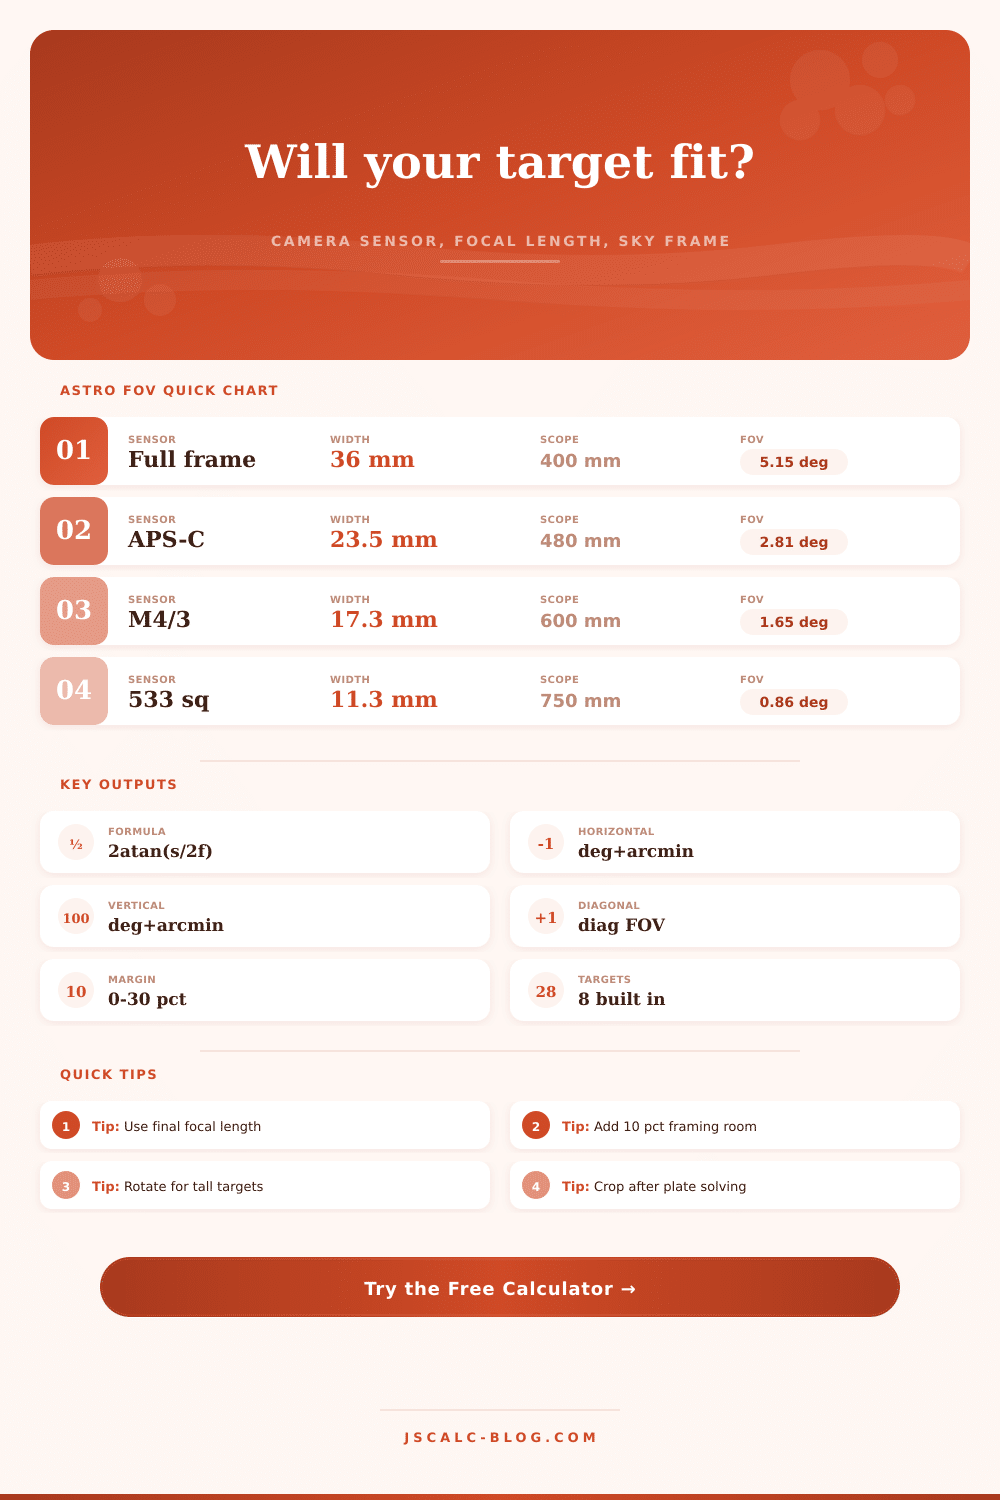
Camera Field of View for Astrophotography Calculator
Calculate horizontal, vertical, and diagonal sky coverage from sensor size and final focal length, then check whether common deep-sky targets fit the frame on JSCalc-Blog.com.
| Preset | Sensor size | Diagonal | Good first use |
|---|---|---|---|
| Full frame | 36.0 x 24.0 mm | 43.3 mm | Very wide sky coverage at short focal length |
| APS-C / IMX571 | 23.5 x 15.7 mm | 28.3 mm | Balanced deep-sky framing with refractors |
| Micro Four Thirds | 17.3 x 13.0 mm | 21.6 mm | Moderate crop without becoming too narrow |
| ASI294 format | 19.1 x 13.0 mm | 23.1 mm | Medium fields with many astro cameras |
| ASI183 format | 13.2 x 8.8 mm | 15.9 mm | Small-pixel detail and tighter compositions |
| ASI533 square | 11.31 x 11.31 mm | 16.0 mm | Square framing, simple flats, compact targets |
| ASI585 crop | 11.13 x 6.26 mm | 12.8 mm | Lunar, planetary, and small bright targets |
| 1-inch type | 13.2 x 8.8 mm | 15.9 mm | Compact camera planning and EAA fields |
| Target | Approx size | Orientation note | Planning cue |
|---|---|---|---|
| Andromeda Galaxy M31 | 190 x 60 arcmin | Wide and tilted | Needs short focal length or mosaic |
| Orion Nebula M42 | 85 x 60 arcmin | Broad core and wings | Fits many 300 to 700 mm systems |
| Pleiades M45 | 110 x 110 arcmin | Open cluster field | Leave room for reflection nebulosity |
| North America Nebula | 120 x 100 arcmin | Large emission region | Best with wide refractors |
| Rosette Nebula | 80 x 60 arcmin | Nearly round | Comfortable in many APS-C refractor frames |
| Horsehead region | 60 x 40 arcmin | Horizontal composition | Often works around 400 to 800 mm |
| Veil Nebula complex | 180 x 180 arcmin | Very large complex | Plan a mosaic unless very wide |
| Whirlpool Galaxy M51 | 11 x 7 arcmin | Small galaxy pair | Long focal length crop target |
| Jupiter disk | 0.8 x 0.8 arcmin | Tiny bright disk | FOV matters less than sampling |
| Setup | Sensor | Final focal length | Horizontal FOV | Typical framing |
|---|---|---|---|---|
| 135 mm lens | Full frame | 135 mm | 15.2 deg | Constellation-scale nebula fields |
| 250 mm refractor | APS-C | 250 mm | 5.38 deg | M31 with extra sky around it |
| 360 mm refractor | M4/3 | 360 mm | 2.75 deg | Large nebulae and open clusters |
| 480 mm ED80 | APS-C | 480 mm | 2.81 deg | Rosette, M42, North America crop |
| 750 mm Newtonian | ASI533 | 750 mm | 0.86 deg | Smaller nebulae and galaxies |
| C8 with reducer | APS-C | 1260 mm | 1.07 deg | Small galaxies, clusters, planetary nebulae |
| RC8 native | ASI183 | 1600 mm | 0.47 deg | Compact galaxy detail |
| C8 native | ASI585 | 2032 mm | 0.31 deg | Lunar close-ups and planets |
| Step | Expression | Use | Notes |
|---|---|---|---|
| Final focal length | native focal length x multiplier | Accounts for reducer or Barlow | Use the measured final value when known |
| Horizontal FOV | 2 x atan(width / (2 x focal length)) | Sky width in degrees | Width and focal length both in millimeters |
| Vertical FOV | 2 x atan(height / (2 x focal length)) | Sky height in degrees | Same formula with sensor height |
| Diagonal FOV | 2 x atan(diagonal / (2 x focal length)) | Corner-to-corner field | Diagonal is sqrt(width squared + height squared) |
| Arcminutes | degrees x 60 | Compares with catalog target size | Most target sizes are listed in arcminutes |
Calculator formula: FOV = 2*atan(sensor dimension/(2*focal length)); the calculator converts the radians result to degrees, then multiplies by 60 for arcminutes.
There’s a certain kind of frustration that comes with learning how to take astrophotos: After three hours of exposure time, you realize the object you were trying to capture isn’t fully within frame. You’ve spent hours chasing stars, fighting dew and hoping for a clear night. Then you realize it was all for nothing because you framed incorrecty to begin with.
That sting happens when what the math says you should see doesn’t match what your viewfinder displays. What matters? Field of View (FOV) is more than a figure. It will make or break your photo, and waste your night.
How to Fit Stars in Your Photo
Focal length is what most folks thinks of initially. “This one has a large aperture. This other one has this long focal length.” That’s why they purchase a telescope. Rarely do they consider the combination of that lens and their sensor. Even if you look at the exact same thing through two different scope, each equipped with the exact same glass, the resulting image on your screen will not be the same. The sensor itself define the slice of the sky captured.
What size is your camera sensor? How much of the Andromeda Galaxy does it fill? Know thy sensor chip/lens combo.
To make this easier for everyone, I created a little calculator that does all the math for us (see the top of page). It uses geometry and spits out an answer in angular terms. How much sky will my hardware cover? Just input your final focal length and enter size of your sensors. The calculator figures out your horizontal, vertical and diagonal angles of sky covered by your hardware.
Why does that matter? Because deep-sky objects aren’t round. Galaxies is tilted. Nebulae tend to be stretched out. Looking at just the diagonal coverage may lead you to believe a target will fit. But it could extend outside the vertical range of your camera, and that’s the mistake people make. Thinking something is symmetrical when it isn’t.
What about the reducer? A lot of scopes include a focal reducer, which reduces the effective focal length to increase the field of view. Plugging the native focal length into the calc without considering the reducer means you’re calculating a narrower field of view different than is true. You’ve overestimated how tight things frame because you assumed a longer lens than you have. Use the final effective focal length instead.
Shooting with an 800 mm scope and a 0.8x reducer? That’s 640 mm. The multiplier input makes this clear in the math; it makes you face up to what’s actualy in the optical chain.
Now that you’ve got the number, how does it match up against your target? The reference tables shows familiar objects such as the Pleiades or Orion Nebula. Not only are these images pretty but they’re real things in space with measured angular dimensions.
What if your horizontal field of view doesn’t encompass the entire width of nebula? That means you’ll cut off part of the image on each side. To compensate for this, add a frame margin. Ten percent is sufficient to allow for slight tracking errors and plate solving issues, not to mention some compositional breathing room. Nobody wants their target cutting right up to the edge of the pixels, that’s cramped and amateurish.
But it all changes when you switch formats. If you swap out a full-frame DSLR with one using an APS-C astro camera, your field of view decrease approximately by a factor of 1.5. That is a loss in both height and width. However, you may gain resolution-per-arcsecond if your pixel density is sufficient. You cannot get something for nothing; you must choose between detail and coverage. Choose your subject.
Large sensors are best for wide-field landscape images; small, high-resolution chips works wonders on galaxies and compact planetary nebulae. Use the calculator to understand the tradeoff before you buy. This will show you just how much overkill that pricey refractor can be when paired with a tiny sensor for the core of the Milky Way.
Planning is the unglamorous part of imaging. The unglamorous side is planning. Without planning, there’s no way around the three hour exposure fiasco. Checking the fit ahead of time saves you from having to crop your main subject away later. You should of checked earlier. What you didn’t get, you don’t get.
Numbers don’t lie, but they are meaningless without context. Use it as a tool. Calculate a safety margin. Then go outside confidently. Yes, the sky is big, but your frame isn’t and you should respect those boundaries.