Pixel Scale Calculator
Calculate astrophotography arcseconds per pixel, binned sampling, seeing ratio, and optional sensor field of view for your JSCalc-Blog.com imaging setup.
pixel scale arcsec/pixel = 206.265 × pixelSizeMicrons / focalLengthMm
Native scale: applies the telescope focal length and camera pixel pitch directly. Smaller pixels or longer focal length produce a finer arcsecond-per-pixel value.
Binned scale: native scale × binning. A 2×2 bin uses a two-pixel sampling step, so the displayed arcsec/pixel doubles.
Seeing sampling ratio: seeing FWHM / binned scale. Around 2 to 3 pixels across the seeing disk is usually balanced for deep-sky imaging.
Sensor FOV: binned scale × sensor pixels / 3600. This optional field gives degrees across the sensor frame.
Use the binned scale column when judging sampling. This table assumes the seeing value is a measured or realistic full width at half maximum in arcseconds.
| Sampling Ratio | Deep-Sky Meaning | Star Shape Risk | Typical Adjustment |
|---|---|---|---|
| Below 1.5 px | Undersampled | Blocky stars, weak drizzle recovery | Longer focal length or smaller pixels |
| 1.5 to 2.0 px | Coarse but usable | Slightly square bright stars | Dither and drizzle if needed |
| 2.0 to 3.0 px | Balanced sampling | Good star profiles in average seeing | Strong default for broadband imaging |
| 3.0 to 5.0 px | Fine sampling | More noise per detail element | Use on steady nights or bright targets |
| Above 5.0 px | Oversampled | Seeing blur spread over many pixels | Bin 2×2 or reduce focal length |
| Camera Family | Pixel Size | Sensor Pixels | Best Use |
|---|---|---|---|
| ASI2600MC / IMX571 | 3.76 µm | 6248 × 4176 | Wide-field to galaxy season |
| ASI533MC / IMX533 | 3.76 µm | 3008 × 3008 | Square nebula framing |
| ASI585MC / IMX585 | 2.90 µm | 3840 × 2160 | Small galaxies and planets |
| ASI294MC | 4.63 µm | 4144 × 2822 | Moderate focal length imaging |
| ASI6200MM / IMX455 | 3.76 µm | 9576 × 6388 | Large corrected image circles |
| APS-C DSLR | 3.90 µm | 6000 × 4000 | Lens and small refractor work |
| Full-frame DSLR | 5.36 µm | 6000 × 4000 | Fast optics and wide fields |
| Optical Setup | Effective Focal Length | Common Target Type | Scale With 3.76 µm Pixels |
|---|---|---|---|
| 135 mm camera lens | 135 mm | Huge nebula complexes | 5.74 arcsec/pixel |
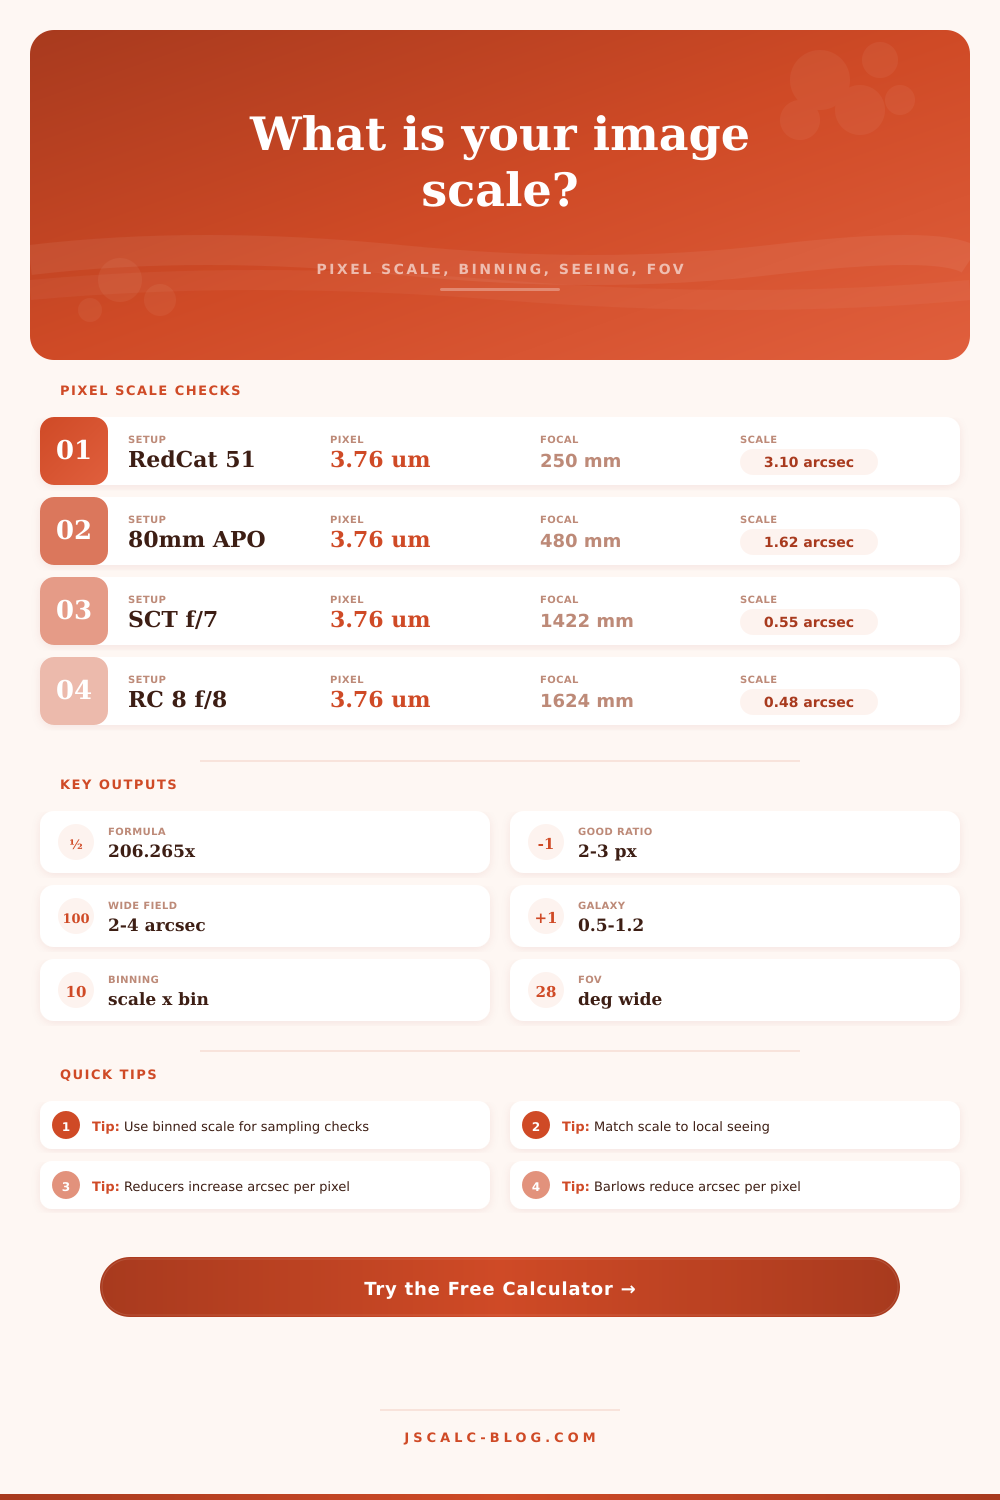
| RedCat 51 refractor | 250 mm | Wide nebula fields | 3.10 arcsec/pixel |
| 80 mm f/6 refractor | 480 mm | Large nebulae and clusters | 1.62 arcsec/pixel |
| 200 mm f/4 Newtonian | 800 mm | Medium nebulae, galaxies | 0.97 arcsec/pixel |
| 8 inch SCT with reducer | 1280 mm | Smaller galaxies | 0.61 arcsec/pixel |
| 8 inch RC f/8 | 1624 mm | Compact galaxies | 0.48 arcsec/pixel |
| C11 with 2× Barlow | 5600 mm | Planetary capture | 0.14 arcsec/pixel |
| Preset Setup | Native Scale | Seeing Ratio At 2.5″ | Full Sensor FOV | Sampling Note |
|---|---|---|---|---|
| RedCat 51 + IMX571 | 3.10″/px | 0.8 px | 5.38° × 3.60° | Wide and undersampled |
| 80 mm APO + IMX533 | 1.62″/px | 1.5 px | 1.35° × 1.35° | Coarse but useful |
| 200 mm f/4 Newt + IMX533 | 0.97″/px | 2.6 px | 0.81° × 0.81° | Balanced for average seeing |
| EdgeHD 8 f/7 + IMX571 | 0.55″/px | 4.6 px | 0.96° × 0.64° | Fine galaxy sampling |
| C11 + 2× Barlow + IMX585 | 0.11″/px | 22.7 px | 0.12° × 0.07° | Planetary, not deep-sky |
You’ve saved up for months, searching and scrounging for just the right telescope to put outside and new camera sensor to go into it. After setting up out back, aiming the scope at a nebula, and waiting awhile, you process your images. The nebula is soft, not as crisp as you thought it should be. The stars are square and blocky. It’s not guiding problems, it’s not tracking errors. Nope, it’s pixel scale.
Pixel scale is the single most common error in deep-sky astrophotography. It can be avoided with some simple math before leaving home. The sky is big. Your camera sensor can capture only a portion of it at any time. How much it captures depends on size of what you’re looking through. That’s called the “pixel scale.” It’s the angular size of the sky that fits into one physical pixel on your sensor. It is how your gear connects to air.
How to Choose the Right Pixel Scale
The calculator will do the math for you, but that’s not where the planning begins. Planning comes with knowing how to input the data. You need to enter your sensor’s pixel pitch, which is the physical distance between its light-sensitive diodes, and its effective focal length, a number changed by reducers and Barlows. A Barlow increases your focal length, while a reducer decreases it, which spreads stars across more pixels and effectively zooms out. Input those numbers accurately, and calculator will show you precisely how many arcseconds of sky are captured per pixel.
Two to three is the target. That’s the seeing sampling ratio. What does that mean? The atmosphere cause the light from stars to be blurred by something called seeing. The size of those disks is what we’re talking about here. Is your pixel scale big enough compared to that disk? Are you undersampling it? Then you get an image where you capture the shape of your pixels rather than the shape of the star. It’ll appear as if the stars are little diamonds or squares.
Is your pixel scale too small? Then you’re oversampling and capturing the blur over a span of twenty pixels when you should be capturing it over three. Your images will appear smooth, but you’ve sacrificed resolution in order to do so. You’re collecting light that could of been used elsewhere.
Everything changes when we bin. Binning is something many new cameras do electronically at the time of image capture. By binning two by two, for example, you’re essentially creating pixels twice as large. The calculator accounts for this and displays a binned scale, which tends to be much closer to what is actualy achievable rather than the raw spec sheet number. If you intend to bin, use the binned scale to judge your system. That way you won’t buy expensive optics to solve a sampling issue that can be addressed in software.
The other side of that coin is field of view. With knowledge of your scale, you can estimate what fraction of the sky will be visible on your sensor. That tells you how large of an object, such as the Orion Nebula, you can image in a single exposure instead of needing to mosaic it together. It also tells you how good a guide system you’ll need. The wider the field of view, the more quickly the stars move across the frame and the better the guidance has to be.
A narrower field of view occur with a long focal length setup. This creates a smaller field, but it makes it easier to get away with lousy tracking, provided you nail the target. To make it concrete, they have the typical scenarios spelled out in a reference table on the page. They show what a wide-field refractor does compared to a long-focus Ritchey-Chretien. You’ll see where wide fields combined with fast optics lead to coarse sampling. That’s okay for large, diffuse nebulae. Texture is in the clouds, not in the stars. But if you’re chasing compact galaxies then you want tighter sampling to resolve the cores of them. No perfect scale here, just the scale that fits your target and your seeing.
This one is common: Resolution comes first. Most folks think they need the telescope with the highest possible resolution (the one that shows them the most detail). The problem? If it’s a turbulent night, then that high-res scope simply provides larger, blurrier squares. Your equipment needs to be matched to your local conditions. Look up your historical seeing reports. Are your nights regularly three or so arcseconds? Don’t spend the money on something that can sample less than half an arcsecond/pixel. You’re wasting money on resolution you won’t ever use.
Use the calculator. Find the sweet spot of two-to-three pixels across the seeing disk. Tweak your focal length from there. Your images will appear cleaner. Your stars will appear more round and you’ll have fun while doing it.