Stair Stringer Calculator
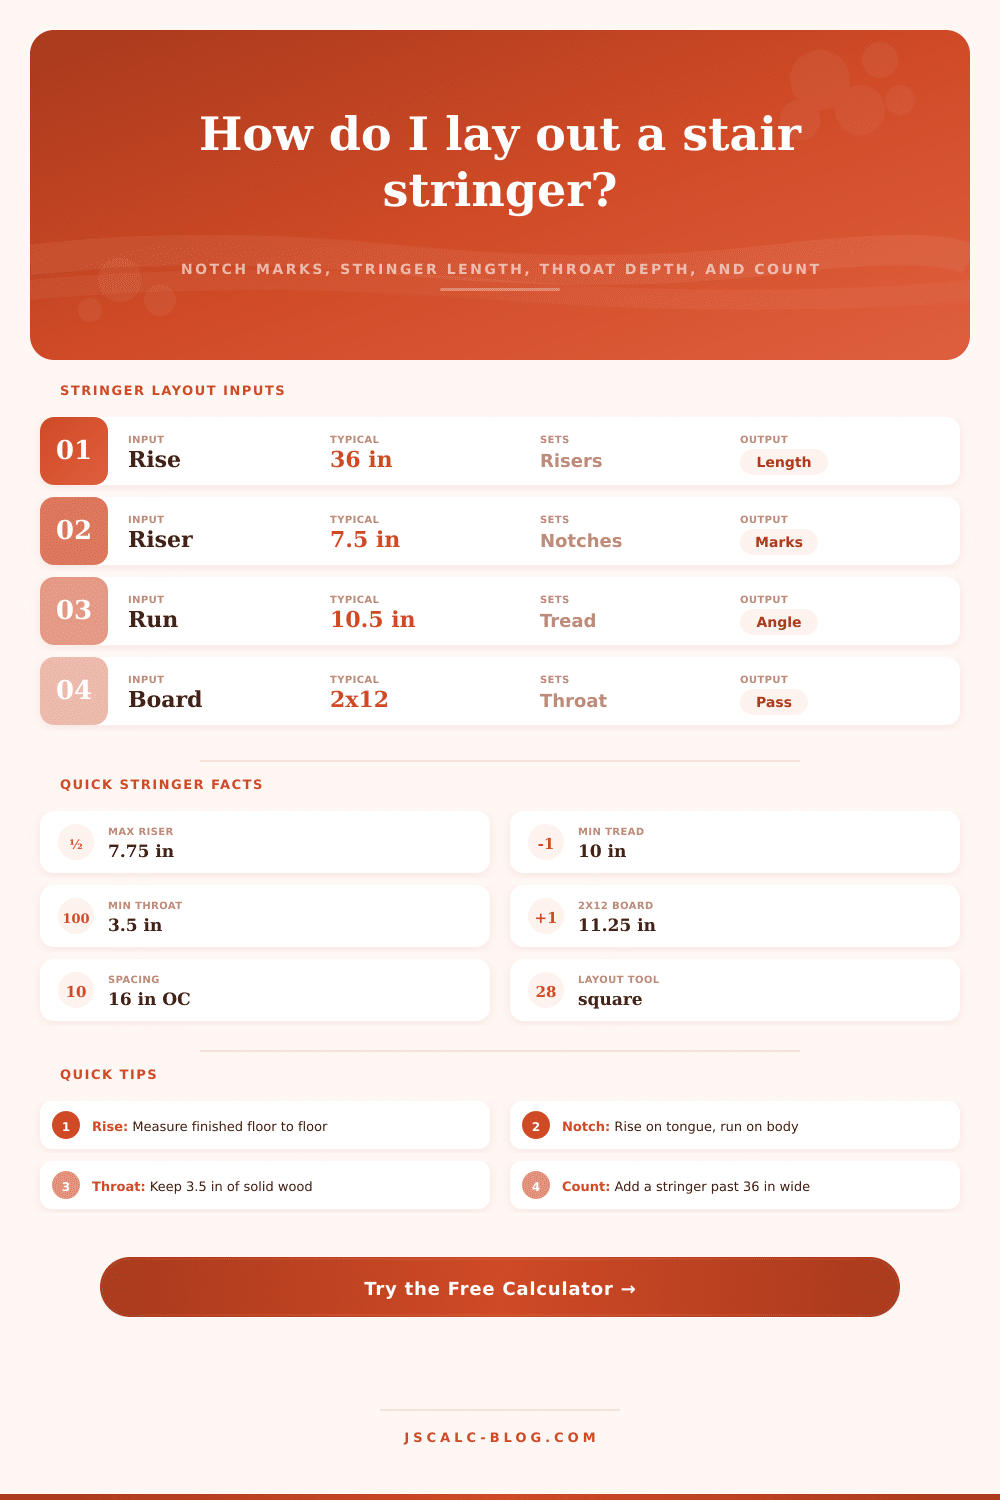
Lay out the notched stringer board from total rise and tread run. Get stringer length, per-step rise and run marks for a framing square, throat depth, board size, stair angle, and how many stringers the run needs.
🎯Real Stringer Presets
📝Stringer Inputs
Centimeters convert to inches for the layout math, then results are shown in your unit.
Vertical drop the stair covers, top surface to bottom surface.
Preferred step height. Riser count rounds to hit this.
Horizontal cut depth of each notch, nosing not added.
Used only when board size is set to custom.
Drives stringer count and on-center spacing.
Clear vertical space over the nosing line, IRC min 80 in.
📐Layout Snapshot
🔢Notch Layout Marks
| Step | Rise Mark (Tongue) | Run Mark (Body) | Cut Point From Bottom | Note |
|---|---|---|---|---|
| Enter values above to generate the framing-square notch marks. | ||||
Rise Mark is cumulative height on the framing-square tongue; Run Mark is cumulative depth on the body. Step through both to scribe every notch from the bottom of the board upward.
📋IRC Code Reference
| Item | IRC Limit | Your Value | Status |
|---|---|---|---|
| Code checks appear after you calculate. | |||
🪵Board Size & Throat Reference
| Nominal Board | Actual Width | Throat at 7.5×10.5 | Min Riser Left | Best Use |
|---|---|---|---|---|
| 2x8 | 7.25 in | ~1.18 in | Fails 3.5 in | Ramps, 2 low steps only |
| 2x10 | 9.25 in | ~3.18 in | Borderline | Short runs, tight rise/run |
| 2x12 | 11.25 in | ~5.18 in | Passes | Standard cut stringer |
| 2x12 LVL | 11.25 in | ~5.18 in | Passes | Long spans, heavy load |
| Solid 2x12 | 11.25 in | n/a | Full board | Housed / cleated, no notch |
Throat is the narrowest strip of wood left behind a notch. Deeper notches (bigger run) and taller risers both shrink it, so a 2x12 is the usual minimum for a fully cut stringer.
🗂Stringer Spacing & Comparison Grid
| Scenario | Total Rise | Riser / Run | Board | Stringer Len | Stringers |
|---|---|---|---|---|---|
| Deck landing | 36 in | 7.20 / 10.5 | 2x12 | ~44.6 in | 3 at 18 OC |
| Basement stair | 105 in | 7.50 / 10.0 | 2x12 | ~132 in | 3 at 18 OC |
| Porch 3 step | 21 in | 7.00 / 11.0 | 2x12 | ~24.6 in | 3 at 18 OC |
| Std floor | 108 in | 7.50 / 10.5 | 2x12 | ~139 in | 3 at 18 OC |
| Low deck | 21 in | 7.00 / 11.0 | 2x10 | ~24.6 in | 2 at 36 OC |
| Wide stair | 44 in | 7.33 / 10.5 | 2x12 | ~55.9 in | 4 at 16 OC |
⚙Full Formula Breakdown
💡Practical Stringer Tips
There you are at the base of a stairway, with your framing square in one hand and a long two-by-twelve in the other, when it hits you: The geometry is unforgiving. Miss by just half a degree on your angle, and the next step won’t be long enough (or worse), the stringer won’t land where it’s supposed to. Time for math, and goodbye to your intuition.
The stair calculator above do the trig for you, no need to fumble with protractors on a ladder, and turns your rough measurements into precise notch marks. All those steps fall exactly in line from ceiling to floor.
Why You Need This Stair Calculator
Most homeowners treat total rise as a fixed number without questioning it. Measure from the finished surface of the floor at the bottom to the finished surface of the floor at the top. Don’t measure to deck joists or subfloor, because then your measurement will be off by an inch or more. And that adds up, especially with each stair. So you’ll have an obvious, odd last stair (riser).
This tool accounts for that and smooths out any differences so that each stair climb evenly.
More significant perhaps different than the sizes themselves is what type of board you use. When you cut notches into a standard 11-and-a-quarter-inch wide two-by-twelve, you remove material that provides structural strength. You’re taking away some of its strength by cutting out notchs. Building code says that the narrowest point, called the throat, must be at least three and a half inches for each set of adjacent notches. Deeper tread steps on steeper stairs may also require thicker boards; otherwise, you’ll have too little wood remaining in the throat, which becomes a potential weak spot when someone walks across it. To figure this out, tool’s built-in reference tables explain precisely how much lumber remains intact behind every cut. Is it enough? Should you upsize to something stronger?
Another variable beyond pure numbers is comfort. Typically, when walking stairs it’s comfortabley to have a thirty- to thirty-seven-degree angle. Lower than this begins to feel more like a ramp, which is not an efficient use of floor space. Higher than this becomes more like climbing a ladder, which needs handrails and a careful ascent. By entering in your own rise and run numbers into the calculator, it will immediately spit out the angle of the stairs so you know if you’re designing for space efficiency or safety. To adjust comfort, you’ll want to adjust your tread depth slightly to fine-tune the slope without changing total size of your staircase too much.
How far apart you space those stringers depends greatly based off the material you select for the treads. For example, with regular old two-by-ten’s for steps, sixteen inches between them will easily handle the load and not bounce around to much. But if you’re going with something thinner (like composite decking), you’ll likely want to go down to a twelve-inch spacing so it doesn’t start to sag over time. The maximum span of your tread material and overall width of your stair opening determine how many stringer you’ll need. So no more buying too few, only to realize halfway through that the steps are unsupported in the center!
The last little thing that people sometimes don’t think about is the drop at the end: After you put down all of those treads, it makes first step a bit lower because there’s an additional thickness of a tread on top of the bottom riser height. Pros will cut off the bottom of the stringer by the exact thickness of a single tread to account for this change in height. If we know that’s going to happen, we can put that adjustment into our length calculation. This ensures your final cut lines up with how things actualy install, not just the theoretical model.
Stair building isn’t so much a test of brawn as it is a feat of repetition, a few inches repeated thousands of times to create even steps that match each other across the rise and run. An uneven step ruin the cadence of your ascent and provides a stumbling block at night or anytime you’re not looking straight down. The tool takes the measurement-guessing out of marking your board, allowing you to just draw the lines, make the cuts, and go.
In conclusion, it’s all about the disappearing stairway. It blends in with the rest of the house’s architecture. It feels solid when you walk on it and silky-smooth as you climb. The steps are neither too deep nor too shallow, and no step is dramatically different than another. Do this math first (before you pick up the saw) and save yourself hours of scrap wood… And aggravation.
Measure twice. Calculate once. Then trust the geometry to lead you through the cut list to a safe (and elegant) finish. You should of done it this way from the start.