Stair Construction Calculator
Lay out a full stair stringer from the floor-to-floor rise. Get the riser count, exact riser height, tread run, total horizontal run, stringer length (the hypotenuse), stair angle, framing-square cut marks, a cut list, and an IRC code check in one pass.
🏗Real Staircase Presets
📝Stair Build Inputs
Finished floor below to finished floor above. This is the single most important measurement.
Nosing to nosing horizontal depth. IRC minimum is 10 in; 10.5 to 11 in feels roomier.
Used to pick the riser count. Around 7 in is the comfort sweet spot; IRC caps risers at 7.75 in.
Clear width between finished walls. IRC requires at least 36 in above the handrail.
Vertical clearance measured plumb from the tread nosing line. IRC minimum is 80 in (6 ft 8 in).
After notching, at least 3.5 in of solid throat must remain. A 2x12 is the carpentry standard.
Space stringers no more than 16 in on center for 5/4 treads, 18 in for 2x treads.
🔢Layout Formula Snapshot
⚖IRC Stair Code Limits (R311.7)
| Dimension | Code Requirement | Comfort Target | Why It Matters |
|---|---|---|---|
| Riser height | 7.75 in maximum | 7 to 7.5 in | Tall risers cause trips going up |
| Tread depth (run) | 10 in minimum | 10.5 to 11 in | Shallow treads slip underfoot going down |
| Riser variation | 3/8 in max between steps | Keep identical | Uneven steps are the top fall cause |
| Stair width | 36 in minimum | 36 to 42 in | Clear passage above the handrail |
| Headroom | 80 in (6 ft 8 in) minimum | 84 in or more | Plumb clearance over the nosing line |
| Nosing | 0.75 to 1.25 in | 1 in | Required when treads are under 11 in |
| Handrail height | 34 to 38 in | 36 in | Measured vertically from the nosing |
📏Stair Angle Comfort Ranges
| Angle | Feel | Typical Riser / Run | Best Use |
|---|---|---|---|
| 20 to 27° | Very gentle | 6 in / 12 in | Public ramps, grand entries |
| 30 to 35° | Comfortable | 7 in / 11 in | Ideal main stairs |
| 35 to 37° | Standard | 7.25 in / 10.5 in | Most residential stairs |
| 38 to 42° | Steep | 7.75 in / 9.5 in | Basements, tight retrofits |
| 43 to 50° | Very steep | 8.5 in / 8 in | Attic and loft access only |
| 50° and up | Ladder-like | 9 in+ / 7 in | Ship ladders, not code stairs |
The IRC sweet spot lands near 32 to 37 degrees, which pairs a 7 to 7.5 in riser with a 10 to 11 in run.
📐Framing Square Settings & Stringer Board Sizing
| Riser Height | Tread Run | Square Tongue (rise) | Square Body (run) | Min Stringer Board |
|---|---|---|---|---|
| 6.50 in | 11.0 in | 6-1/2 in | 11 in | 2x12 |
| 7.00 in | 11.0 in | 7 in | 11 in | 2x12 |
| 7.20 in | 10.5 in | 7-3/16 in | 10-1/2 in | 2x12 |
| 7.50 in | 10.0 in | 7-1/2 in | 10 in | 2x12 |
| 7.75 in | 10.0 in | 7-3/4 in | 10 in | 2x12 |
Set stair gauges (fixed nuts) on the framing square at the tongue rise and body run figures, then step them down the board to mark every plumb and level cut. After notching, keep at least 3.5 in of solid throat, which a 2x12 provides.
📊Stair Build Comparison Grid
| Total Rise | Risers | Riser Ht | Tread Run | Total Run | Stringer | Angle |
|---|---|---|---|---|---|---|
| 48 in | 7 | 6.86 in | 10.5 in | 63.0 in | 79.2 in | 37.3° |
| 84 in | 12 | 7.00 in | 10.5 in | 115.5 in | 142.8 in | 36.1° |
| 96 in | 14 | 6.86 in | 10.5 in | 136.5 in | 166.9 in | 35.1° |
| 104 in | 15 | 6.93 in | 10.5 in | 147.0 in | 180.1 in | 35.3° |
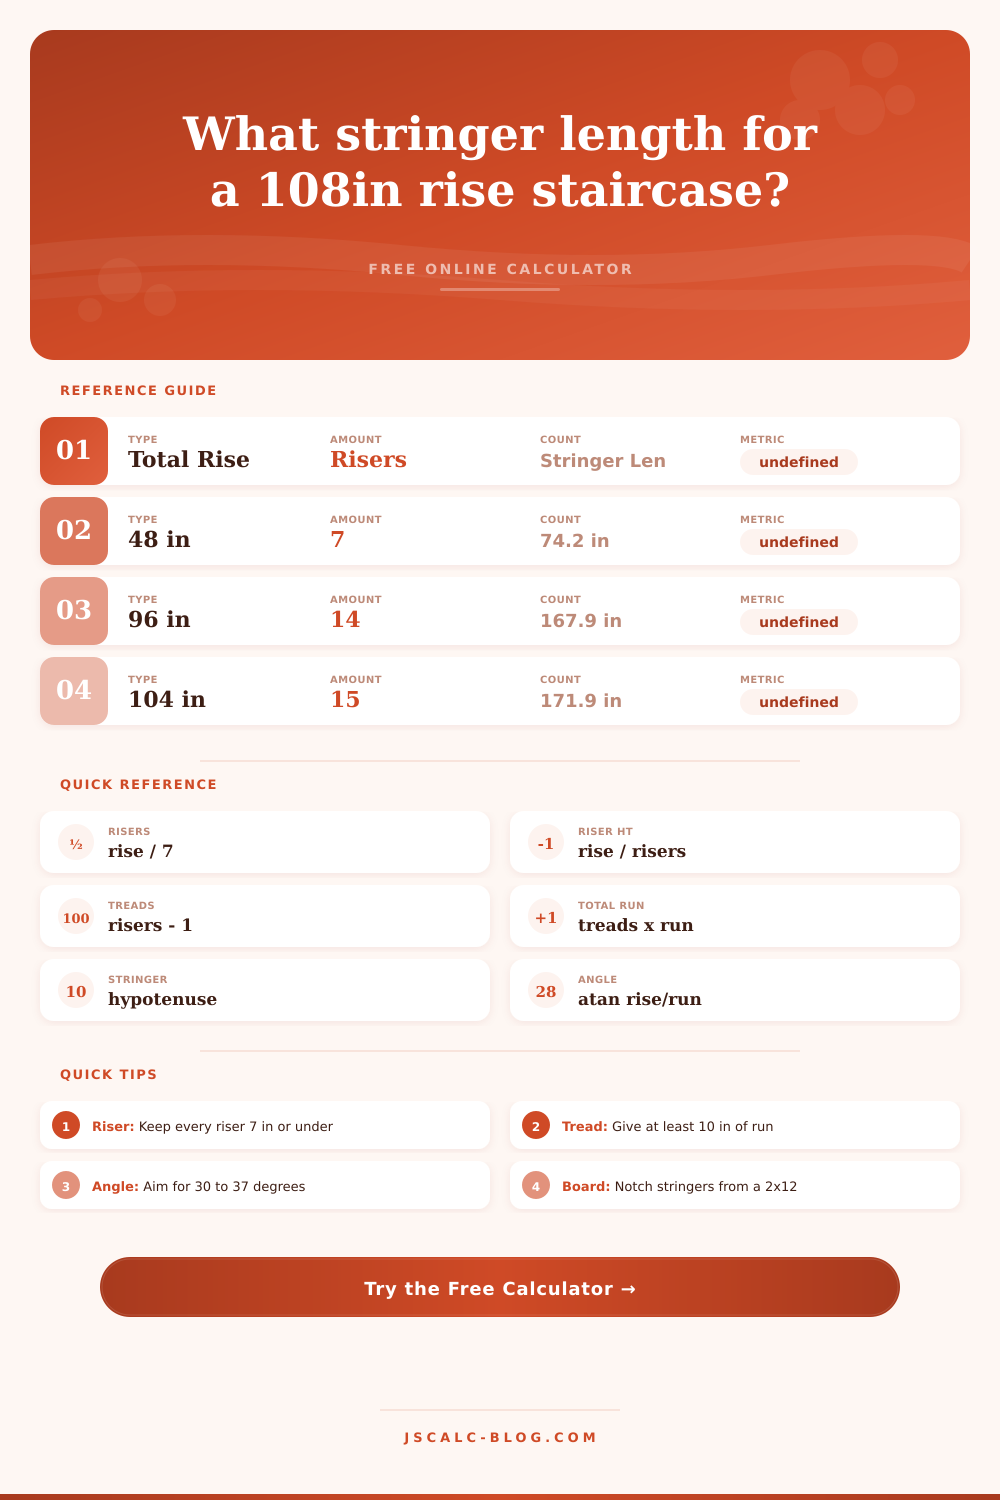
| 108 in | 15 | 7.20 in | 10.5 in | 147.0 in | 182.4 in | 36.3° |
| 112 in | 16 | 7.00 in | 10.5 in | 157.5 in | 193.3 in | 35.4° |
| 118 in | 17 | 6.94 in | 10.5 in | 168.0 in | 205.3 in | 35.1° |
| 120 in | 17 | 7.06 in | 10.5 in | 168.0 in | 206.5 in | 35.5° |
| 144 in | 21 | 6.86 in | 10.5 in | 210.0 in | 254.6 in | 34.4° |
Values assume a 10.5 in tread run and a 7 in target riser. Change the tread run and the total run and stringer length scale with it.
⚙Full Construction Formula Breakdown
📋Stair Terms & Reference
| Term | Meaning | Formula | Notes |
|---|---|---|---|
| Total rise | Floor to floor height | Given input | Finished floor to finished floor |
| Riser | Vertical face of a step | rise / risers | 7.75 in code maximum |
| Tread / run | Horizontal step depth | Given input | 10 in code minimum |
| Total run | Horizontal floor length | (risers-1) × run | Plan for landing clearance |
| Stringer | Notched support board | √(rise² + run²) | 2x12 typical, 3.5 in throat |
| Throat | Wood left below the notch | board - notch depth | Keep 3.5 in solid minimum |
💡Carpenter Build Tips
Built for carpenters and DIY builders by JSCalc-Blog.com. Always confirm dimensions against your local adopted building code before cutting stock.
The first thing is that every stair starts with how tall it is going to be, which is the total rise. That’s a simple measurement: How far is vertical line from your finished floor upstairs to your finished floor downstairs? Once you nail down that rise (get it wrong and everything after will be thrown off), you can enter your desired tread depth and let the tool above do the geometry for you. It reduce a mess of triangles to a tidy cut list and ensures you meet building code for residential stair.
That means figuring out how many risers will need to go into whatever that final height may be. There’s no such thing as part of a step. It have to be a whole number. In a traditional method, we would divide the total rise by our desired height, typically about seven inches and then round up to next whole number. That way none of the steps is drastically different than the others.
How to Measure and Plan Safe Stairs
In stair safety, uniformity is everything. Uneven stairs are most common reason for tripping and falling in private residences. After establishing your number of risers, the remaining math is simply dividing the total rise by the number you’ve determined. This assure equal heights on all step. This is a code compliant and attractive solution.
The principle for stair treads is similar, although another source of confusion about them is how many there should of be. There is always one less tread than riser. That top surface you land on is considered the last horizontal surface so there is no need to have a tread board at the very top. To figure out the horizontal footprint (or “run”) that stairs take up, multiply each tread’s depth times the number of treads.
Code generally calls for a minimum tread depth of 10”, but most builders shoot for 10 1/2”, 11” for added comfort. That additional inch realy does make a difference in walking naturaly up the stairs, particularly if you’re lugging furnitures or groceries up with you.
One of the easiest measurements to grasp is the angle of the stair, which shows the slope of the stair in relation to level ground. The total rise divided by the total run equal the angle, expressed as a degree. For example, if I calculate a 30-degree rise (the gentlest) from level ground, it’s comfortable but eats up a lot of floor area. At the steepest end of the scale, at about 45 degrees, it’s like climbing a ladder, but you save valuable floor space.
For residential use, the sweet spot is usually between thirty and thirty-seven degrees. That is where the “seven-inch” riser meets the “eleven-inch” tread. It sounds like a code, but it isn’t. These measurements establish a comfortable rhythm we don’t even think about because we’re so used to it.
So when you do the math and get something out of this range, you might have to tweak the size of the tread or incorporate a landing to interrupt the flight. Besides being illegal, building to code also has safety considerations. To avoid accident and injury, the International Residential Code strictly regulates dimensions. No more than seven and three-quarter-inch risers (uneven steps are a major cause of trips), no less than ten inches tread depth. Headroom must be at least eighty inches from the nosing line up to obstacles.
That’s an automatic violation flagged by the calculator; change your design accordingly before you cut lumber. It sounds like a minor thing, but it’s harder to correct after construction when you’re standing on a staircase staring upward instead of changing digits on a computer screen.
Once you’re up to the framing stage, those carefully calculated numbers are needed for exactly notching the stringer boards. The depth of your stringers (typically two-by-twelves) should be deep enough to allow enough solid wood below the notches; called the “throat”, so the structure hold up without sagging or squeaking when weighted down. Using a framing square, you simply draw your tread and riser measurements straight across to the board then make careful, level and plumb cuts. It’s usually worth it to take an extra few minutes and finish the cuts by hand; overcutting into the corner will weaken the joint.
Careful measuring and consistent execution transform raw lumber into a safe place to walk and beautiful, usable infrastructure. Begin with the exact amount of total rise then let the math take over and guide you to what goes where. Everything depends on that one little vertical line, from how long your boards are to who can comfortabley climb up and down them for years to come.