Roof Insulation R-Value Calculator
Sum every layer of a roof or ceiling assembly into a total R-value, convert to U-value, compare against the required R for your IECC climate zone, and solve the thickness of one material needed to reach a target R.
🎯Real Assembly Presets
📝Design Setup
Auto-fills from the zone unless zone is set to custom. Used as the goal in solve mode.
🧱Assembly Layers
In solve mode the calculator finds how many inches of this material reach the target R on top of the layers above.
Add any R already present that is not entered as a layer above.
🔢How The Math Works
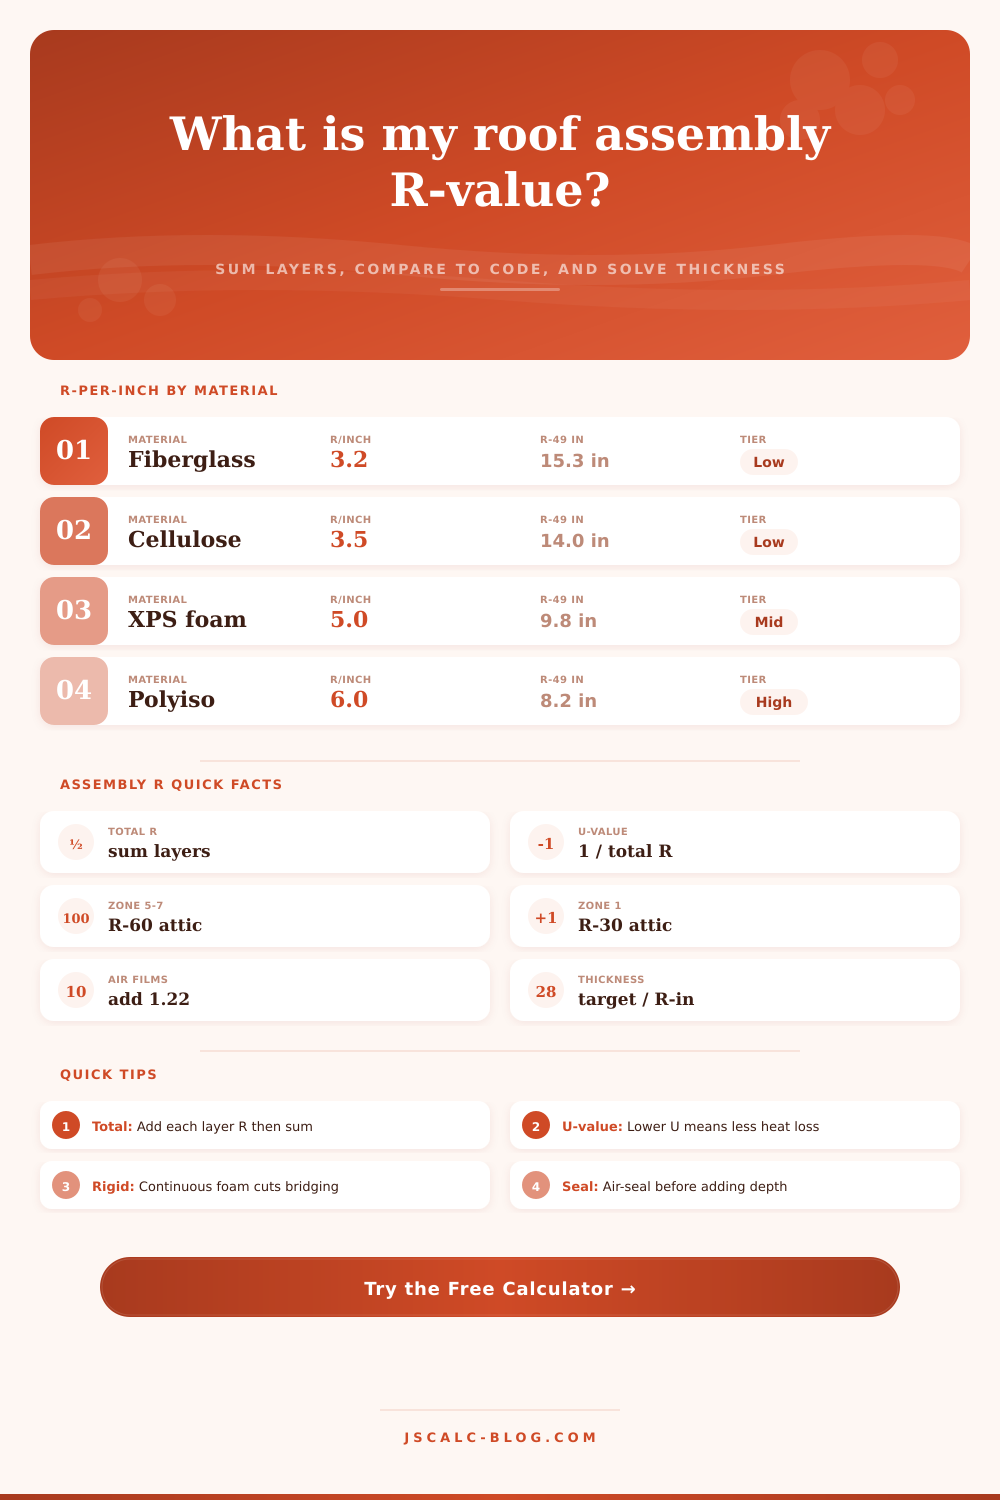
📊R-Per-Inch By Insulation Material
| Material | R Per Inch | Type | Where Used In Roofs | Cost Tier |
|---|---|---|---|---|
| Fiberglass batt | 3.2 | Batt | Rafter bays, attic floors | Low |
| Mineral wool | 3.3 | Batt / board | Cathedral, fire-rated bays | Mid |
| Blown cellulose | 3.5 | Loose-fill | Vented attic floors | Low |
| Open-cell spray foam | 3.7 | Spray | Unvented roof deck | Mid |
| EPS rigid foam | 4.0 | Board | Over-deck, tapered roofs | Mid |
| XPS rigid foam | 5.0 | Board | Warm roofs, continuous | Mid |
| Closed-cell spray foam | 6.5 | Spray | Unvented deck, air barrier | High |
| Polyiso rigid foam | 6.0 | Board | Commercial flat roofs | High |
🗺Recommended Ceiling R By IECC Climate Zone
| Zone | Climate | Recommended Ceiling R | Typical U-Value | Example Regions |
|---|---|---|---|---|
| Zone 1 | Hot | R-30 | 0.033 | South Florida, Hawaii |
| Zone 2 | Hot / humid | R-49 | 0.020 | Gulf Coast, Phoenix |
| Zone 3 | Warm | R-49 | 0.020 | Atlanta, Dallas, LA |
| Zone 4 | Mixed | R-60 | 0.017 | Virginia, Kansas, Seattle |
| Zone 5 | Cool | R-60 | 0.017 | Chicago, Denver, Boston |
| Zone 6 | Cold | R-60 | 0.017 | Minneapolis, Vermont |
| Zone 7 | Very cold | R-60 | 0.017 | Northern MN, Maine |
Values follow ENERGY STAR and U.S. Department of Energy attic recommendations. Local codes (current IECC) may require R-49 or R-60 depending on adoption year.
📏Thickness Needed For Common Target R
| Material | R Per Inch | Inches For R-30 | Inches For R-49 | Inches For R-60 |
|---|---|---|---|---|
| Fiberglass batt | 3.2 | 9.4 in | 15.3 in | 18.8 in |
| Mineral wool | 3.3 | 9.1 in | 14.8 in | 18.2 in |
| Blown cellulose | 3.5 | 8.6 in | 14.0 in | 17.1 in |
| Open-cell spray | 3.7 | 8.1 in | 13.2 in | 16.2 in |
| EPS rigid | 4.0 | 7.5 in | 12.3 in | 15.0 in |
| XPS rigid | 5.0 | 6.0 in | 9.8 in | 12.0 in |
| Polyiso rigid | 6.0 | 5.0 in | 8.2 in | 10.0 in |
| Closed-cell spray | 6.5 | 4.6 in | 7.5 in | 9.2 in |
🌡U-Value Reference For Common Assembly R
| Total R | U-Value | Relative Heat Loss | Common Use | Rating |
|---|---|---|---|---|
| R-13 | 0.077 | High | Old / minimal roofs | Weak |
| R-19 | 0.053 | Elevated | Dated attic minimum | Fair |
| R-30 | 0.033 | Moderate | Zone 1 ceiling minimum | OK |
| R-38 | 0.026 | Lower | Older code ceilings | Good |
| R-49 | 0.020 | Low | Zone 2–3 ceilings | Strong |
| R-60 | 0.017 | Very low | Zone 4–7 ceilings | Best |
⚙Full Formula Breakdown
📋Reference Values
| Item | Typical Value | How It Is Used | Assembly Effect |
|---|---|---|---|
| Interior air film | R-0.61 | Added once inside | Small boost to total R |
| Exterior air film | R-0.61 | Added once outside | Small boost to total R |
| OSB / plywood deck | R-0.62 per 0.5 in | Structural layer R | Minor contribution |
| Gypsum drywall | R-0.45 per 0.5 in | Ceiling finish R | Minor contribution |
| Thermal bridging | 10–25% loss | Framing shortcuts heat | Continuous foam reduces it |
💡Practical R-Value Tips
The Roof Deck: You feel the cold radiating from the roof deck while standing in your drafty attic. Will an extra bag of insulation help? Or simply bump your head into rafters? R-value is the value used to measure this feeling. But here’s the catch: R-value do not measure warmth. Instead it measures resistance to the flow of heat. For example, an R-value measure how well a material resist moving heat from inside your house toward the outside.
And most folks think of insulation as one thing, something you purchase on a shelf. Yet a roof assembly are actualy a layered sandwich. Each element help overall performance. After you input the thicknesses and materials, the calculator does the math for you (above). No need to add up each layer resistance separately. Instead it adds together all the R-values for interior finishes, continuous rigid foam, cavity insulation, structural sheathing, and even the air films on both sides of assembly. Still air resist flow and is an insulator. That’s why those air films are included: they provide a more realistic representation of the entire system.
How to Insulate Your Roof Properly
That combined total R-value become the U-value. What’s that? It’s the rate at which your assembly lose heat for every degree of temperature difference between inside and out. Less is more with a U-value. So the lower, the better. Think of it as the opposite of how much you try to insulate.
The decision on what to use depends on how much money you want to spend, how big your space is, and how much you want to control moisture: Fiberglass batts is popular, inexpensive, and widely available. The downside: They are easy to pack in too tightly (and do so), reducing their R-value.
Blown-in cellulose fills odd shapes nicely and stays consistent with performance over time. Downside: It need considerable depth for higher ratings.
Rigid foam boards (XPS or polyiso) resist heat transfer very well per inch. That means you can get to your desired rating while keeping wall thicknesses down to fit snugly in your rafter bays. This come in handy if you’re retrofitting an existing old house where the framing is shallow: You need every fraction of an inch possible above your head.
Those are the minimum requirements of those assemblies, based off climate zones. Failure to consider that results in wasting energy. In warmer parts of the country, for example, you may find an R-30 sufficient for a roof if you want to control your air-conditioning costs in the summer. As you move northward into colder climates, it go up, perhaps even R-60 or more is necessary. The calculator measure your assembled total against those targets for each climate zone and informs you whether you’re meeting code or not. If not, you’ll be paying too much for your heating bill year after year … and not having a clue as to why.
Raw R-value calculations overlook another issue: thermal bridging, which diminish the effectiveness of the insulation. Even when the cavity is full, the metal trusses and wood studs carries heat much more easily than insulation does. These form paths for energy loss. When you add an unbroken layer of rigid foam across the framing, you interrupt those bridges. Heat must pass through the insulating board instead of following a straight path down into the wood. The result is a much higher effective R-value for the whole roof assembly, well above what the cavity insulation alone might imply. It’s a minor building detail that delivers huge comfort benefits, particulary in old houses with little original insulation.
Air seal first, then insulate. Moving air negates the thermal resistance of any insulation; therefore, you should of always air seal before installing insulation. If the insulation is perfectly installed but there are big leaks around wiring and other penetrations, the insulation won’t do much to prevent heat loss. The insulation can’t stop heat loss if the air simply blows right by it. So your insulation needs to be sealed first so that it can do its job: resist conduction, not wind-driven infiltration.
If you don’t get your prep work right, the rest depends on your real-world conditions. This pre-work is very important for your actual results. The calculator assume that what’s getting measured here is a static assembly. Insulating the roof is a matter of managing how heat flows by knowing what materials to use in which ways. It’s not as simple as stuffing it full of something. You’re building an energy-barrier that withstands weathering from both moisture and heat stress. The math helps inform how you do it, but actualy doing it makes all the difference.
Plug the holes and check that your layering matches or exceeds the local building codes. Then, forget about drafts and enjoy the quiet effectiveness of a house that’s been wrapped right.