Lowest Grade Dropped Calculator
Compare your average before and after dropping the lowest eligible assignment on JSCalc-Blog.com.
📌Presets
⚙Drop Rule Settings
The calculator will not drop below this many counted assignments.
📝Assignments
| # | Assignment | Earned | Possible | Weight % | Required? | Percent | Status |
|---|---|---|---|---|---|---|---|
| 1 | - | - | |||||
| 2 | - | - | |||||
| 3 | - | - | |||||
| 4 | - | - | |||||
| 5 | - | - | |||||
| 6 | - | - | |||||
| 7 | - | - | |||||
| 8 | - | - |
📊Live Grade Grid
📘Drop Rule Reference
| Rule | What Gets Dropped | Protected Work | Best For | Watch Item |
|---|---|---|---|---|
| Drop lowest quiz | Smallest quiz percent | Exams, finals | Weekly quizzes | Minimum count |
| Drop lowest homework | Smallest homework percent | Late penalties if locked | Problem sets | Category weight |
| Drop lowest lab | Eligible lab score | Safety or final lab | Lab courses | Required reports |
| No drop below count | Only extra rows | Minimum required rows | Small classes | Drop may be zero |
| Weighted drop | Percent x row weight | Required weights | Syllabus weights | Weight denominator |
🧮Formula Table
| Mode | Before Drop | After Drop | Drop Sort | Required Count |
|---|---|---|---|---|
| Point-based | sum earned / sum possible | remove dropped earned and possible | lowest row percent | kept rows cannot fall below minimum |
| Weighted percent | sum(percent x weight) / sum weight | remove dropped contribution and weight | lowest percent or contribution | required rows are always retained |
| What-if score | included when possible points are above zero | eligible or locked based on status | same as other rows | counts toward minimum count |
📋Example Outcomes
| Scenario | Assignments | Drop Count | Before | After |
|---|---|---|---|---|
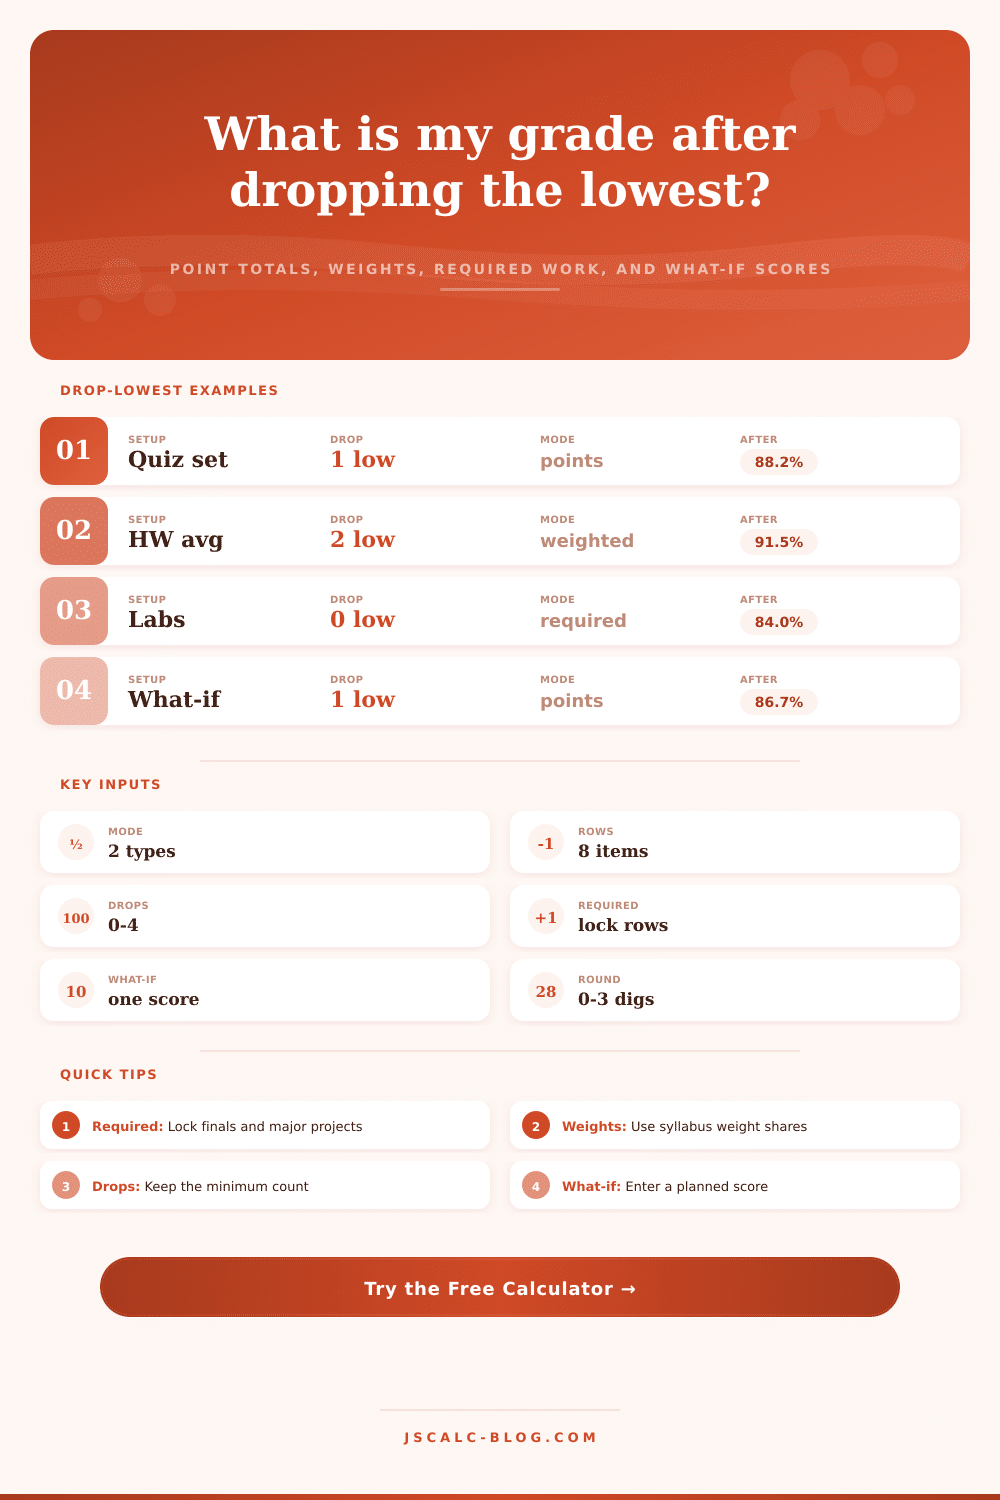
| Six 20-point quizzes | 18, 16, 14, 19, 17, 20 | 1 | 86.67% | 90.00% |
| Weighted homework | 80%, 92%, 75%, 96% | 1 | 85.75% | 89.33% |
| Final required | 5 labs + final | 1 | 82.86% | 86.67% |
| Minimum count blocks drop | 4 rows, keep 4 | 1 | 88.00% | 88.00% |
✅Grade Bands
| Band | Common Range | Drop Effect | Check | Use With |
|---|---|---|---|---|
| A range | 90% to 100% | Small drops protect margin | Required exams | Weighted mode |
| B range | 80% to 89.99% | One bad quiz can matter | Minimum kept rows | Point mode |
| C range | 70% to 79.99% | Drop may recover a band | What-if score | Both modes |
| D/F range | Below 70% | Retake scenarios help | Locked assignments | Required rules |
There’s a knot in your stomach when you read a grade dropping rule. It’s a syllus line, and what you see is a grade dropper. What you hope is a safety net turns out to be a trap… Unless you know the math. Unless you realize that a bad quiz doesn’t always mean “lose this.” Unless you’re aware that the grading rules can turn a safety net into a trap. And that assuming anything about the rules are always correct is false.
Grading formulas are complicated. Depending on how points is weighted and which assignments is locked in place, they can make a safety net into a burden.
How Grade Drop Rules Work
Grades are easy to understand, at least to most students. Take total number of points, divide by how many points you need, and voilà, there’s your grade. Unfortunately, college classes aren’t always so simple. A few have point-based systems, with each quiz being worth exactly the same. Some has category-weighted systems, in which the midterm is worth thirty percent of your grade no matter what the point value is.
Once you input your grades into this handy dandy calculator, it figures out the rest for you (and spares you from figuring out those pesky coefficient conversions). Since the end result can be very different depending on which system your professor use, it knows which system to use for calculations.
Next, see if the grade you want to drop can still be dropped. According to many course outlines, grades like labs, major projects, or finals is guarded from drops. You shouldn’t assume you can drop a midterm just because of a bad day, as they might not always being eligible.
With the tool, you can lock down certain rows based off your needs; these locked-in grades will always remain part of grade regardless of its value. Students do this: They schedule their entire semester for a drop that won’t happen on their worst test anyway. Your final locks in, and your GPA remains unchanged.
Students mistake this for more leeway then exists. But remember: there are two modes of operation here, weighted and point-based.
Under point-based, the calculators adds up your points and divide by the maximum possible. So if you drop a quiz, that’s not just removing your obtained points; it’s changing the bottom number. (That’s the denominator.)
With weighted grading, the calculation looks at your score percentage, then multiplies it by its weight for the class. That means dropping an assignment drops that whole chunk off the board. The reference table on the page explains how these calculations differ than others.
You can get a bad score on a lighter quiz and not be much worse off… But if you get a bad score on heavy exam, you’re really screwed. But depending on what sort of sorting is being done, the drop rule may treat those two identicaly.
And what about minimums? There’s often an assignment requirement you must meet before being able to drop assignments. For example, maybe there’s a quizzing policy that says you need to take at least 5 out of 10 quizzes. You’ve taken just 4 quiz so far, but can’t drop any. That would make your grade invalid.
The calculator will record your minimum count requirement, and it won’t let you drop below that level. It’s a feature not many know about until midterm time when they see they’re screwed because those crappy early quizzes isn’t going anywhere.
The what-if feature is for actual planning: not “but I got an 80 on that one quiz” grades but projected grades going forward. The tool will tell you how much you need on the next test to get an eighty-five percent in the class. It lets you plug in a hypothetical number and check whether your average would rise enough to clear the bar.
It moves the conversation away from regretting a bad quiz you already took. Instead, it focuses on controlling your future results and turns a static number into moving goal.
Then there’s the grade bands below to put things in perspective. For instance, if you have an A range, you typically have some wiggle room; it’s just good practice to cover yourself with the drop. If you’re in the C range, that one drop could be the difference between passing and failing.
Looking at the number above under “lift,” you’ll see exactly by how much percentage points your score rose once you dropped the low score. So if the lift isn’t huge, maybe don’t sweat too much about dropping the score and use that time to concentrate on upcoming assignment instead.
It’s more about understanding how the course is structured, and what matters and what doesn’t. And it’s not like “oh I have a bad number I’ll get rid of it”. Knowing the drop rule helps with the second one and the first one. You should of used the calculator earlier.
The calculator removes the panic and provides the precision needed to make those decisions. You go from guessing to calculating, and a good number beats a hopeful guess any day.