Hohmann Transfer Delta-V Calculator
Calculate first burn, second burn, total delta-v, transfer ellipse geometry, and coast time for ideal two-impulse circular orbit transfers.
🛰Transfer presets
⚙Orbit inputs
Hohmann transfer result
Enter two circular orbit radii and calculate the two ideal impulsive burns.
📊Transfer diagnostics
🔢Formula used
Burn 2: dv2 = sqrt(mu/r2) * (1 - sqrt(2*r1/(r1+r2)))
Transfer time: pi * sqrt(a_t^3/mu), where a_t = (r1 + r2) / 2. Positive burns mean prograde impulses for a raise; negative burns indicate retrograde impulses for a lowering transfer.
🌍Central body reference
| Body | mu (km³/s²) | Radius (km) | Typical use |
|---|---|---|---|
| Earth | 398600.4418 | 6378.137 | LEO, MEO, GEO transfers |
| Sun | 132712440018 | 695700 | Heliocentric planet transfers |
| Moon | 4902.8001 | 1737.4 | Lunar parking orbit changes |
| Mars | 42828.3752 | 3396.19 | Mars orbiter staging |
| Venus | 324858.592 | 6051.8 | Venus capture orbit design |
| Mercury | 22031.8686 | 2439.7 | Mercury science orbit changes |
| Jupiter | 126686531.9 | 71492 | Large moon system transfers |
💡Common transfer checks
| Scenario | r1 or alt | r2 or alt | Planning note |
|---|---|---|---|
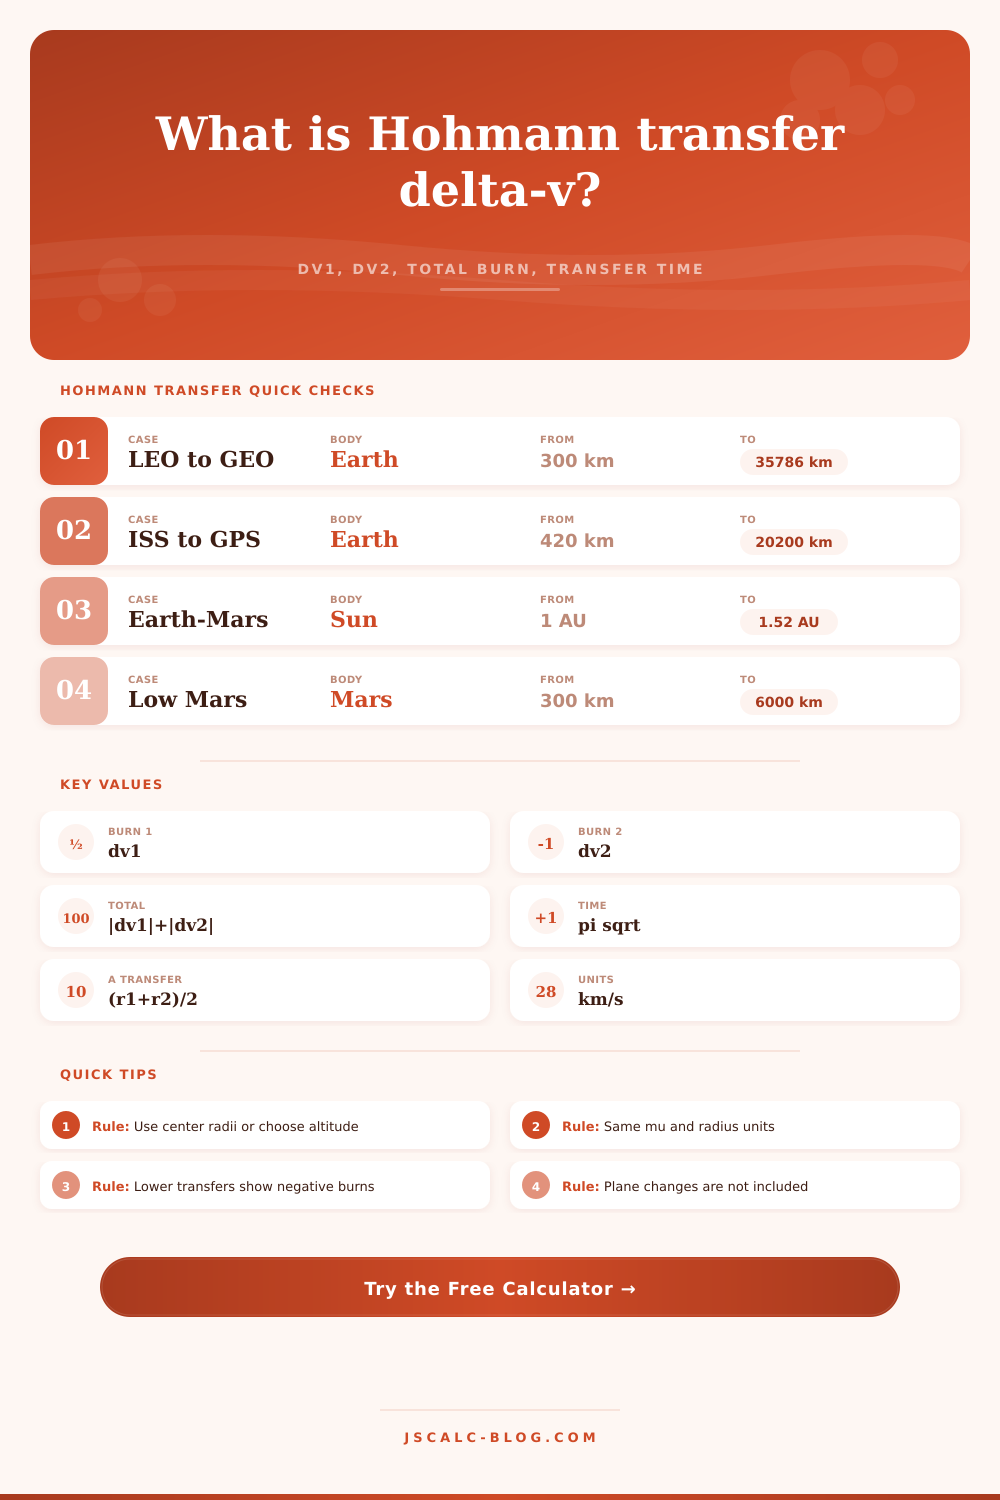
| LEO to GEO | 300 km altitude | 35786 km altitude | Classic raise to geostationary radius |
| GEO to LEO | 35786 km altitude | 300 km altitude | Same magnitude family with retrograde signs |
| Earth to Mars | 1.000 AU radius | 1.524 AU radius | Heliocentric result, not launch C3 |
| Venus to Earth | 0.723 AU radius | 1.000 AU radius | Sun-centered orbit raise |
| Low Mars raise | 300 km altitude | 6000 km altitude | Useful for comparing Mars orbiter orbits |
| Lunar raise | 100 km altitude | 10000 km altitude | Shows smaller mu and longer coast |
✅Model boundaries
For moving an object from one circular orbit to another, there’s still only one best route: the Hohmann transfer, a double push on a single elliptical path that intersects both departure and arrival altitudes. The math works out with something like following: Plug your radii in, let the calculator do its thing, and then go about considering constraints for your mission rather than wrestling with tedious algebra.
But to make sense of these numbers, you need to step away from screen and consider some orbital-mechanics physics. The basic idea centers around performing two velocity adjustments at particular places during flight. The first one (the burn) speeds up the craft and elongates its path into an elliptical orbit. This isn’t a direct leap to destination, rather, it’s a glide along a different path that crosses it. Then, at the other side of that ellipse, there’s another burn, which circularizes the path so you don’t plummet back toward Earth. Both burns is prograde if you’re elevating your orbit: you apply thrust in the same direction you’re going. To achieve a lower orbit, you need retrograde burns, which reduce your speed. Oddly enough, though, slowing down puts you into a lower orbit, and speeding up put you into a higher one. That’s backwards for some people.
Understanding Orbital Transfers and Delta-V
But once the tool calculates the exact velocity change (called delta-v), you’ll know just how much oomph each leg of your trip will require.
The other thing that catches people off-guard when they’re starting out is the difference between “radius” and “altitude”. Radius describes how far something is from center of a planet; altitude describes how far something is from its surface. Gravity pulls things towards the center of mass, which is why orbital equations require radius rather than altitude. If you use altitude instead of radius then the calculator, which has a toggle for automatic conversion between the two, will get very confused and give you disastrously inaccurate answers. It also adds your altitude inputs to mean radius of the planet to do this. This saves you from a whole class of errors where people assume their distances are lower than they actualy are. When entering numbers, make sure you’re accounting for how far you are from the gravitational center, not merely how far below you on surface.
Time is another important consideration here. While a Hohmann transfer is fuel-efficient, it’s also slow. Half of the total duration of the transfer ellipse are spent with the craft just coasting around in space between two orbits. If you’re doing a transfer into geostationary orbit from lower Earth orbit, for example, that could mean a couple of hours of coasting time. That means you have to launch at precisely the correct instant so as to reach your target when it’s in position.
This is why a shorter-duration transfer is better for certain kinds of missions where time is precious: You want to get where you are going quickly. But it costs lots of fuel. There’s always a tradeoff. The Hohmann solution is smack dab in the middle of this sweet spot. It doesn’t require tons and tons of propellant, but it does requires a longer flight time.
In practice, however, the perfect two-impulse model isn’t exact in real missions. Plane changes add extra costs, orbits aren’t always exactly circular, and thruster burns takes time. The calculator takes coplanar orbits with instantaneous impulses. So it’s a theoretical minimum that’s very clean but not necessarily realistic. That means engineers can take it as a baseline and build margin into it, for guidance error, inefficiency, and so on. It’s an abstraction, a clean version of a messy reality. But if you know what the ideal delta-v is, then at least you’ve got some idea of how much energy is needed, since you can see the bare bones without the details of the practical flight dynamics.
What about jumping from one planet to another? That’s similar in principle, but with much larger scales. Jumping between planets means transferring between orbits around the Sun. This leads to longer transit times and larger radii. Mu (the gravitational parameter) also varies based off the central body, affecting the velocities themselves. You can check the values of mu for several bodies in the tool’s reference table, where they provide comparisons of transfers between those bodies. It allows you to explore how orbital mechanics scale. For instance, you can look at everything from a tiny moon like Phobos to something the size of Jupiter. This makes the tool useful for education as well.
All told, then: Spaceflight is a game of trade- offs. Fuel for speed; time for fuel. Numbers from the calculator; judgement from the engineer. Run your scenarios. See how altering the initial position in space affects the total energy budget. Alter the target orbit. Change starting altitude. Total energy budget goes up or down. Make those equations concrete, make them real-world mission parameters. Whether you’re designing a satellite launch or simply curious about orbital dynamics, learn these basics to better visualize how a spacecraft moves across the solar system. One push gets you on the road, and precision and timing determine whether it’s a success.