Genshin Impact DPS Calculator
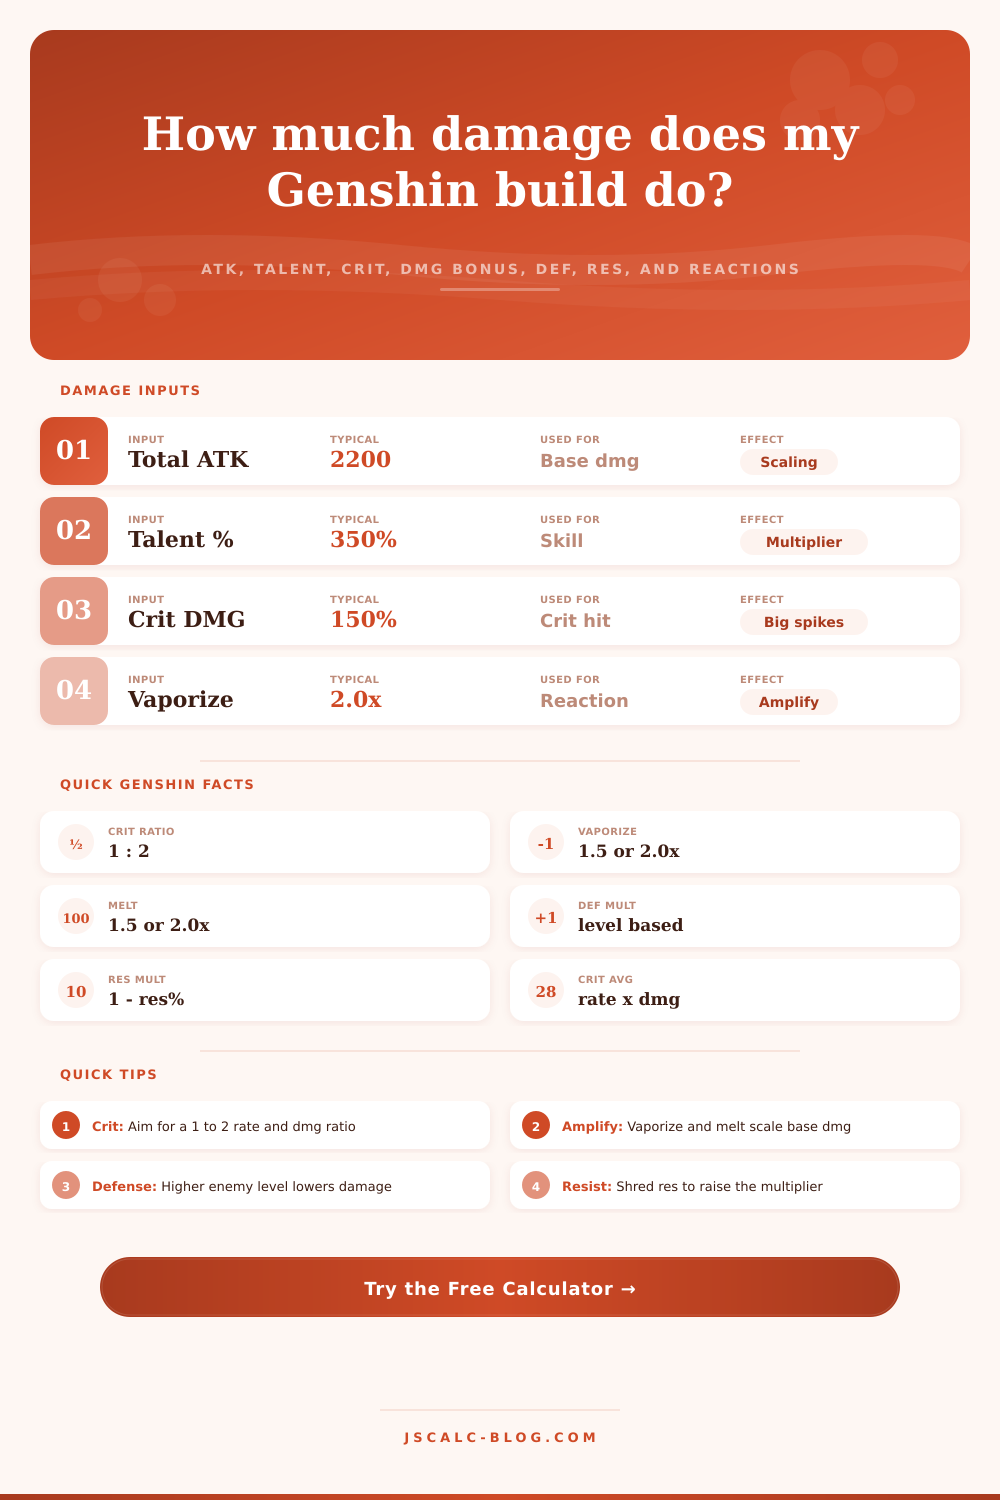
Estimate average, critical, and non-critical hit damage using the real Genshin combat formula: total ATK, talent scaling, crit rate and crit damage, elemental or physical DMG bonus, enemy defense and resistance, plus vaporize and melt amplifying reactions.
⚔Real Character Presets
📝Damage Inputs
Character base ATK plus weapon ATK plus flat bonuses.
The instance multiplier for the hit you are scaling.
Flat additive multiplier boosts such as some talents.
From Zhongli, Raiden C2, or similar shred sources.
Negative values use the res / 2 halving rule.
Boosts amplifying reactions via the EM curve.
🔢Multiplier Snapshot
🎯Crit Rate to Crit Damage Ratio
| Crit Rate | Crit Damage | Ratio | Crit Avg Mult | Notes |
|---|---|---|---|---|
| 50% | 100% | 1 : 2 | 1.50x | Balanced starting point |
| 60% | 120% | 1 : 2 | 1.72x | Solid mid-game ratio |
| 70% | 140% | 1 : 2 | 1.98x | Strong endgame target |
| 80% | 160% | 1 : 2 | 2.28x | Well-optimized artifacts |
| 90% | 200% | 1 : 2.2 | 2.80x | High crit damage weapon |
| 100% | 240% | 1 : 2.4 | 3.40x | Guaranteed crit ceiling |
Crit avg multiplier equals 1 + (crit rate) × (crit damage). The classic 1:2 ratio keeps rate and damage in balance for the best average.
🔥Amplifying Reaction Multipliers
| Reaction | Trigger | Base Mult | EM 0 | EM 200 | EM 400 |
|---|---|---|---|---|---|
| Vaporize | Pyro on Hydro | 2.0x | 2.00x | 3.33x | 3.87x |
| Vaporize | Hydro on Pyro | 1.5x | 1.50x | 2.50x | 2.90x |
| Melt | Pyro on Cryo | 2.0x | 2.00x | 3.33x | 3.87x |
| Melt | Cryo on Pyro | 1.5x | 1.50x | 2.50x | 2.90x |
| Direct | No reaction | 1.0x | 1.00x | 1.00x | 1.00x |
EM bonus follows 1 + (2.78 × EM) / (EM + 1400). This calculator applies that curve to the chosen amplifier.
🛡Enemy Resistance Reference
| Enemy Resistance | RES Multiplier | Formula Branch | Effect on Damage |
|---|---|---|---|
| -50% | 1.25x | 1 - res / 2 | Shredded below zero, big boost |
| 0% | 1.00x | 1 - res | Neutral, no change |
| 10% | 0.90x | 1 - res | Common baseline enemies |
| 40% | 0.60x | 1 - res | Elemental-aligned foes |
| 70% | 0.30x | 1 - res | Highly resistant targets |
| 90% | 0.10x | 1 - res | Effective cap without shred |
🗂Build Comparison Grid
| Build | Total ATK | Talent % | Crit Rate / DMG | DMG Bonus | Reaction |
|---|---|---|---|---|---|
| Hu Tao Vaporize | 3400 | 617% | 62% / 190% | 33% | Vape 2.0x |
| Ganyu Melt | 2050 | 391% | 75% / 200% | 61% | Melt 2.0x |
| Raiden Burst | 2600 | 721% | 60% / 160% | 46% | None |
| Ayaka Freeze | 2350 | 484% | 72% / 165% | 62% | None |
| Eula Physical | 2500 | 724% | 65% / 150% | 52% | None |
| Yoimiya Pyro | 2280 | 309% | 68% / 155% | 68% | None |
⚙Full Damage Formula Breakdown
📋Input Reference Values
| Input | Common Range | How It Is Used | Damage Effect |
|---|---|---|---|
| Total ATK | 1,800 to 3,500 | Multiplied by talent % | Linear scaling of base |
| Talent % | 150% to 720% | Instance multiplier | Higher hits scale more |
| Crit rate | 50% to 100% | Chance term in crit avg | Raises average toward crit |
| Crit damage | 100% to 250% | Bonus on crit strikes | Bigger crit spikes |
| DMG bonus | 15% to 90% | Additive damage percent | Multiplies whole hit |
| Elemental Mastery | 0 to 900 | Reaction bonus curve | Amplifies vape and melt |
💡Practical Damage Tips
When that spiral abyss floor clears on your first attempt, it feels good! But then again, maybe you got lucky. Did you really get huge damage numbers? Or did you just happen to roll some criticals? For many player, math kills the experience because it feels like it takes a spreadsheet to determine whether or not to keep an artifact piece.
It’s actualy much easier than you think. All you have to do is learn what the damage formula mean in practice. Raw stats don’t mean much; they need to be averaged out for you so you can see what’s really going on. That’s where the tool (above) does all the heavy lifting for you. It lets you know what to optimize without having to guess.
How to Calculate Your Damage Easily
At first most players concentrate too much on overall attack since that number feels good to go up. When you get a set bonus or upgrade a weapon, it feels like a big jump. But attack is just the base layer. Attack goes up linearly and it become harder to add more and more as the game progresses. Other stat begin to catch up in terms of importance. Where the real magic lies is how your various damage bonuses multiply and stack together.
Everyone knows that the usual suspects are crit rate and crit damage. There’s also a classic golden rule: keep them at a one to two ratio. Sixty percent crit rate means you want roughly one hundred twenty percent crit damage. This balances how often you’ll land a hit against how much each hit will do. People get this wrong by pushing one of them and not the other. They get a ten percent crit rate upgrade and blindly take it, even though it lowered their overall average due to a high crit damage stat in the first place. When you combine those two, the calculator tell you exactly what your average hit is like. You can then see whether or not that substat actualy helps.
Enemy resistance and defense serve as dividers in the formula too, but there effect on your damage output often goes ignored until you’re stuck on a boss. What seems like a small amount of resistances or defenses on paper will cause enemies to eat up your damage a lot more. Since enemies is level ninety, a high defense stat will cut your effective damage in half if you don’t account for it; this is why characters who reduce resistances or defenses are so valuable in team compositions. It’s not only about dealing more damage yourself but also ensuring that the enemy won’t be able to soak it up. These reductions are simulated through inputs, so you can see exactly how much those Bennett buffs or that Zhongli shield affect your numbers.
That’s before any multipliers take effect (like your talents), so there’s another wrinkle: reactions like melt and vaporize double your base damage. Since these are based of whatever your attack is, that includes all of your talent and attack stat boosts. That’s a lot of interaction! Your elemental mastery will boost that reaction damage even more, but it starts to level off fairly quicky. There’s no reason to go to infinity with elemental mastery; a decent amount will get you over double damage on most builds. The tables on the page clearly break down what each of those reactions add in addition to a simple hit so you’ll know just how much you’re getting from them.
It’s not a guessing game; stop playing it as such. Quit worrying about peak single hit and start paying attention to average damage dealt. The peak value is rare in real combat (it only comes into play when everything lines up just right). What are you dealing on average? That’s what you’ll always get. When you begin viewing the math that way, artifact farming won’t be so frustrating because now you’ll know exactly why one outperforms another.
Now you can make informed tradeoffs without fear. And you’ll know how to ask the numbers to lie less.