Drywall Basement Calculator
Estimate drywall sheets, joint compound, paper tape, and screws to finish a basement. It totals perimeter wall area plus ceiling, subtracts door and window openings, then adds a waste factor.
🎯Real Basement Presets
📝Basement Details
Each door is treated as 21 sqft (3 ft × 7 ft).
Each window is treated as 15 sqft (basement average).
Below-grade walls favor moisture-resistant board.
🔢Area Snapshot
📏Sheet Coverage Reference
| Sheet Size | Coverage | Sheets / 1000 sqft | Screws / Sheet | Best Use |
|---|---|---|---|---|
| 4 ft × 8 ft | 32 sqft | ~32 sheets | ~32 | Standard walls, tight stairs |
| 4 ft × 9 ft | 36 sqft | ~28 sheets | ~36 | 9 ft basement walls |
| 4 ft × 10 ft | 40 sqft | ~25 sheets | ~40 | Fewer butt seams |
| 4 ft × 12 ft | 48 sqft | ~21 sheets | ~48 | Long walls and ceilings |
🧰Mud, Tape & Screw Rates
| Material | Rate per sqft | Per 100 sqft | Coverage Note |
|---|---|---|---|
| Joint compound | ~0.053 lb | ~5.3 lb | ~1 gal box per 475 sqft |
| Paper / mesh tape | ~0.6 lin ft | ~60 ft | 250 ft roll covers ~415 sqft |
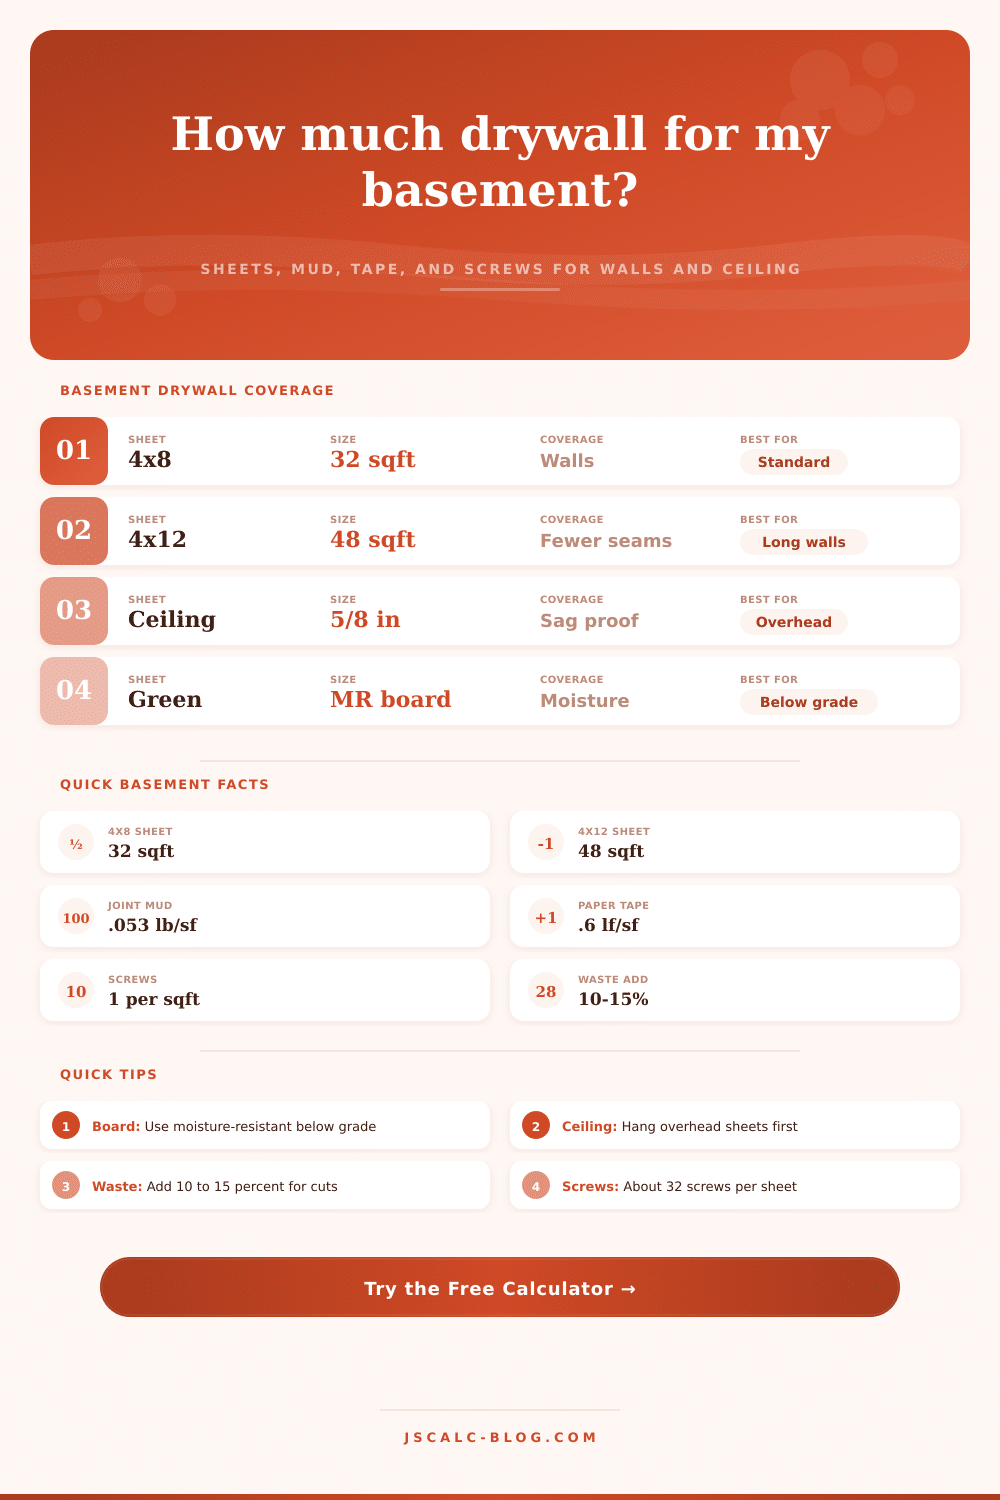
| Drywall screws | ~1.0 each | ~100 | ~32 screws per 4x8 sheet |
| Corner bead | per corner | as needed | 8 ft to 10 ft each outside corner |
🧱Basement Board Types
| Board Type | Thickness | Moisture Rating | Where to Use |
|---|---|---|---|
| Standard gypsum | 1/2 in | Low | Dry interior partition walls |
| Moisture-resistant (green) | 1/2 in | High | Below-grade perimeter walls |
| Mold-resistant (purple) | 1/2 in | High | Damp basements, laundry areas |
| Ceiling board | 5/8 in | Medium | Overhead to resist sag |
| Cement board | 1/2 in | Very high | Tiled showers and wet bars |
🗂Room Size Comparison Grid
| Room Size | Wall Sqft (8 ft) | Ceiling Sqft | Net Total | 4x8 Sheets | 4x12 Sheets |
|---|---|---|---|---|---|
| 10 × 12 | 352 - open | 120 | ~436 | 15 | 10 |
| 12 × 12 | 384 - open | 144 | ~492 | 17 | 12 |
| 12 × 16 | 448 - open | 192 | ~604 | 21 | 14 |
| 15 × 20 | 560 - open | 300 | ~824 | 29 | 19 |
| 16 × 20 | 576 - open | 320 | ~860 | 30 | 20 |
| 20 × 24 | 704 - open | 480 | ~1148 | 40 | 27 |
| 22 × 28 | 800 - open | 616 | ~1380 | 48 | 32 |
| 24 × 32 | 896 - open | 768 | ~1628 | 56 | 38 |
| 30 × 40 | 1120 - open | 1200 | ~2284 | 79 | 53 |
⚙How the Basement Math Works
📋Waste & Planning Guidance
| Layout | Suggested Waste | Why | Notes |
|---|---|---|---|
| Simple square room | 8% to 10% | Few cuts | Long walls reduce offcuts |
| Standard basement | 10% to 12% | Doors and posts | Openings create scrap |
| Cut-up layout | 12% to 15% | Soffits, nooks | Bulkheads over ducts |
| Curved or angled | 15%+ | Complex cuts | Order extra full sheets |
💡Basement Drywall Tips
After entering your room’s dimensions into the tool (above), the math happens for you, no need to add up perimeters and knock off openings yourself. But output is only as good as decisions that went into it prior to pressing “calculate.” Let’s begin with board types.
For a cozy living room, standard gypsum board will do fine. Basements, however, are a whole other story. They remain cold. Their concrete flooring allow airflow. They also tend to soak up water vapor from below. You don’t have to use a high-end panel like purple mold-resistant wall paneling or green board on those perimeter surfaces, though you should! It’s not a splurge but an investment: you will spend thousands less on repair work later if humidity causes problems. The calculator lets you switch between these choices. And while specialty boards might cost a few bucks more initially, savings over time can be thousands in remediation costs.
Important Details Before You Calculate
Next, think about the ceiling. To save money, lots of homeowners leaves exposed ductwork and joists. But if you want to finish it in there do that first. You’ll need something to nail into (that’s a structure thing). Your ceiling sheets will be butted up against tops of your wall panels. Then you can tape them together. If you build the walls first, how are you going to get support for edge of the ceilings? They’ll be wimpy and saggy at the seams. Go with five-eighths-inch panel overhead. Underneath the joists, thinner stuff warp from its own weight. A slight difference in thickness makes a huge difference over time.
Most budgets gets busted in the waste category. In a perfect world you’d just need 10% more (for cuts) on top of nice square room. But we’re not working with a nice square room. We’ve got bulkheads over ducts, electrical boxes cutting up seams, doors leading to odd offcuts. And then when you add some angled corners and nooks in your layout? Push that waste percentage upwards, to 15% or even higher. Seems wasteful, I know, but running out at the store means coming back with half-full trucks and stalled momentum. Your brain wants to try to game the system and set it to zero. Instead let your calculator do the work: it’ll automatically adjust for the variable. Lean in, don’t play games.
Included with the tool was a breakdown of sheet sizes and coverage rates. Four-by-twelve sheets are becoming more popular (though they cost more up front) because it takes fewer seams. It requires less taping. There is less mudding. The finished product is smoother.
The math of tape and joint compound is shockingly linear. You need about six feet of tape for every hundred square feet. It also takes about half a pound of mud per square foot for a typical skim coat. Those are the industry averages that seem to apply to most residential work.
Lastly, there’s screw count. That’s even easier math. One screw per square foot is a safe bet. There is no risk of over driving screws and crushing paper face of the board and thus ruining your adhesion.
Having a plan in place will change everything about this project. It’s not that you’re purchasing materials, you’re purchasing peace-of-mind. Yes, measure twice…but also measure for failure points! Hang nothing on a slab until you check first for damp spots. Frame straight so that the drywall isn’t doing all the work. Your site conditions determine the result; the calculator provides the list based off those conditions. And when storing those boards, keep them off the concrete floor as well. Cardboard absorbs moisture like a sponge and that moisture can rise.
In the end, then, a good basement project doesn’t hinge on nailing down an exact square footage prediction. It’s a matter of figuring out those dirty details that come with building something. You should of add in the waste, calculate the sheet, and select appropriate materials for the conditions. It’s just drywall dust. That’s all the rest is.