Drop Ceiling Grid Calculator
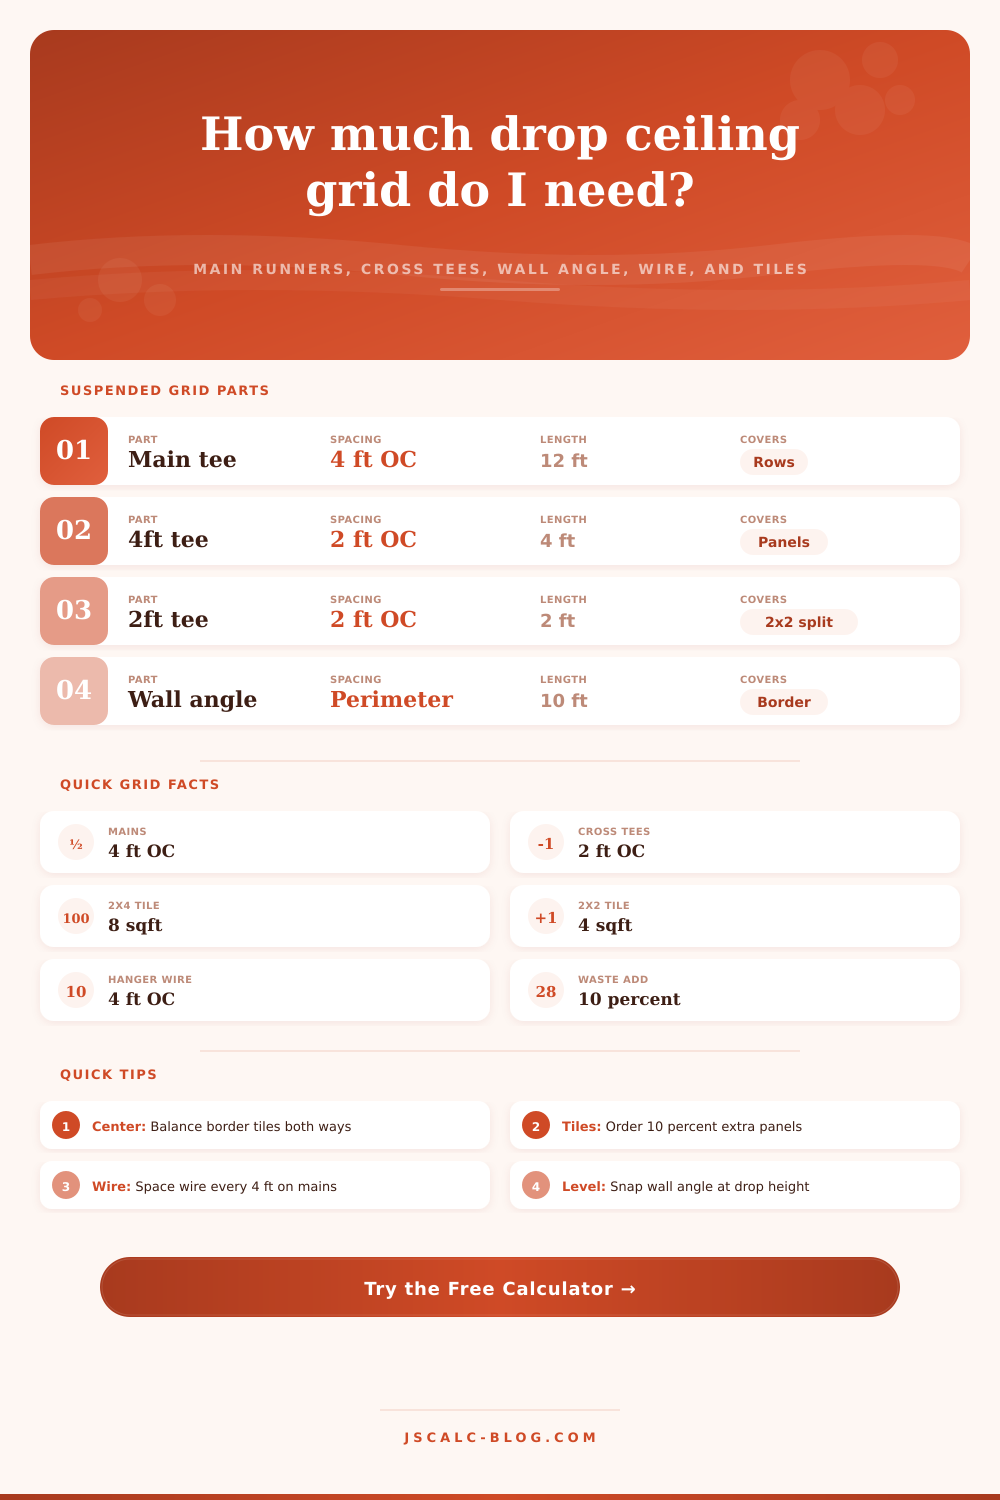
Estimate a suspended T-bar ceiling system: main runners at 4 ft on center, 4 ft and 2 ft cross tees, perimeter wall angle, hanger wires, and the acoustic ceiling tiles or panels to fill the grid.
🎯Real Room Presets
📝Room & Grid Inputs
Mains run the long way; cross tees span between them.
Mains are spaced across the width at 4 ft OC.
Extra panels for cut borders and future spares.
Each 2×2 troffer or vent replaces one tile.
🧱Grid Parts Snapshot
📐Tile Size & Coverage
| Tile Size | Area Each | Tiles / 100 sqft | Grid Split | Common Use |
|---|---|---|---|---|
| 2 ft × 4 ft | 8 sqft | 12.5 | Mains + 4 ft tees | Offices, retail |
| 2 ft × 2 ft | 4 sqft | 25 | Adds 2 ft cross tees | Homes, clean look |
| 4 ft × 4 ft (2×2 pair) | 16 sqft | 6.25 | Two panels per bay | Large open rooms |
| 2 ft × 4 ft light | 8 sqft | 1 per fixture | Drops into 2×4 bay | Troffer fixtures |
📏Grid Component Lengths
| Component | Typical Length | Spacing | Direction | Role |
|---|---|---|---|---|
| Main runner (beam) | 12 ft | 4 ft OC | Across width | Primary support |
| 4 ft cross tee | 4 ft | 2 ft OC | Between mains | Splits into panels |
| 2 ft cross tee | 2 ft | 2 ft OC | Midpoint of 4 ft tee | Creates 2×2 grid |
| Wall angle (molding) | 10 or 12 ft | Full perimeter | All four walls | Border ledge |
| Hanger wire | Cut to drop | 4 ft OC on mains | Vertical | Suspends grid |
🗂Room Size Comparison Grid
| Room Size | Area | 2x2 Tiles | 2x4 Tiles | Main Rows | Cross Tees | Wall Angle |
|---|---|---|---|---|---|---|
| 10 × 12 | 120 sqft | 30 | 15 | 3 | 30 / 15 | 5 sticks |
| 12 × 14 | 168 sqft | 42 | 21 | 4 | 42 / 21 | 6 sticks |
| 16 × 20 | 320 sqft | 80 | 40 | 5 | 80 / 40 | 8 sticks |
| 20 × 24 | 480 sqft | 120 | 60 | 6 | 120 / 60 | 9 sticks |
| 22 × 22 | 484 sqft | 121 | 61 | 6 | 121 / 61 | 9 sticks |
| 24 × 32 | 768 sqft | 192 | 96 | 8 | 192 / 96 | 12 sticks |
| 28 × 36 | 1008 sqft | 252 | 126 | 9 | 252 / 126 | 13 sticks |
| 30 × 40 | 1200 sqft | 300 | 150 | 10 | 300 / 150 | 14 sticks |
⚙Full Grid Formula Breakdown
📋Wall Angle & Stock Reference
| Perimeter | 10 ft Sticks | 12 ft Sticks | Corners | Notes |
|---|---|---|---|---|
| 44 ft (10×12) | 5 | 4 | 4 | Miter inside corners |
| 72 ft (16×20) | 8 | 6 | 4 | Level to drop line |
| 88 ft (20×24) | 9 | 8 | 4 | Snap chalk at height |
| 112 ft (24×32) | 12 | 10 | 4 | Fasten every 16 in |
| 140 ft (30×40) | 14 | 12 | 4 | Overlap splices |
💡Practical Grid Tips
When installing a drop ceiling, lifting heavy panel is no problem. Half of this job are the ceiling itself, and the other half is the skeleton underneath it. Nothing works without having a straight grid. Even though your tiles might look fine from afar, you can bet the wobble will show up as soon as light catches them at an odd angle. Save yourself some money and time by getting the layout down first thing.
After inputting your room measurements, the calculator do the math for you, no more guess work! But it’s also good to know what all these numbers represent so you can picture it. Let’s begin with the heavy-duty main runners: these beams will be parallel to the long wall, and they’ll support the rest of the structure. In a typical layout, these beams is spaced four feet from each other (center to center).
How to Plan Your Drop Ceiling Layout
Based off your room width, the calculator will figure out how many you require, though keep in mind that rounding up matter, no such thing as half of a runner. And then there are the cross tees, the lighter bars that connect the main runners. These form rectangles or squares that hold your tiles in place. With a two-by-four layout, you want these every two feet on your mains so they is all four feet long.
For smaller tiles (two-by-two), it will adds some extra short (two-foot) tees dividing up the bigger bays. With smaller tiles comes more metal framework. And this make a difference in the material costs. More framework = more holes in the joists = more wire to hang = less dollars if you’re watching your budget.
Wraparound Around the whole perimeter of the room, we installed a wall angle molding that give a ledge to support the edge of your tiles. Be warned: the corners always requires some angled cuts, since walls don’t magically come out perfect. Depending on the shape and length of your room, you can see from the reference table how many 10 foot or 12 foot sticks you will need for wall angle molding. Order a few extras here, as it’s difficult to replace once broken.
If you do have to splice two pieces, be careful; it doesn’t look good spliced in middle of a long wall. The whole grid is suspended from whatever structure is above by hanger wires spaced at about four-foot intervals from one another along each of the main runners, which are usually spaced at four-feet apart. Your runs may require closer spacings depending on your ceiling tiles (such as heavy ones) or your fire sprinklers (such as low-hanging ones).
The tool allow for that adjustment. It’s best to err on the side of having too much support rather than not enough. Over time, a sagging grid will show up more and more as the metal slowly begins to wear out due to constantly carrying the weight.
Your particular preference for how you want your layout cut may or may not factor into the calculator (the goal is never to have super skinny pieces on either side), no-one likes to see a thin strip of tile around your room, it’s weak, hard to get right and makes the whole thing look like chav central! To avoid this, simply shift the major rows of runners over by a couple inches one way or the other. Then the border tiles will be the same size on both sides of the room. Common sense says centre the grid but measure twice then snap your chalk line.
Lastly, remember: acoustic tiles are big, heavy, and easily cracked or torn up en route. Plan to add ten percent to your final tile count, since you will need to cut them out around light fixtures, vents, and piping. These won’t match anything else, so you’ll have odd-shaped leftovers that is useless for anything else. This way, if something does happen down the road, you’ve got some spare tiles (stored safely away from moisture) to cover it with, and no one will even know there was a problem!
But what I found was that the actual building of the frame is so precise and the way they build in the skeleton is very careful. That means that the ceiling is kind of an afterthought. It’s really a matter of putting the pieces together like a puzzle. It isn’t quite as much of a building process, so those panels just fall right into place. You should of checked the levels first if you want it perfect!