Ceiling Tile Calculator
Estimate suspended drop-ceiling tiles plus the full grid: main tees, cross tees, wall angle, and hanger wire for 2x2 or 2x4 panel layouts, including waste for cuts around walls and fixtures.
🎯Real Room Presets
📝Room & Grid Inputs
Longer wall of the room in the selected units.
Shorter wall of the room in the selected units.
Extra tiles for perimeter cuts and breakage.
Soffits or openings not getting a grid.
Used to round up to full cartons.
🔢Grid Layout Snapshot
📊Grid Materials Estimate
| Material | Spec | Formula Basis | Qty Needed | Stock Pieces |
|---|---|---|---|---|
| Enter room size above to build the grid materials list. | ||||
📐Tile Coverage Reference
| Tile Size | Area Each | Tiles / 100 sq ft | Cross Tee Type | Best For |
|---|---|---|---|---|
| 2 ft × 2 ft | 4 sq ft | 25 tiles | 2 ft & 4 ft cross | Offices, homes |
| 2 ft × 4 ft | 8 sq ft | 12.5 tiles | 4 ft cross only | Retail, warehouse |
| 2 ft × 2 ft fine | 4 sq ft | 25 tiles | 2 ft & 4 ft cross | Acoustic rooms |
| 2 ft × 4 ft lay-in | 8 sq ft | 12.5 tiles | 4 ft cross only | Large open ceilings |
| 600 × 600 mm | 3.87 sq ft | 25.8 tiles | 600 mm cross | Metric layouts |
🏢Room Size to Tiles Quick Table
| Room (L × W) | Area | 2x2 Tiles +10% | 2x4 Tiles +10% | Wall Angle |
|---|---|---|---|---|
| The quick table populates when you calculate. | ||||
🗂Grid Comparison Grid
| Scenario | Room | Tile | Area | Tiles | Main Tees | Cross Tees |
|---|---|---|---|---|---|---|
| Small office | 12 × 12 | 2x2 | 144 sq ft | 40 | 3 rows | ~72 |
| Same office 2x4 | 12 × 12 | 2x4 | 144 sq ft | 20 | 3 rows | ~36 |
| Basement | 20 × 24 | 2x2 | 480 sq ft | 132 | 6 rows | ~240 |
| Classroom | 28 × 32 | 2x2 | 896 sq ft | 247 | 8 rows | ~448 |
| Retail floor | 40 × 60 | 2x4 | 2400 sq ft | 330 | 15 rows | ~600 |
| Hallway | 6 × 40 | 2x2 | 240 sq ft | 66 | 2 rows | ~120 |
⚙Full Formula Breakdown
📋Grid Layout Reference
| Component | Typical Spacing | How It Is Counted | Notes |
|---|---|---|---|
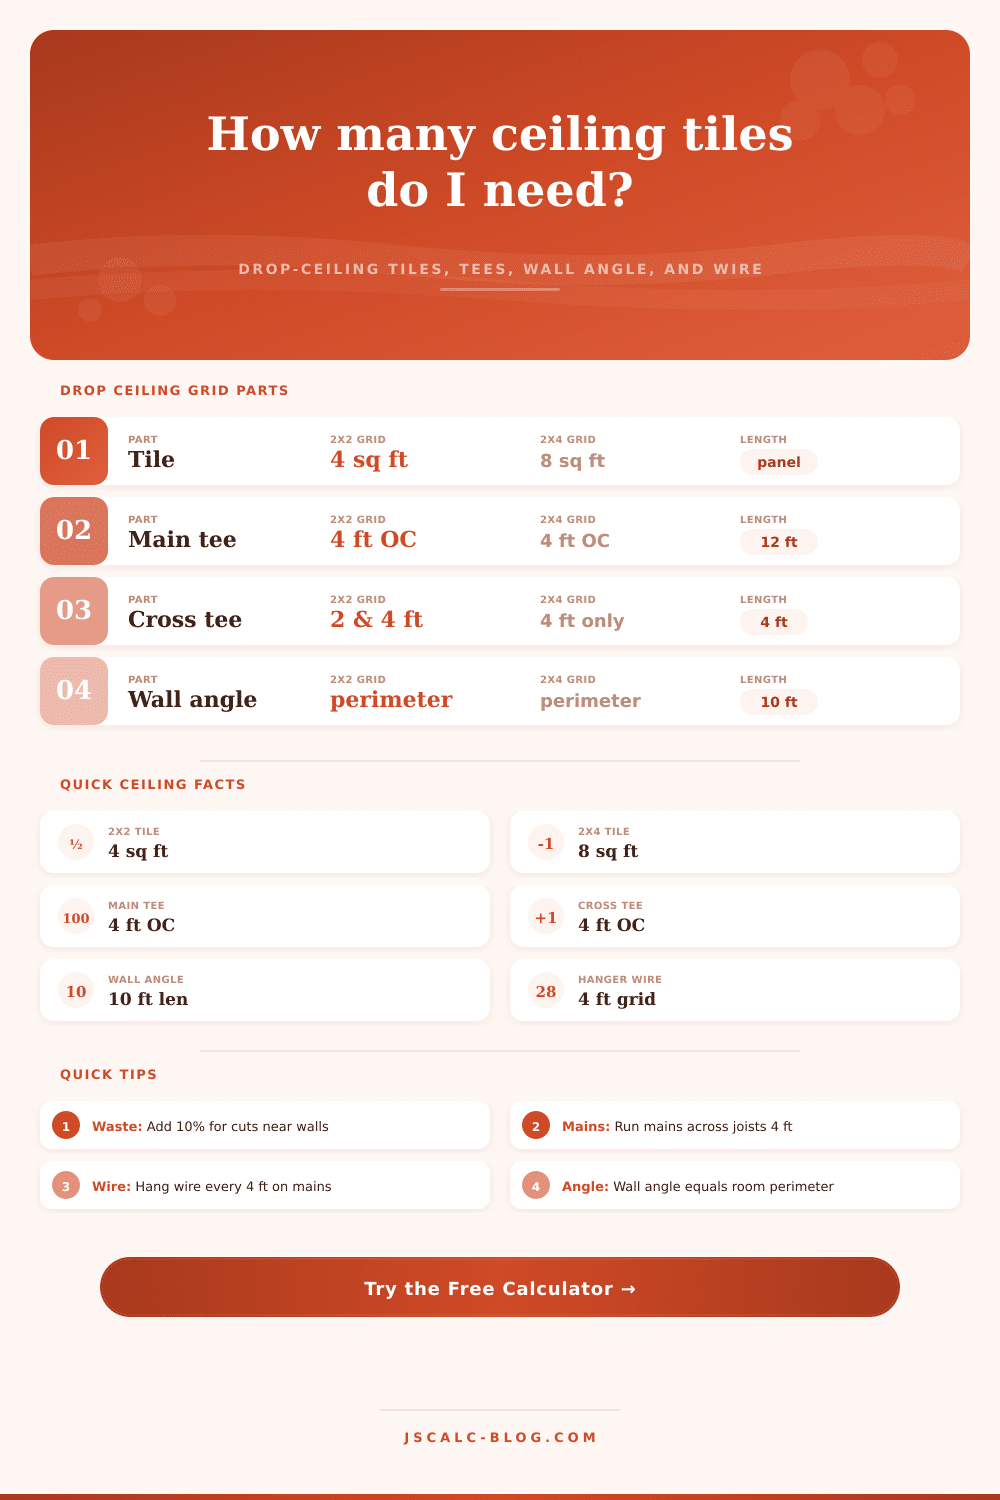
| Main tee (beam) | 4 ft on center | Rows across the run, full length each | Runs perpendicular to joists |
| 4 ft cross tee | 2 ft on center | Snaps between mains every 2 ft | Shared by 2x2 and 2x4 grids |
| 2 ft cross tee | 4 ft on center | Splits each 2x4 opening for 2x2 | Only used on 2x2 layouts |
| Wall angle | Full perimeter | Perimeter divided by stock length | L-molding fastened to walls |
| Hanger wire | 4 ft along mains | Count per main row plus ends | 12 gauge tied to structure |
💡Practical Ceiling Tips
There was a concrete ceiling before. Headache? Laser measure? Basement. And an unfinished concrete ceiling that could be finished! If you’re thinking: ‘I don’t want to pay some contractor three times what the materials cost’, then this tutorial is for you.
Installing this ceiling is actualy quite simple, it’s based off basic geometry, not complicated carpentry skills. All you have to know is how your room dimensions fits into the metal frame before making any aluminum purchases. For most homes, the homeowner simply measures their square footage and divides it in the size of their tile. That will get them close, except they forget about unseen skeleton that supports the tiles. To achieve a level grid of tiles, you must calculate exactly how many hanger wires, wall angles, cross tees and main tees is needed. When you enter in your room dimensions into the calculator above, it perform all that math for you; saving you from having to count out each intersection yourself. It’s a small thing, but it matter when you are staring at a price tag for materials.
How to Plan Your New Ceiling Grid
It depends on whether you’re using two-by-four or two-by-two panels as well. The former can absorbs on just the ends, which means less grid. The latter requires support on both ends, needing more cross tees. So it’s less overall cross member with two-by-four. It also has an impact on how long it takes to install, and what materials will go into it. If your tiles is small, like say two-by-two, you have twice as much cutting to do around the vent holes and lighting. On the other hand, smaller tiles makes more sense if you want a symmetrical look. It is a balance of effort and appearance. This tool shows the number of pieces for each option to help you see.
Ceilings also mean waste. No matter how hard you try, you’ll never be able to lay down an entire panel flush with all walls. Some are cut off at the edges; others get scratched or knocked loose as they’re installed. To guard against running out part-way through a job, it’s good to add ten percent to your total. That way you don’t have to make another trip to the hardware store. The calculator handles that cushion for you, so you would of won’t have to do mental math when you’re up on a ladder.
The base of the system is wall angle molding running all around the perimeter of the room. Chances are your walls aren’t perfectly square and that’s true for just about any home built before last year. That’s where the wall angle comes in, it sucks up those imperfections. Then you snap a level line around the room at your desired height and fasten an L-shaped track directly to it. From there everything else hang off of this perimeter frame. If you mess up this step, your tiles will still end up crooked, even if you cut them perfectly.
Main tees are suspended from joists (or a concrete deck) via hanger wires that should be spaced every four feet along each main runner to avoid sagging over time. You might also require turnbuckles or wire locks for adjusting tension easy if your ceiling is great. The tool calculates how many hangers are required depending on the direction and length of your main runs. Generally, mains is run perpendicular to the joists. This provides direct support for each runner from the structure above instead of relying on the spans between beams.
With your materials list in hand, take a walk-through of the room(s). Note any big lights, ducts, etc., that will require adjustments to the grid locally. The reference tables that come with the tool allow for a side-by-side comparison among different configurations of rooms. It lets you see how the size of the room affect the ratio of components. For example, a spacious garage conversion requires much more support then a small bath.
Whether this is a success story or an exercise in frustration depends on planning. If you measure twice, cut once. Use the numbers to guide your shopping at the hardware store. Spend more time laying down some good-looking tile and less time wondering about it. Turn on those recessed lights that hang from the new grid, and you’ll get better light to see the new ceiling in its original place.