Bathroom Tile Calculator
Estimate tile for a whole bathroom the right way: measure the floor, shower walls, tub surround, and vanity backsplash as separate surfaces, then combine them into total square footage, tiles, boxes, thinset, grout, and cost. Pick a tile size and pattern to add the correct waste allowance.
🌉Real Bathroom Presets
📏Surfaces & Tile Inputs
Longest wall-to-wall dimension of the floor.
Set both to 0 to skip the floor.
Floor to ceiling is 8 ft; a tub wall is often 6 ft.
Add the 3 walls of a 5 ft stall: 5 + 5 + 5 = 15 ft.
Subtract glass door panels or a recessed niche.
Standard tub surround runs about 6 ft up.
A 4 ft vanity with a short splash is roughly 6 sq ft.
Auto-filled by tile size; edit for a custom tile.
Drives grout volume. Floor tile is 8-10 mm.
1/16 = 0.0625, 1/8 = 0.125, 3/16 = 0.1875.
Check the carton; big-format boxes hold fewer.
Auto-set by pattern; raise it for tricky cuts.
Cost card multiplies boxes by this price.
🔢Materials Snapshot
📐Tiles Per Square Foot by Size
| Tile Size | Sq In | Sq Ft Each | Tiles / Sq Ft | Best Surface |
|---|---|---|---|---|
| 2 × 2 in mosaic | 4 | 0.028 | 36.0 | Shower floor, accent band |
| 3 × 6 in subway | 18 | 0.125 | 8.0 | Shower & tub walls |
| 4 × 4 in square | 16 | 0.111 | 9.0 | Vintage floors, backsplash |
| 12 × 12 in | 144 | 1.000 | 1.0 | Bathroom floor |
| 12 × 24 in large format | 288 | 2.000 | 0.5 | Floor & feature walls |
| 18 × 18 in | 324 | 2.250 | 0.44 | Large master floor |
🎭Waste Allowance by Pattern
| Pattern | Suggested Waste | Cut Difficulty | Best Tile | Notes |
|---|---|---|---|---|
| Straight lay | 10% | Low | Square, subway | Grid lines align, fewest offcuts |
| Diagonal | 15% | Medium | Square, large format | 45 degree edge cuts on every border |
| Herringbone | 20% | High | Rectangle, plank, subway | Most angled cuts, keep the extra 20% |
| Small bath under 40 sqft | 15% | -- | Any | Small rooms waste a bigger share on cuts |
🧼Grout Coverage by Tile Size
| Tile Size | Joint Width | Approx Grout | 25 lb Bag Covers | Note |
|---|---|---|---|---|
| 2 × 2 in mosaic | 1/8 in | High | ~30 sq ft | Tiny tiles have the most joints |
| 3 × 6 in subway | 1/16 in | Medium | ~90 sq ft | Thin joints save grout |
| 12 × 12 in | 1/8 in | Low | ~120 sq ft | Fewer joints per square foot |
| 12 × 24 in | 1/8 in | Very low | ~150 sq ft | Large format uses the least grout |
| 12 × 24 in | 3/16 in | Low | ~100 sq ft | Wider joints raise the volume again |
🪛Thinset Coverage by Trowel
| Trowel Notch | Typical Tile | Coverage / 50 lb Bag | Bags / 100 sqft | Note |
|---|---|---|---|---|
| 1/4 in V-notch | Mosaic, small wall tile | ~95 sq ft | ~1.1 bags | Thin bed for little tiles |
| 1/4 × 3/8 in square | Subway, 12 x 12 floor | ~75 sq ft | ~1.4 bags | The common all-round notch |
| 1/2 in square | 12 x 24 large format | ~50 sq ft | ~2.0 bags | Big tiles need a thick bed |
| 1/2 in U-notch | Uneven substrate | ~45 sq ft | ~2.2 bags | Back-butter for full contact |
🗃Surface Breakdown Comparison
| Surface | Dimensions | Sq Ft | With Waste | Tiles (12x12) | Boxes of 10 | Cost @ $38 |
|---|---|---|---|---|---|---|
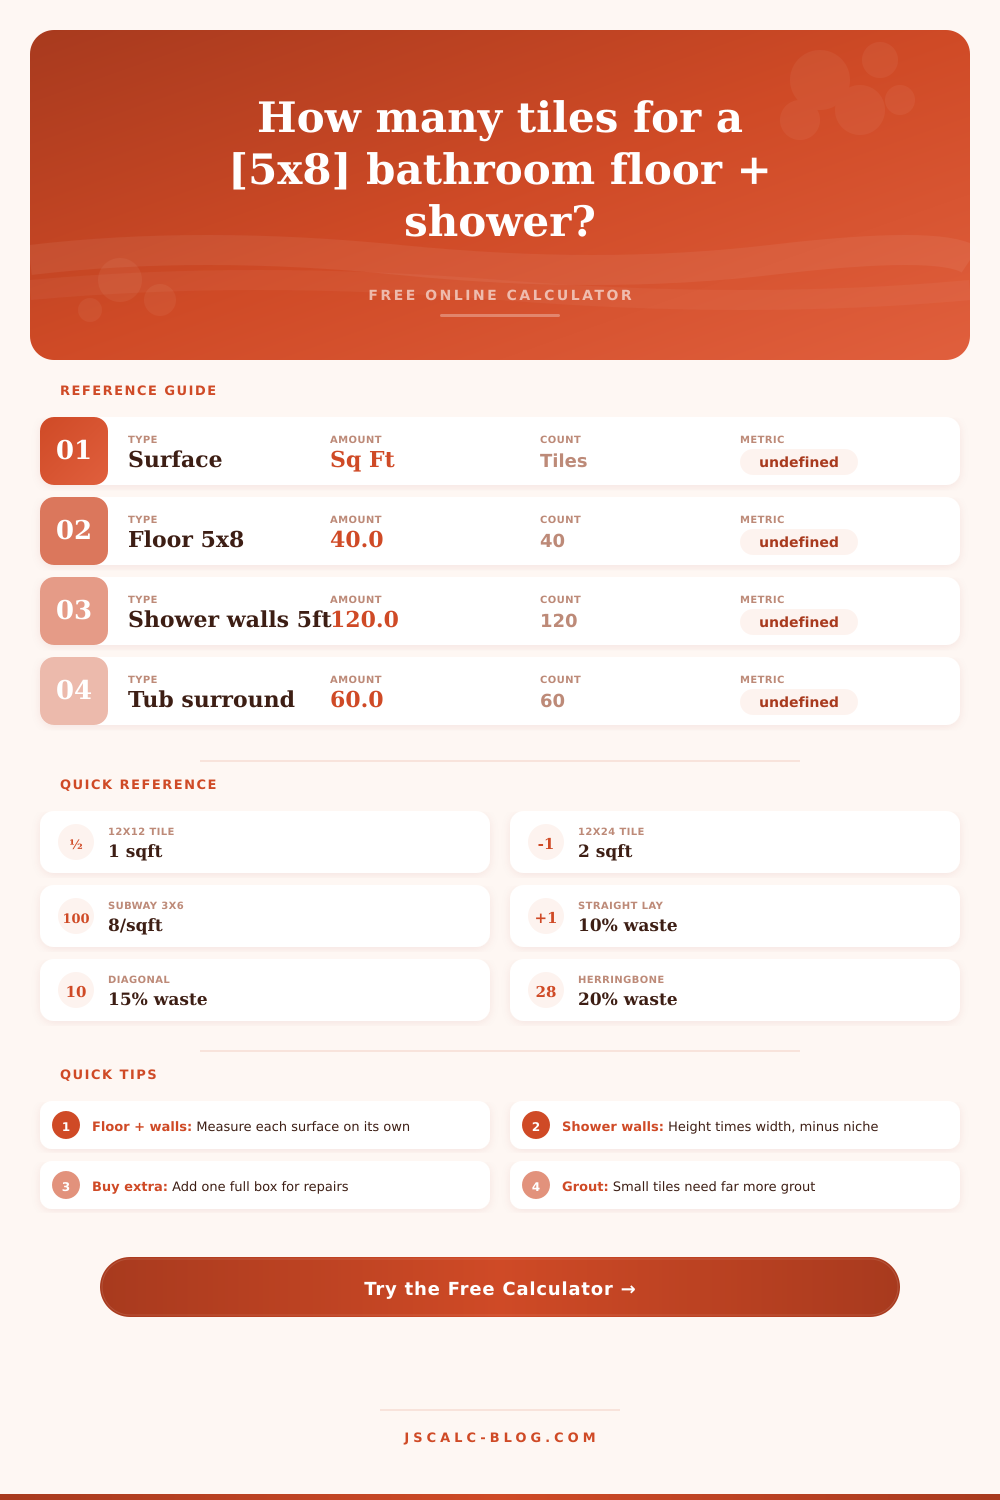
| Floor 5 x 8 | 5 ft × 8 ft | 40.0 | 44.0 | 44 | 5 | $190 |
| Shower walls 5 ft stall | 8 ft × 15 ft | 120.0 | 132.0 | 132 | 14 | $532 |
| Tub surround | 6 ft × 15 ft | 90.0 | 99.0 | 99 | 10 | $380 |
| Vanity backsplash | 6 sq ft entered | 6.0 | 6.6 | 7 | 1 | $38 |
| Powder room floor | 3 ft × 5 ft | 15.0 | 17.3 | 18 | 2 | $76 |
| Master floor 10 x 12 | 10 ft × 12 ft | 120.0 | 132.0 | 132 | 14 | $532 |
| Full 5x8 bath (floor + shower) | floor + 3 walls | 160.0 | 176.0 | 176 | 18 | $684 |
⚙Full Formula Breakdown
💡Practical Bathroom Tiling Tips
How do I figure out how much tile to order? This seems like a straightforward question… You grab your measuring tape and you’re standing in an empty bathroom. But wait! A bathroom isn’t just a flat surface; it’s a three-dimensional box. It contain a floor, shower walls, a tub surround, and maybe a vanity backsplash.
You need to measure each one separately because they may has different heights, shapes, or tile types. If you try to measure the whole thing as a lump sum, you’ll end up drowning in extra boxes at the expense of job, or running out halfway through the install. The calculator above takes care of the math of multiple surface so you know exactly what to order when you walk into the store.
How to Calculate the Amount of Tile You Need
You know how to find area of a rectangle: multiply length x width (or L x W). That’s what you’d do with a room. Except here, every wall (plus the floor) are a separate rectangle. For each tub/shower wall, it’s H x W. For the floor, it is L x W. Subtract anything you don’t want tiled, like a glass door or a niche. Seems silly, I know; but if you forget those subtractions you would of ended up buying a lot more then you need.
When you type in your measurements into the calculator, behind the scenes it knows there are multiple surfaces so it adds together their square footage but keeps track of each surface separately. Why? Maybe you are planning to use an easy-to-clean 12×12 porcelain for the floor but something more decorative like a 3×6 subway tile on the walls. Blending all those numbers into an average number result in ordering mistakes that show up on your driveway just as delivery truck pulls up.
Waste is tiling’s hidden budget buster. That includes everything thrown away on the edges. It also includes cracked tiles broken by your scoreline and any tiny off-cuts too small for recycling. The average is around 10 percent wasted if you lay a straight grid; that’s our base case. If you opt for something diagonal (above), where every border tile requires an angled cut, then the waste climbs to 15 percent. If you go herringbone or another pattern where every tile touches the next one at some difficult angle, it’s 20 percent or worse. And if you’re tiling a small space, like a bathroom smaller than 40 square feet? Give yourself a little more cushion here, as well, since there are more edges compared to total area, meaning you will have to do more cutting for each finished surface.
The tool will adjust this instantly when you pick the proper pattern.
For both thinset and grout, there are separate guidelines for estimating materials, ones that most DIYers ignore. For thinset, coverage depend entirely on your trowel size, not just square footage. A 1/4 inch V-notch is super-thin and covers roughly 95 sq ft per bag, great if you’re tiling a very small wall or using mosaic tile. On the other hand, a 1/2 inch wide notch for a full-size tile like flooring drops the amount of coverage down to roughly 50 sq ft, you can’t skimp on the mortar bed under those thick floors!
Unlike what common sense might tell you, the opposite holds true for grout. Each square foot contains a lot of linear inches of joints when tiling tiny mosaics versus a giant plank, which is why it takes so much more grout to fill a mosaic than a large plank. Our tile calculator accounts for joint size and tile thickness to calculate how much adhesive or filler you’ll need. No more running out halfway through the job!
Don’t skimp on the extras; this is non-negotiable advice from every renovation ever. Because dye lot changes between production runs, buying an additional sealed box over what’s needed can ensure a perfect match in case someone drops a heavy bottle on the floor two years down the line. Store that original box in attic or closet for emergencies.
Seal the cement grout once cured for 72 hours, one more little habit that can save big headaches. Soap scum and water get trapped in bathroom environments. Without sealing the joints, they’ll soon go moldy and stained if left unprotected. Do the math, print it out, buy the extra box, and rest easy.
Actualy, you should of done this sooner. It makes livig much more comfortabley.