Torque Wrench Extension Calculator
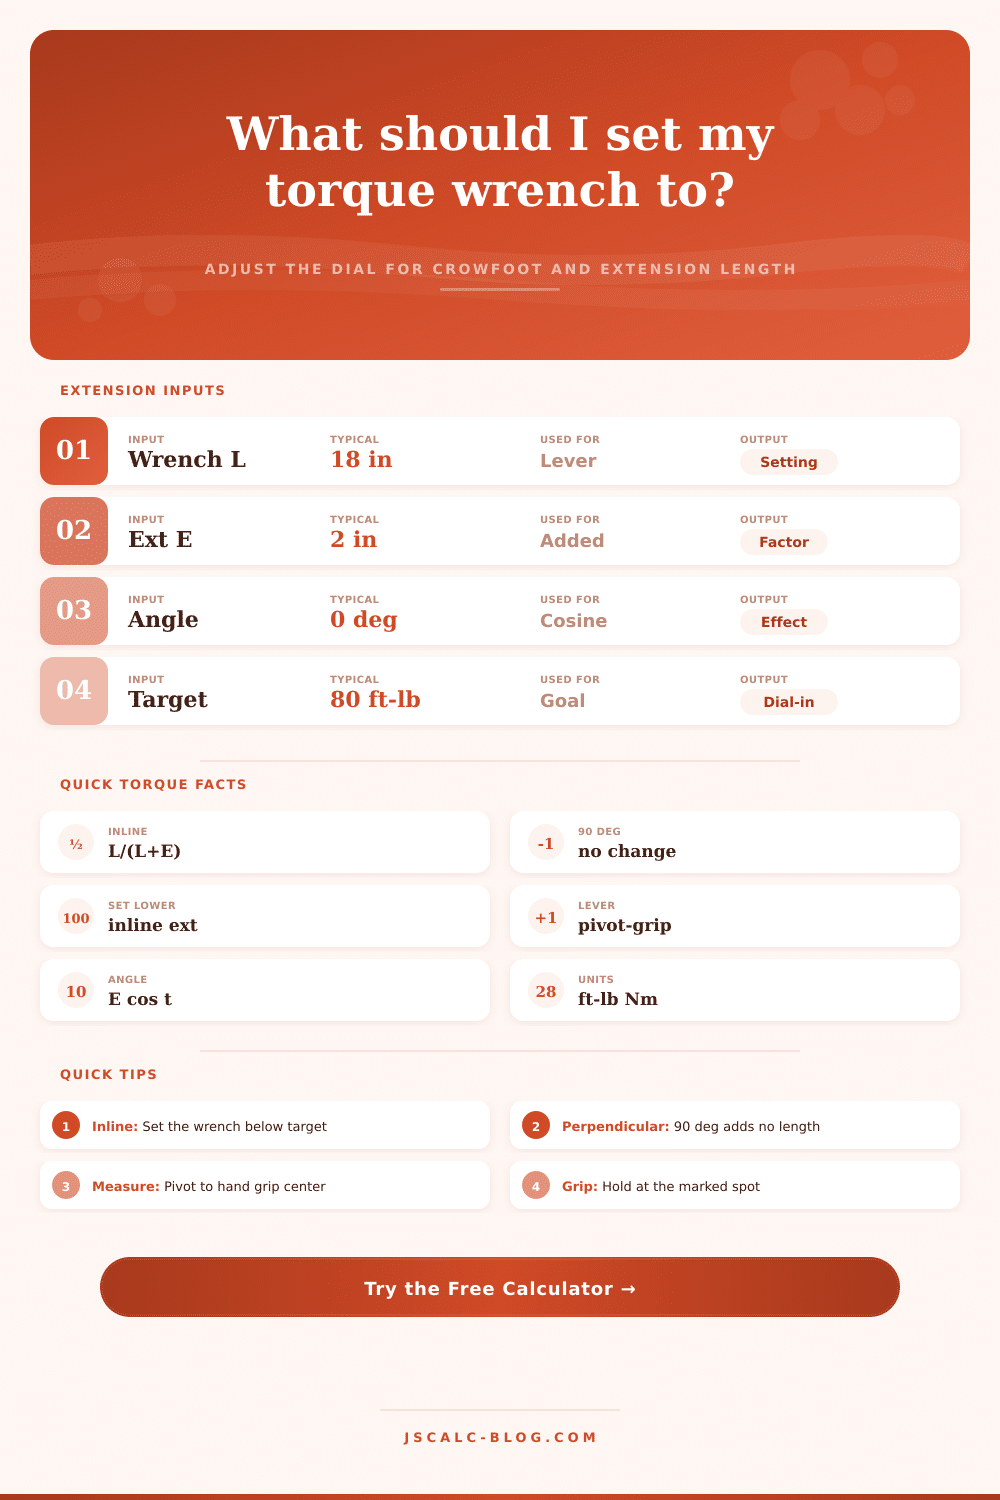
Adjust your torque wrench setting when a crowfoot, adapter, or extension changes the effective lever length. Enter the target torque, wrench length, extension length, and angle to get the dial-in value and the actual torque check at the fastener.
🔧Real Extension Presets
📝Setup Inputs
The torque the bolt or nut should actually receive.
Center of the square drive to the center of your hand grip.
Offset added along the wrench axis by the adapter.
0 = inline (points away), 90 = perpendicular (no change).
Enter a wrench setting to see actual fastener torque. 0 = auto use the computed setting.
🔢Formula Snapshot
📏Setting Adjustment By Extension Length
| Extension E | Factor L/(L+E) | Setting | Reduction | Note |
|---|---|---|---|---|
| Enter values above to build the extension-length table. | ||||
📐Inline Versus Perpendicular Effect
| Angle | cos θ | Effective E | Effective Lever | Setting | Effect |
|---|---|---|---|---|---|
| The angle comparison appears after calculation. | |||||
🔩Wrench Length Reference
| Wrench Type | Typical L | Range | Best For | Ext Sensitivity |
|---|---|---|---|---|
| 1/4 in drive | 7 in | 5–9 in | Small fasteners | High |
| 3/8 in drive | 12 in | 10–15 in | General auto | Medium |
| 1/2 in drive | 18 in | 16–25 in | Lug and engine | Lower |
| 1/2 in long | 24 in | 22–30 in | High torque | Low |
| 3/4 in drive | 40 in | 36–48 in | Heavy truck | Very low |
🗂Unit Conversions And Comparison Grid
| Scenario | Target | Wrench L | Ext E | Angle | Factor | Setting |
|---|---|---|---|---|---|---|
| Crowfoot inline | 80 ft-lb | 18 in | 2 in | 0° | 0.900 | 72.0 ft-lb |
| 3 in extension | 100 ft-lb | 18 in | 3 in | 0° | 0.857 | 85.7 ft-lb |
| 2 in adapter | 50 ft-lb | 12 in | 2 in | 0° | 0.857 | 42.9 ft-lb |
| Perpendicular | 80 ft-lb | 18 in | 2 in | 90° | 1.000 | 80.0 ft-lb |
| 45 deg offset | 90 ft-lb | 18 in | 3 in | 45° | 0.895 | 80.5 ft-lb |
| Long crowfoot | 120 ft-lb | 24 in | 4 in | 0° | 0.857 | 102.9 ft-lb |
| Metric Nm | 110 Nm | 18 in | 2.5 in | 0° | 0.878 | 96.6 Nm |
| Opposite 180 | 80 ft-lb | 18 in | 2 in | 180° | 1.125 | 90.0 ft-lb |
⚙Full Formula Breakdown
📋Reference Values
| Item | Common Entry | How It Is Used | Effect On Setting |
|---|---|---|---|
| Wrench length L | 7 to 40 in | Base lever arm | Longer L means smaller correction |
| Extension E | 1 to 6 in | Added inline offset | Larger E lowers the setting |
| Angle θ | 0 to 180 deg | cos scales the offset | 90° = no change, 0° = max |
| Desired torque | 10 to 250 ft-lb | Target at fastener | Scales the result directly |
| Factor | 0.80 to 1.15 | L / (L + E cos) | Multiply target by factor |
💡Practical Torque Tips
I’ve always tightened a lug nut with a wrench, and when it clicks I think I’m at the right spec, but using an adapter can actualy turn that into an over-tightened disaster. But what happens if I have a crowfoot adapter sticking out on beam? Now my click means I might be too tight.
The problem is I’ve introduced more length, and that alters my leverage. I didn’t guess your torque wrong; I just didn’t adjust for the distance. Torque is force times distance. Adding an extension changes the distance. Pointing that adapter back towards the handle shortens the distance and is a shorter lever. It take less force to generate same amount of torque on the fastener with the longer lever. The wrench doesn’t know how much further out you’ve moved. Knowing this empty distance are key to being accurate.
How to Fix Torque Numbers When Using Adapters
To get the right number you plug in the angle, extension size, and wrench length into the calculator below. Then you specify the shape of your tool. Next, you specify the bolt torque you are trying to generate. It will give you a different number to set on the dial. Typically this number will be less than your desired torque if you are using an inline adapter.
This might sound backwards; you want more torque at the bolt, so you would of think you should set it higher rather then lower. But the extension gives the wrench a mechanical advantage. Your hand is farther away from the pivot point than the tool expects. The adjustment account for this difference.
The angle makes all the difference. If the adapter are pointing out to the side, it doesn’t add length. That’s why many people think that anything added will be adding something; however, with a crowfoot angled ninety degrees perpendicular to the beam, it won’t add anything. That means zero (the cosine of 90°). Don’t mess with your setting in this situation; the geometry negates its impact. I see mechanics make this error and apply a correction where it has no effect.
The reason this is important is that replacing studs on an aluminum engine block costs money. When you overtighten, the bolt go past its elastic limit and stretches. When you undertighten, you have leakage, or the component vibrates itself free. The difference between success and failure often come down to just a few foot-pounds.
Using a simple two-inch long inline adapter with an eighteen inch half-drive wrench adds maybe ten percent more length to your effective wrench. This is enough to blow past the yield point of a critical joint if neglected. Measure the distance from the center of your hand grip to the center of square drive on the wrench. This is the pivot point and is where manufacturers will refer to it, as that’s the transfer point for force. You’ll note you can hold a wrench wrong which alters input variable. Perfection is not the goal here. It’s about consistency.
In practice, the reference table works for typical situations, but knowing how it works makes oddball setups easier to understand too. Sometimes there is a clearance problem that forces you to go at a 45-degree angle or to use a long narrow adapter instead. The calculator takes into account the cosine of the angle and multiplies the contribution of the extension accordingly. That’s not magic: It’s trigonometry applied to steel.
Before you turn that wrench, check it. If you swap adapters mid-job, recalculate. If you move from a ninety-degree adapter to an inline crowfoot, set the dial back to the desired setting. Remember that the tool’s accuracy depends on the geometry you feed it. To save your threads, be exact with your settings and keep the measurements honest.