LVP Flooring Calculator
Work out exactly how many luxury vinyl planks, boxes, and dollars it takes to floor a room. Enter each room's length and width, set your plank size, box coverage, and waste factor, and the calculator adds an allowance for cuts before returning total square footage, planks needed, boxes needed, and an all-in cost with underlayment.
🏠Real-World Presets
📏Rooms to Floor
Add up to five rooms. Their square footage is summed before waste is applied. Prefer to skip room math? Set one room's length and width to match your known total (for example 40 × 25 for 1000 sq ft).
📝Plank, Box & Cost Settings
Common LVP widths run 6 to 9 inches.
Typical lengths are 36 to 60 inches.
Check the box label; 18-30 sq ft is common.
8-10% straight, 15% diagonal, 15-20% herringbone.
Divide shelf price by box sq ft to compare per sq ft.
Many LVP planks include a pad already.
Basic foam runs $0.20-$0.60 per sq ft.
Doorway thresholds and T-molding, if any.
Your LVP flooring estimate at a glance
🔢The Math At A Glance
📊Room Size to Boxes Chart
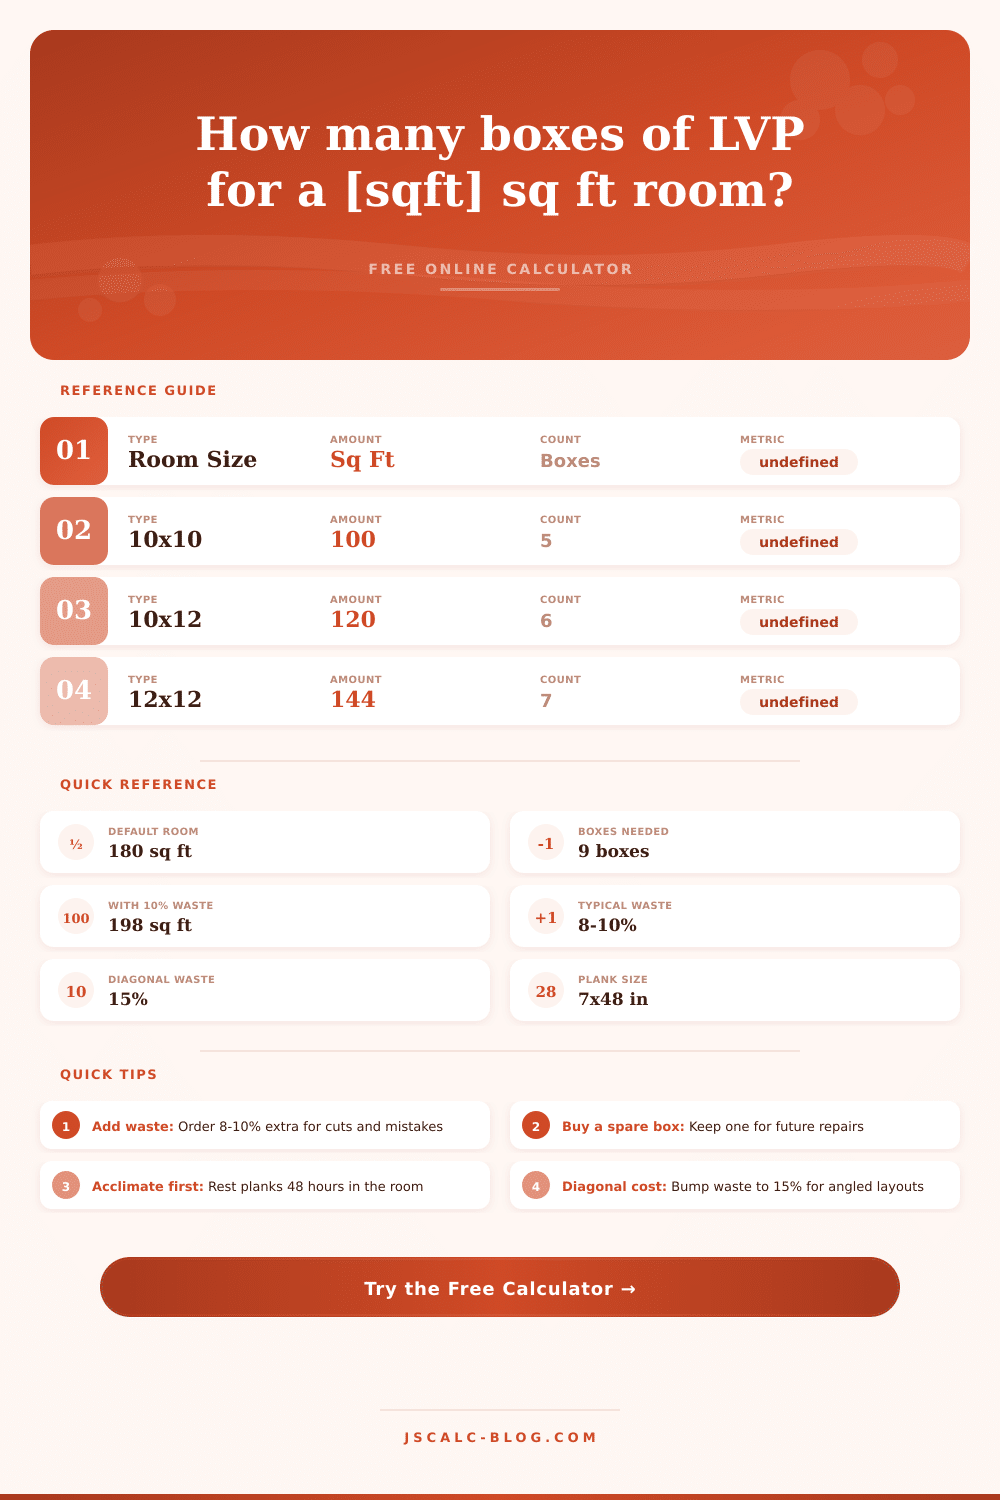
Assumes 10% waste and 24 sq ft per box. Boxes are always rounded up to the next whole box.
| Room Size | Sq Ft | +10% Waste | Boxes (24 sq ft) |
|---|---|---|---|
| 10 × 10 | 100 | 110 | 5 |
| 10 × 12 | 120 | 132 | 6 |
| 12 × 12 | 144 | 158 | 7 |
| 12 × 15 | 180 | 198 | 9 |
| 12 × 18 | 216 | 238 | 10 |
| 14 × 16 | 224 | 246 | 11 |
| 15 × 20 | 300 | 330 | 14 |
| 16 × 20 | 320 | 352 | 15 |
| 18 × 24 | 432 | 475 | 20 |
| 20 × 20 | 400 | 440 | 19 |
| 25 × 30 | 750 | 825 | 35 |
| 30 × 35 | 1050 | 1155 | 49 |
📐Waste Factor by Install Pattern
| Layout / Situation | Suggested Waste | Why |
|---|---|---|
| Straight lay, simple square room | 8% | Few cuts, minimal offcut loss |
| Straight lay, average room | 10% | The common all-purpose default |
| Rooms with jogs, closets, angles | 10–12% | More perimeter cuts to fit |
| Diagonal (45°) installation | 15% | Angled end cuts waste more plank |
| Herringbone or chevron pattern | 15–20% | Every piece is cut and mitered |
| Long, narrow hallways | 12–15% | Many short cuts, awkward offcuts |
🔧Common LVP Plank Sizes
| Plank Size (W × L) | Sq Ft per Plank | Planks per 24 sq ft Box | Best For |
|---|---|---|---|
| 6 × 36 in | 1.50 | 16 | Narrow, classic wood look |
| 6 × 48 in | 2.00 | 12 | Bedrooms and hallways |
| 7 × 48 in | 2.33 | 10 | The popular all-rounder |
| 7.25 × 60 in | 3.02 | 8 | Fewer seams, modern rooms |
| 9 × 48 in | 3.00 | 8 | Wide-plank, open spaces |
| 9 × 60 in | 3.75 | 6 | Large great rooms |
💰Cost per Square Foot Ranges
| Tier | Material $/sq ft | Installed $/sq ft | What You Get |
|---|---|---|---|
| Budget | $1.50–$2.50 | $3–$5 | Thin wear layer, DIY-friendly |
| Mid-range | $2.50–$4.00 | $5–$8 | Thicker core, better texture |
| Premium | $4.00–$7.00 | $8–$12 | Rigid SPC core, wide planks |
| Luxury / WPC | $7.00+ | $12–$16 | Thick wear layer, warranties |
🧮Room Size vs Planks, Boxes & Cost
Based on 7×48 planks (2.33 sq ft each), 24 sq ft boxes, and 10% waste. Cost columns show boxes × the per-box price at $2, $3, and $5 per sq ft (roughly $48, $72, and $120 per box).
| Room Size | Sq Ft | Planks | Boxes | Cost @ $2 | Cost @ $3 | Cost @ $5 |
|---|---|---|---|---|---|---|
| 10 × 10 | 100 | 48 | 5 | $240 | $360 | $600 |
| 12 × 12 | 144 | 68 | 7 | $336 | $504 | $840 |
| 12 × 15 | 180 | 85 | 9 | $432 | $648 | $1,080 |
| 14 × 16 | 224 | 106 | 11 | $528 | $792 | $1,320 |
| 15 × 20 | 300 | 142 | 14 | $672 | $1,008 | $1,680 |
| 16 × 20 | 320 | 151 | 15 | $720 | $1,080 | $1,800 |
| 20 × 20 | 400 | 189 | 19 | $912 | $1,368 | $2,280 |
| 20 × 30 | 600 | 283 | 28 | $1,344 | $2,016 | $3,360 |
| 25 × 30 | 750 | 354 | 35 | $1,680 | $2,520 | $4,200 |
| 30 × 35 | 1050 | 495 | 49 | $2,352 | $3,528 | $5,880 |
⚙Full Formula Breakdown
area = length × width for each room, summed across every room you add. A 12 × 15 room is 180 sq ft.areaWithWaste = area × (1 + wastePct). At 10% waste, 180 sq ft becomes 198 sq ft to cover cuts and mistakes.plankSqft = (plankW × plankL) / 144. A 7 × 48 plank is 336 / 144 = 2.33 sq ft.planks = ceil(areaWithWaste / plankSqft). 198 / 2.33 rounds up to 85 planks.boxes = ceil(areaWithWaste / boxCoverage). 198 / 24 rounds up to 9 boxes.cost = boxes × pricePerBox + underlayment + transitions. Underlayment is area × underPrice when enabled.❓Why Add a Waste Factor?
💡LVP Buying Tips
Built for quick luxury vinyl plank material and cost estimates by JSCalc-Blog.com. Figures are planning estimates only — always confirm coverage on the actual box label and follow the manufacturer's installation guidance.
Installing flooring is easy, especially luxuruis vinyl plank. It require no nails or glue. It is also warm on bare feet and waterproof.
The tricky part isn’t installing the floors but rather purchasing exactly enough material to get job done. Order too much and money sits in your garage. Order too little and you’re stuck halting the work until you can locate a matching dye lot which might no longer exist.
How to Use the Flooring Calculator
Once you enter your room dimensions into the calculator above, it will do the math for you, saving you from having to guess at conversions and coefficients. When you enters your rooms, it will add up their total square footage for you. It then adds a waste factor on top of all of this. If I buy per room I’m wasting materials. Six point four boxes x 3 = 21 individual box. But if I combine my orders (and round down) I only has to get 20 boxes. That’s a big savings!
The tool also lets you stack as many as five rooms in the interface. Actual homes don’t usually only renovate one room. This is how a renovation look in real life.
The other place that most DIYers trip up is figuring out the waste factor. You are never going to install precisely the amount of square feet measured by your tape. Each time you have to cut for a wall, there’s another plank. Your last row will likely be shorter then all the others. That trimmed-off piece from the end of your row doesn’t often fit at the beginning of next. Throw in a couple of miscuts and broken board and it add up fast. A good waste factor accounts for this lost so that you won’t find yourself short on the last afternoon.
A basic, square layout installed in a straight line require eight percent. An all purpose conservative default is ten percent. Angles, jog, and closet layouts requires twelve percent. Waste also responds to layout. Installing diagonally at a 45 degree angle increase waste to roughly fifteen percent (each board will meet the wall on an angled cut). Chevrons or herringbones go up to twenty percent (most pieces are cut, and many is mitered). The calculator has these allowances preset for you.
Beyond the number of boxes is also the cost section. That takes the cost per box and multiplies it by the number of rounded boxes. If there are any doorway where a transition strip would be used, add in that flat cost as well. For example, if an additional piece of underlayment is required underneath (many LVP come shipped with a pad already adhered), multiply that per-square-foot price against total area, including doors. Expect about 20-60 cents a sq ft.
The page’s reference tables shows the link between material costs and what you’ll actualy receive, from budget vinyl through premium rigid core.
The two things that will save the most headaches are not mathematical:
1) Buy one more box than the math says you’ll need. Keep the extra flat inside. Production runs use dye lots that can vary slightly. The new plank you buy to cover a gouge will rarely match perfectly. Keeping an extra box in storage is relatively inexpensive insurance against a repair that looks bad and does not match in the middle of your livig room.
2) Leave the boxes flat on the floor of the room where they will be installed for at least forty-eight hours before installation. Maintain the temperature range between sixty five, eighty five degrees fahrenheit and let the boards acclimate. You should of kept them there longer if its cold. The vinyl will react to humidity and temperature, expanding and contracting accordingly. A major reason for gaps and peaking after installation is not letting the material adjust to the room first. It doesn’t matter how good your math was, rushing it will lead to a bumpy floor.
The calculator provide an exact shopping list. How long that floor lasts comes down to your patience during prep. It’s portable. This tool runs on your laptop to estimate a complete house job, or on your phone when you’re measuring the space with a tape measure. Select room(s), specify your box and plank specs, enter a waste factor, and get your price and material list instantly. Bookmark it for future renos. You don’t want to buy too much, too little, or worse, the wrong stuff at all.