Backsplash Tile Calculator
Size a kitchen backsplash the way installers do: multiply the counter run length by the backsplash height, add any full-height sections behind the stove, subtract window and outlet cutouts, then add cutting waste to get tiles and boxes.
🎯Real Backsplash Presets
📝Backsplash Inputs
Sum of every wall run that gets tile, in feet (or meters).
Counter to upper cabinet is about 18 in (46 cm).
Extra run tiled taller, such as behind a range or hood.
Height of that taller stretch, often 24 to 30 in.
Window openings inside the field. Enter as square feet.
Each standard outlet removes about 0.11 sq ft.
For sheets, enter the sheet dimensions instead.
Coverage per box is derived from tile size × count.
Applied only when waste is set to Custom percent.
🔢Formula Snapshot
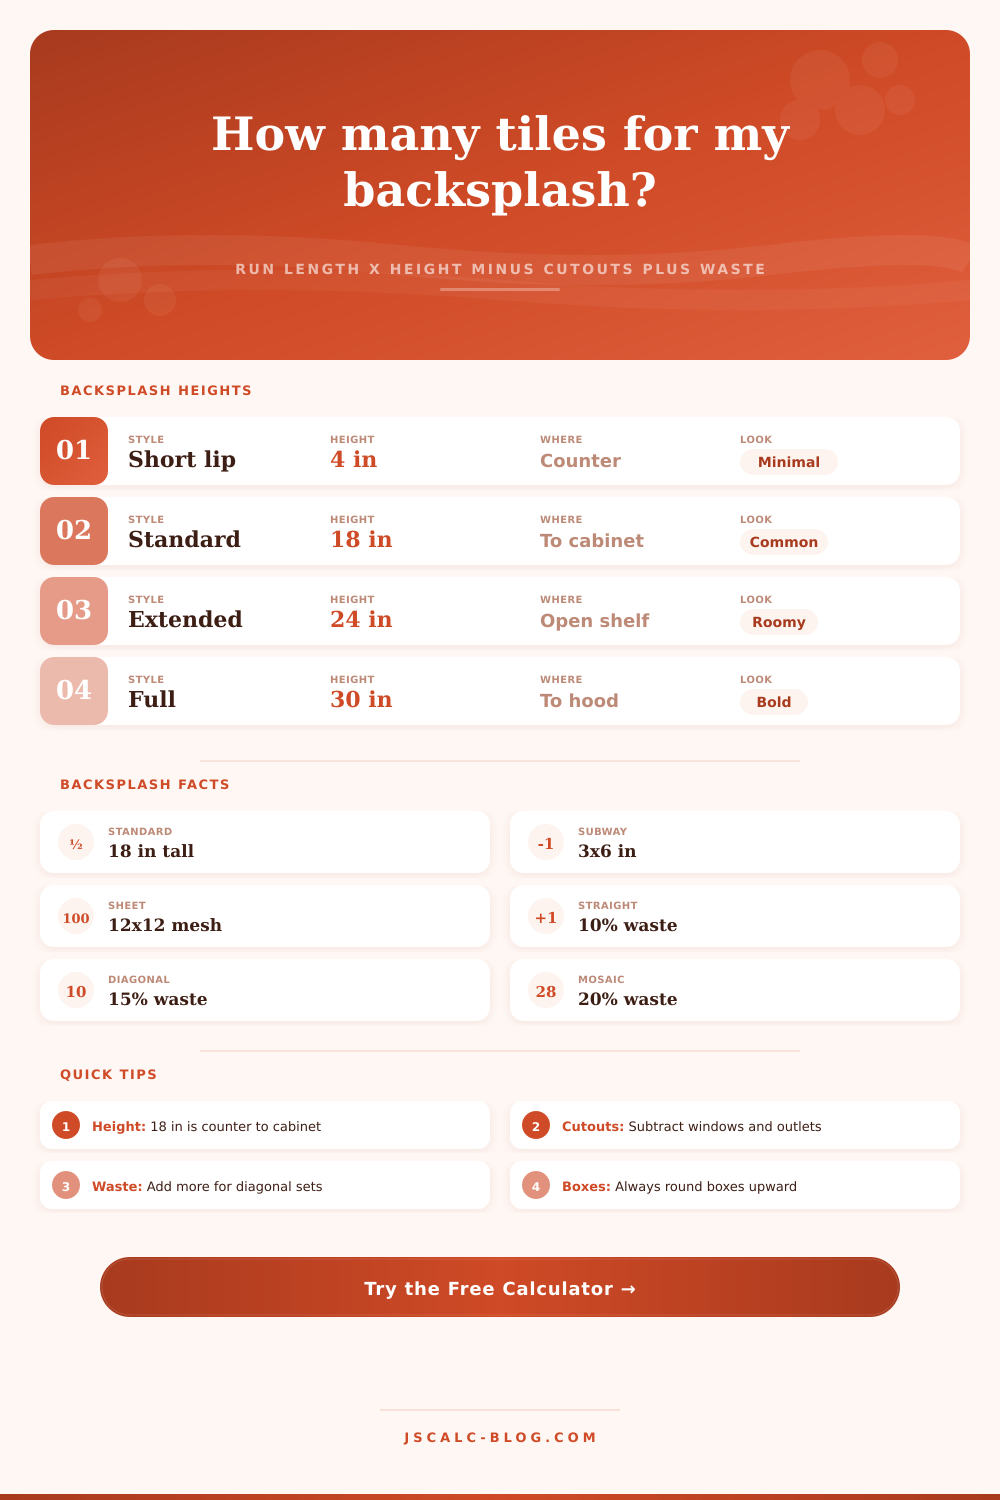
📏Standard Backsplash Heights
| Style | Typical Height | Where It Ends | Area Per 10 ft Run | Best For |
|---|---|---|---|---|
| Short lip / return | 4 in | Counter splash guard | 3.33 sq ft | Budget or laminate tops |
| Mid accent band | 6 in | One or two tile courses | 5.00 sq ft | Simple painted walls |
| Standard field | 18 in | Underside of cabinets | 15.00 sq ft | Most kitchens |
| Extended field | 20 in | Deeper cabinet gap | 16.67 sq ft | Open-shelf sections |
| Behind range | 24 in | Under low hood | 20.00 sq ft | Focal cooking wall |
| Full height splash | 30 in | Up to vent hood | 25.00 sq ft | Statement backsplash |
📐Tile Size to Coverage
| Tile Size | Common Name | Area Each | Tiles Per Sq Ft | Tiles For 15 sq ft | Waste Guide |
|---|---|---|---|---|---|
| 3 x 6 in | Subway | 0.125 sq ft | 8.0 | 120 | 10 to 12% |
| 2 x 4 in | Mini subway | 0.056 sq ft | 18.0 | 270 | 12 to 15% |
| 4 x 4 in | Square field | 0.111 sq ft | 9.0 | 135 | 10% |
| 6 x 6 in | Classic square | 0.250 sq ft | 4.0 | 60 | 10% |
| 4 x 12 in | Plank / large subway | 0.333 sq ft | 3.0 | 45 | 10 to 12% |
| 12 x 12 in | Mosaic sheet | 1.000 sq ft | 1.0 | 15 | 15 to 18% |
🧮Waste Allowance By Pattern
| Layout Pattern | Waste % | Why | Cut Difficulty |
|---|---|---|---|
| Straight / stacked grid | 10% | Clean straight cuts only | Low |
| Brick / running offset | 12% | Half tiles start each row | Low |
| Diagonal 45° | 15% | Triangular edge cuts | Medium |
| Mosaic sheet | 18% | Sheets trimmed at edges | Medium |
| Herringbone / chevron | 20% | Angled ends waste corners | High |
🗂Sheets vs Individual Reference
| Scenario | Run × Height | Cutouts | Net Area | Format | Waste | Boxes |
|---|---|---|---|---|---|---|
| Small galley | 8 ft × 18 in | 2 outlets | 11.8 sq ft | 3x6 subway | 10% | 1 box |
| Standard L-run | 16 ft × 18 in | Window 4 sq ft | 20.0 sq ft | 3x6 subway | 12% | 2 boxes |
| Behind stove focal | 5 ft × 30 in | None | 12.5 sq ft | Herringbone | 20% | 2 boxes |
| Full-height U-run | 22 ft × 18 in | Window 6 sq ft | 27.0 sq ft | Mosaic sheet | 18% | 3 sheets bx |
| Island + wall | 18 ft × 18 in | 3 outlets | 26.7 sq ft | 4x12 plank | 10% | 2 boxes |
| Statement wall | 12 ft × 24 in | None | 24.0 sq ft | 2x4 mini | 15% | 2 boxes |
⚙Full Formula Breakdown
📋Input Reference Values
| Input | Common Entry | How It Is Used | Effect On Quantity |
|---|---|---|---|
| Counter run length | 8 to 22 ft | Multiplied by height | Drives most of the area |
| Backsplash height | 4 to 30 in | Divided by 12 to feet | Scales area directly |
| Window cutout | 0 to 8 sq ft | Subtracted from field | Lowers net area |
| Outlets | 0 to 6 | 0.11 sq ft each removed | Small reduction |
| Waste allowance | 10 to 20% | Multiplies net area | Adds spare tiles |
| Tiles per box | 10 to 60 | Divides total tiles | Sets box count |
💡Practical Backsplash Tips
How many tiles will I need? How much tile do you need? You’re standing in your kitchen looking up at your cabinets and down at your counter top. How do you estimate that? Some people buy more than they’ll use, they don’t want to run out. Other people buys just enough for one portion, hoping it will be enough for the rest.
Use the calculator above to determine exactly what you need. Simply type in the length of the wall & the height and now you don’t have to guess. You’ll be sure to have enough.
How to Count Your Tiles
What’s the overall length of the counter space to be tiled? Do this for each part and add them up. (Don’t forget to include corner walls, as the tile wraps around them.) Next: What’s the height of your backsplash (from the countertop surface to the underside of the cabinetry)? In most new kitchens this would be a standard eighteen inches; older homes might differs.
Now take the linear footage and multiply it times the height (in feet). This is your starting square foot count. If you’re off on the height (even by an inch) you’ll order to few or too many boxes.
Most backsplash walls are not actualy blank walls. Consider any openings. Electrical outlets and windows don’t require tile. Subtract the square footage of the openings from the base area. The tool automatically accounts for standard outlet sizes. Measure window frames yourself; they come in all different size. Don’t subtract the width of the trim. Only subtract the actual opening of the glass. That’s where the tile will go, right up to edge of drywall.
The more tile, the bigger the waste. If your pattern is simple, such as laying large tiles straight, there is less scrap. If your pattern requires cutting (e.g., laying small tiles in a herringbone pattern), you’ll have lots of tiny offcuts which gets tossed. Adjust your waste factor here. For a simple stacked bond, use ten percent. For a herringbone or diagonal pattern, use fifteen to twenty percent. That accounts for all those cut ends and broken bits near the perimeter.
Don’t over-buy tile; don’t under-buy either. The tool always rounds up to the next full box. You can’t purchase a partial box in the store. So you’ll typically end up with an extra few tiles. This is a good thing! Tiles gets broken when they are installed. Chances are some of the boxes you recieve will arrive with damaged corners. It’s nice to know there are spares on hand, in case you ever need them.
Don’t buy exactly what you think you’ll need because if something breaks, you’ll be hunting for that specific batch later, which is a recipe for frustration. It’s frustrating to find matching tile months later.
Kitchens tend to use subway tile. It’s an easy cut, and there are lots of sizes available now. Big slab. They come in twelve-inch sheets. They are easier to clean because you don’t have as many grout lines. But you need flatter walls. With big tiles, you see the dips in the drywall as uneven edges. Any size will work through the calculator. Installing a big slab is different than installing small mosaics on the wall.
Lastly, compare the box coverage to what the math said. Each box will have its square footage listed on it. This is how you make sure that the math works out. So if the math tells you that you need 20 sqft + waste and each box is for ten square feet then you buy three boxes. Not two. That is why people end up with half a box of something or other because they forgot to round up when they were at the store.
It’s okay to take time and measure correctly. The numbers works. You’ll know exactly how much tile you should of bring home.