Power Supply Wattage Calculator
Add up the wattage of every part in your PC build, from the CPU and graphics card to each stick of RAM, every drive, and all your fans, then get a recommended PSU size with headroom, the 50 percent efficiency sweet spot rating, and your estimated idle and full load draw so you can buy the right power supply the first time.
📌Quick Build Presets
🔌Component Wattage Inputs
Use the CPU TDP or peak package power, often 65 to 170 W.
Card total board power, 0 for integrated graphics.
Chipset and VRM overhead, roughly 25 to 80 W.
Left is watts per stick (~3 W), right is number of sticks.
Left is watts per SSD (~3 W), right is drive count.
Left is watts per spinning drive (~6 W), right is count.
Left is watts per fan (~2 W), right is fan count.
Lighting, pumps, capture cards, and USB peripherals.
Extra capacity buffer, typically 20 to 30 percent.
Desktop idle is usually 20 to 35 percent of peak.
Recommended for a build you plan to keep 4+ years.
PSUs sell in steps like 450, 550, 650, 750, 850 W.
🔢Formula Snapshot
⚙Formula Breakdown
🖥Typical Component Wattage
| Component | Low | Typical | High | Notes |
|---|---|---|---|---|
| Desktop CPU | 35 W | 105 W | 170 W | TDP or package power |
| Graphics card | 75 W | 220 W | 450 W | Total board power |
| Motherboard | 25 W | 50 W | 80 W | Chipset and VRM |
| RAM per stick | 2 W | 3 W | 5 W | DDR4 or DDR5 module |
| NVMe or SSD | 2 W | 3 W | 8 W | Per drive under load |
| HDD 3.5 inch | 4 W | 6 W | 9 W | Spinning platter drive |
| Case fan | 1 W | 2 W | 5 W | Each 120 or 140 mm fan |
| AIO pump | 3 W | 8 W | 15 W | Liquid cooler pump |
📊CPU and GPU Reference Wattage
| Class | Example CPU | CPU W | Example GPU | GPU W |
|---|---|---|---|---|
| Entry | Core i3 / Ryzen 3 | 58 W | GTX 1650 | 75 W |
| Mainstream | Core i5 / Ryzen 5 | 65 W | RTX 4060 | 115 W |
| Performance | Core i5K / Ryzen 5X | 125 W | RTX 4070 | 200 W |
| High end | Core i7K / Ryzen 7X | 142 W | RTX 4070 Ti | 285 W |
| Enthusiast | Core i9K / Ryzen 9X | 170 W | RTX 4080 Super | 320 W |
| Flagship | Core i9KS | 253 W | RTX 4090 | 450 W |
| Workstation | Threadripper | 350 W | RTX 6000 Ada | 300 W |
🛠Build Type to PSU Size Guide
| Build Type | Est. Draw | With 25% Headroom | Retail PSU | Half Load Pick | 80 Plus Tier |
|---|---|---|---|---|---|
| Budget Office PC | 110 W | 138 W | 300 W | 250 W | Bronze |
| Compact HTPC | 140 W | 175 W | 350 W | 300 W | Bronze |
| 1080p Esports | 240 W | 300 W | 450 W | 500 W | Bronze |
| RTX 4060 Mid Tower | 330 W | 413 W | 550 W | 650 W | Gold |
| RTX 4070 Gaming Rig | 430 W | 538 W | 650 W | 850 W | Gold |
| RTX 4080 Super Build | 560 W | 700 W | 750 W | 1000 W | Gold |
| RTX 4090 Enthusiast | 720 W | 900 W | 1000 W | 1200 W | Platinum |
| Threadripper Workstation | 780 W | 975 W | 1000 W | 1200 W | Platinum |
💡PSU Sizing Tips
A PC’s power supply is among the last things to plan when building your system, and among the simplest to screw up. Too small a power supply mean no boot, possibly crashing the whole thing. On the other hand, buying a massive 1200 W model for a low-end office computer will cost you more then necessary and won’t allow the power supply to run efficienty. The calculator eliminates guesswork.
It takes all the components’ wattages and adds a reasonable amount of extra power before suggesting which power supply size to buy. That’s where this tool comes in. Instead of a simple number guess, it provides an additive list: how much does CPU draw? How about the GPU? What overhead does the motherboard have? Then you add stuff that you buy in multiples: case fans, spinning hard drives, SSD drives, RAM sticks… all of those go into the mix. There’s an “extras” field to catch things like pumps and RGB lighting.
How to Use the Power Supply Calculator
Add them all up, and you’ve got a value for total component draw, the honest peak amount of power all your components will draw if they’re all working hard at the same time. This sets base reality without adding any margin for safety. The whole thing revolve around three easy equations that spit out all the results in the UI.
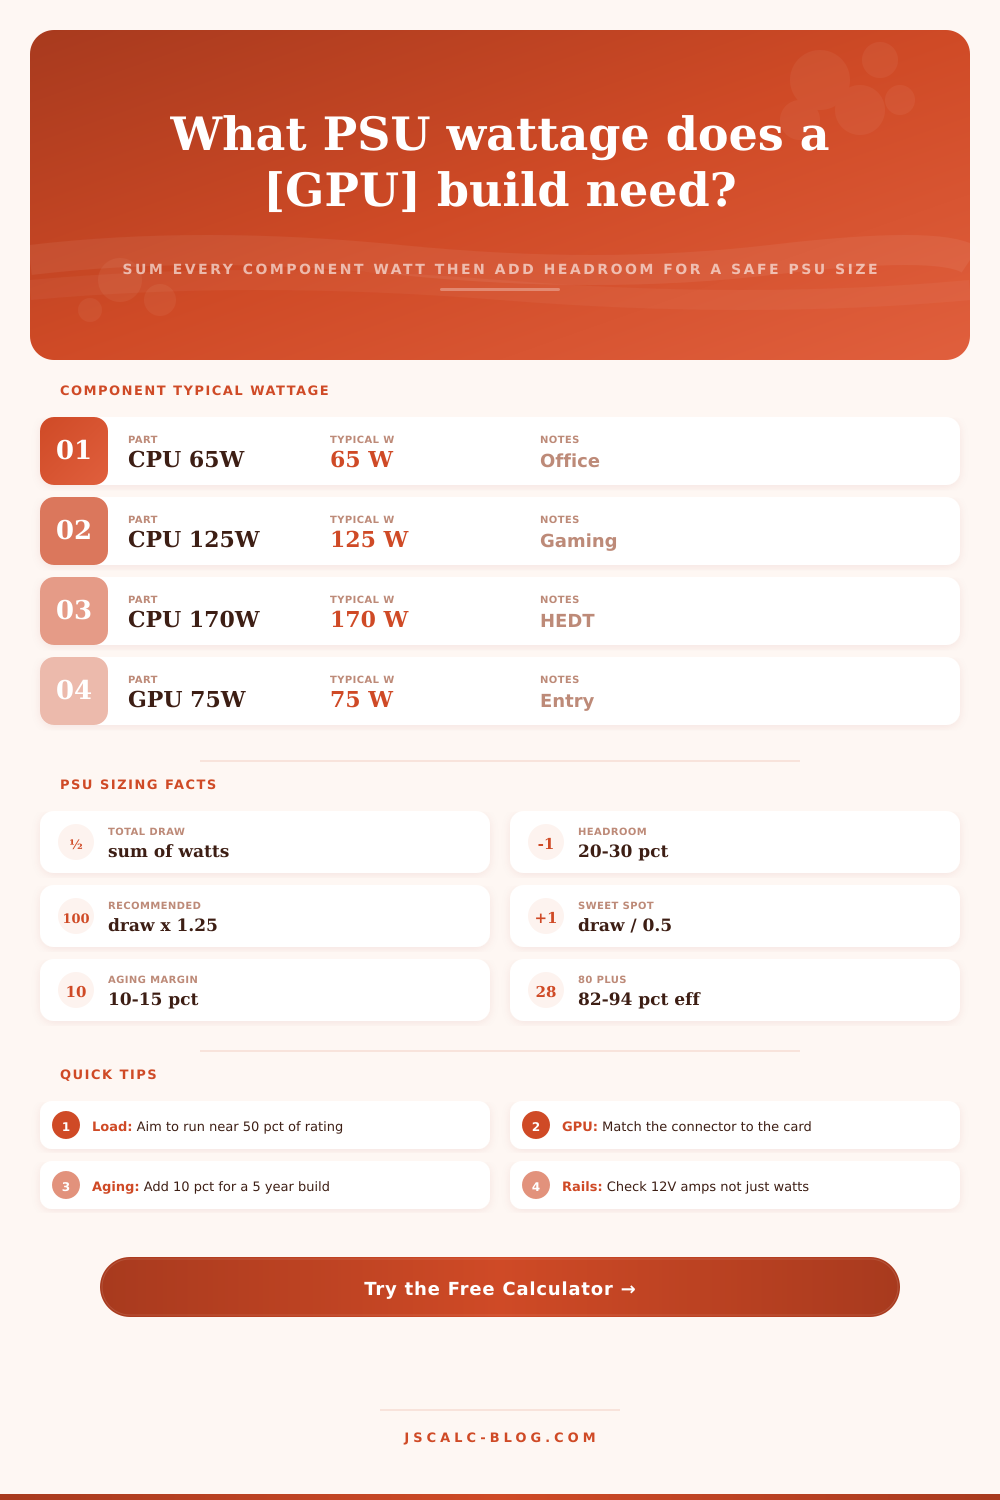
The total draw is sum of the watts in the components. Recommended psu size = total * (headroom factor + 1). So if you want 25 percent buffer, multiply the total draw by 1.25. The efficiency sweet spot rating is the total divided by 0.5. This is same as doubling the total and sizing it so your actual load falls close to the 50 percent mark.
The optional cap aging margin is recommendation multiplied by about 1.12; this slight adjustment ensures an old supply remains reliable years later. Capacitors degrade with age, so this extra capacity will give you more reliabel peace of mind. There are many reasons why it’s a poor practice to run your power supply at full capacity.
You have no margin for the short duration power spikes all moddern equipment generates. Efficiency decreases on both ends, heat increases. The fan will spin like mad. There is a general consensus that having a 20-30 percent cushion is safe. This provides a buffer against power spikes. It allows for a potential graphics card or drive upgrade. It also ensures the device runs at its best level for energy consumption (components lasts longest here).
The default setting is 25 percent, but you can adjust it up to 30 percent if you are using power-hungry cards that has large power spikes. The calculator shows a separate “sweet spot” figure (double your draw) because 80 Plus rated supplies publish efficiency numbers for 20, 50, and 100 percent loads. The highest efficiency is almost always at the middle load. An 87 percent efficient Gold unit might be 90 percent or higher at half load.
Running a supply closer to its sweet spot makes it run cooler, quieter and costs slightly less money to operate. For a long-lived, quiet system this makes a lot of sense. Running a build which draws 430 W on average from a 750 to 850 W PSU makes a lot more sense than a mere minimum of 550 W, even if you have enough power to use the smaller one.
The presets span from a little box running a Budget Office PC with built-in graphics up to an RTX 4090 Enthusiast rig that scales rapidly past 1kW and above. Beyond are a Compact HTPC, 1080p Esports Build and even a Home Server NAS stuffed with six whirling discs whose drives alone accounts for the grand total. They all take up full space and instantly update. They provide a real-world starting point that you can then further customize based off your precise part selections.
All you have to do is change the watts for the CPU and the GPU because these tend to be the biggest factors in any final result. Load the preset most similar to your build, choose an appropriate percent of headroom, and enable the aging margin if you plan to use the system for four or more years. In a matter of seconds, you’ll have a recommended wattage, a quieter sweet spot selection, and a clear view of both peak and idle draw.
You won’t have to guess or settle for a system that gets loud under load and doesn’t last until your next update. This is the right way to buy the right power supply the first time.