Power Supply Rail Load Calculator
Split your PC power draw across the three main ATX rails and check each one. Enter the watts on the +12V, +5V and +3.3V rails, and the calculator finds current with I = W / V, compares it to your PSU's rated amps per rail, and tests the shared 3.3V plus 5V combined watt limit so you can spot an overloaded rail before it browns out.
🎯Real Build Load Presets
🔌Rail Load Inputs
CPU EPS plus GPU PCIe connectors live here.
From the PSU label, the +12V amp rating.
SATA drives, USB devices and some fans.
From the PSU label, the +5V amp rating.
DIMMs, chipset and M.2 logic pull 3.3V.
From the PSU label, the +3.3V amp rating.
Shared cap printed on the PSU label.
Added into total DC draw only, not a main rail.
A rail above this ceiling is flagged as hot.
🔢Formula Snapshot
📋Rail Voltage, Watts and Current
| Rail | Power Drawn | Current I = W / V | Typical Source |
|---|---|---|---|
| +12V | 120 W | 10.0 A | Single mid GPU |
| +12V | 240 W | 20.0 A | CPU + strong GPU |
| +12V | 360 W | 30.0 A | High-end gaming |
| +12V | 480 W | 40.0 A | Enthusiast build |
| +5V | 50 W | 10.0 A | Drives and USB |
| +5V | 100 W | 20.0 A | Many SATA drives |
| +3.3V | 33 W | 10.0 A | DIMMs and chipset |
| +3.3V | 50 W | 15.2 A | Heavy 3.3V logic |
📊Which Component Uses Which Rail
| Component | Primary Rail | Also Uses | Rough Draw |
|---|---|---|---|
| Modern GPU | +12V | 3.3V slot logic | 75 to 450 W |
| CPU via EPS | +12V | None | 65 to 250 W |
| Case and CPU fans | +12V | Sometimes 5V | 1 to 6 W each |
| SATA SSD or HDD | +5V | +12V for HDD motor | 3 to 9 W |
| USB devices | +5V | None | 2 to 10 W |
| RAM DIMMs | +3.3V | None | 2 to 6 W each |
| M.2 NVMe drive | +3.3V | None | 3 to 8 W |
| Chipset and clocks | +3.3V | Some 5V standby | 4 to 12 W |
🗃ATX Rail Current Limits by PSU Size
| PSU Wattage | +12V Max (A) | +5V Max (A) | +3.3V Max (A) | 3.3V+5V Combined (W) | Typical Build |
|---|---|---|---|---|---|
| 450 W | 34 A | 18 A | 18 A | 100 W | Office or entry |
| 550 W | 45 A | 20 A | 20 A | 110 W | Mainstream gaming |
| 650 W | 54 A | 20 A | 20 A | 120 W | Single strong GPU |
| 750 W | 62 A | 22 A | 22 A | 120 W | High-end gaming |
| 850 W | 70 A | 24 A | 24 A | 130 W | Enthusiast or OC |
| 1000 W | 83 A | 25 A | 25 A | 130 W | Dual-GPU workstation |
📏Rail Utilization Reference
| Utilization | Meaning | Rail Status | Advice |
|---|---|---|---|
| 0 to 50% | Light load | Cool and quiet | Plenty of headroom |
| 50 to 70% | Moderate | Comfortable | Ideal sustained zone |
| 70 to 80% | Firm load | Warm | Fine, watch spikes |
| 80 to 90% | Heavy | Hot | Add headroom soon |
| 90 to 100% | Near limit | Stressed | Upgrade the PSU |
| Over 100% | Overloaded | Fail | Rail will trip |
⚙Formula Breakdown
💡Rail Balancing Tips
But all those watts aren’t delivered in an undivided pool by a power supply. Within each ATX unit, energy is divided into different voltage rails with there own current limit. There are three rails in particular relevant to a desktop system: the +5V rail, the +12V rail and the +3.3V rail. The power supply rail load calculator figures out how many watts you’re drawing from each of these, converts it into amps, then compares each rail to its rated limit. Even if your grand total is within your comfort zone, that’s no guarantee any given rail isn’t overloaded. Most build failures goes unnoticed at that point.
For example, you could total everything up, come up with an overall wattage requirement, then purchase something slightly higher wattage. The problem? Total watts don’t reveals where they’re flowing. You may have a 550W system that advertises adequate capacity but browns out anyway due to one rail being asked for too much. Older systems with heavy drives will lean on +5V, whereas moddern ones rely nearly exclusively on the +12V rail. Chipset logic and memory are fed off the +3.3V rail. Seeing your rails reveals the imbalance that’s completely missed by looking at one single wattage value. And that’s where folks go astray.
Why Total Wattage Is Not Enough
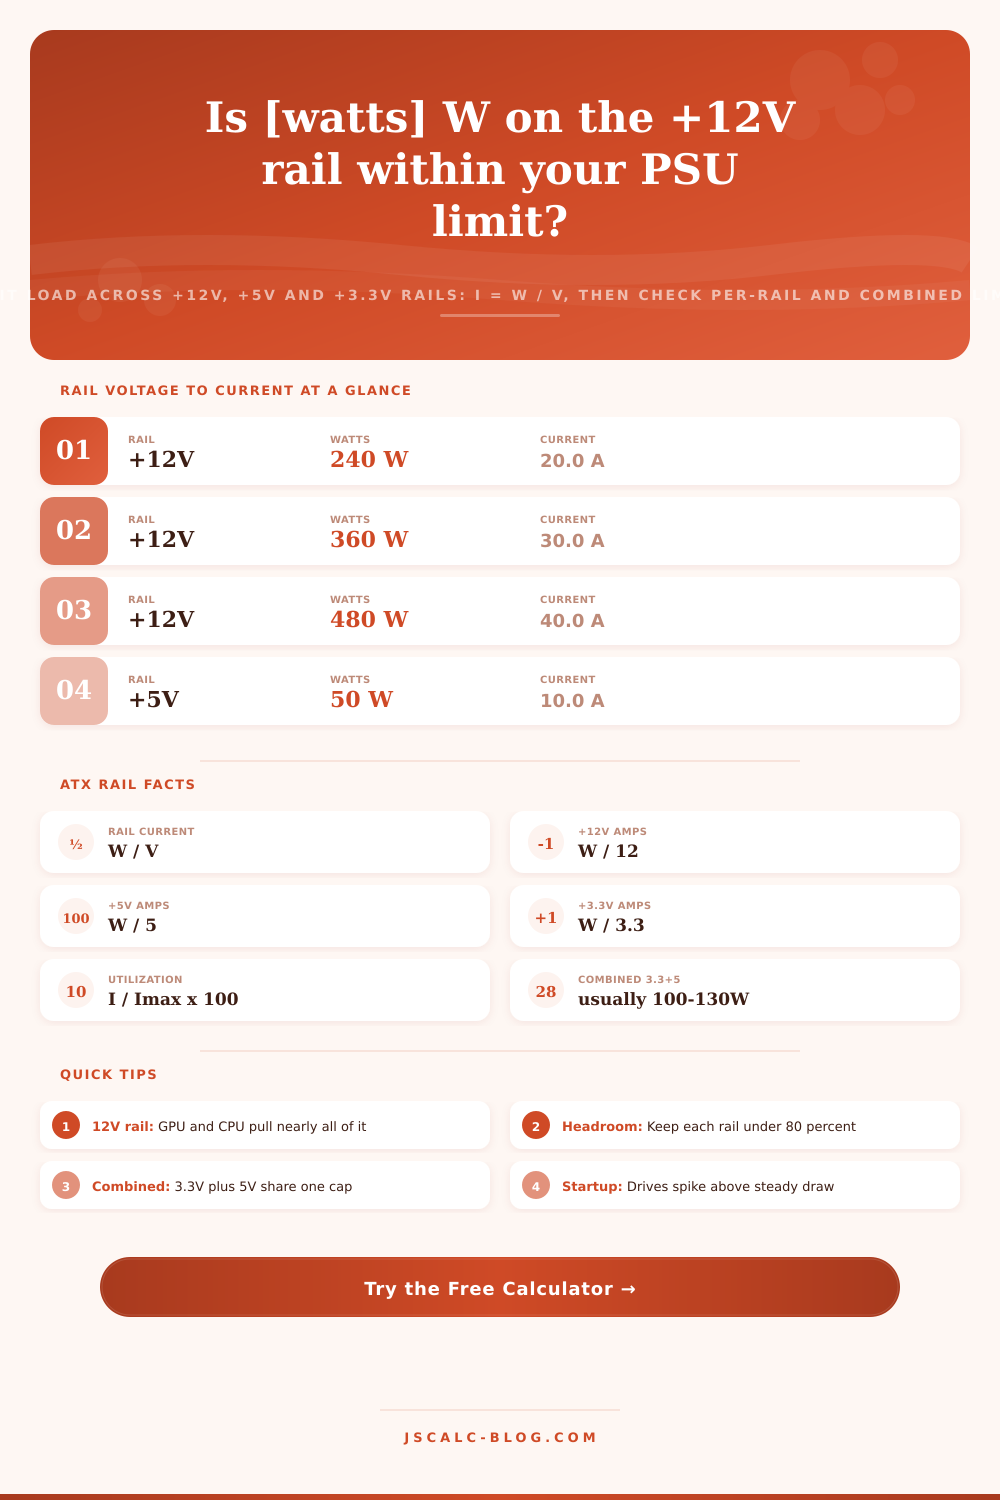
The simple relationship every rail follows is that amps = watts / voltage. So on a +12V rail, 360 watts is 30 amps. On a +5V rail, 40 watts is 8 amps. On a +3.3V rail, 20 watts is approximately 6.06 amps. The reason each rail has its own limit is because those lower voltages require higher amounts of amps to carry the equivalent of a watt. Even a modest amount of wattage on the +5V or +3.3V rail can still pull quite a bit of current, which is precisely what they’re protected from. Enter your values into the calculator above and it’ll do the math for you, but knowing this ratio will help you catch mistakes before you even type them in.
Just knowing raw amps isn’t enough. You also need to know how much headroom exists between that current and the rail’s rated maximum. In other words, what percentage of available current is being used? This is what the tool displays: a comparison between the actual current and the max current rating shown on your PSU’s label. On a +12V rail rated for 45 amps, a 30 amp load translates to 66.7 percent used with plenty of margin. If the rail were rated for only 34 amps instead (same load), you’d see 88 percent which is deep in the warm zone. Clearly, it’s all about watching the percentage, not just the amps.
Many builders are surprised by one detail: Most ATX supplies has a single cap on the total watts of their +5V and +3.3V rails, even though these are generated by separate sections of the regulator. In other words, you can’t max out both rails at the same time; there’s just no way. For instance, if your +5V rail pulls 40 watts and the label says it has a combined 110-watt maximum, then your +3.3V rail can only draw 70 watts. This is true regardless of what the individual amp rating say. The calculator simply adds up your +3.3V and +5V watts to check whether that total exceeds this common cap. This is flagged when each individual rail looks OK yet they exceed the total.
The three primary rails aren’t all there is. There’s also a supply for the lesser rails, primarily the +5V standby rail and the -12V line. These don’t pull much power but they do add to the total that the unit supplies. It calculates its own wattages for those (the +3.3V, +5V, and +12V) plus whatever you plug in for minor rails then totals them up to get an idea of total DC load. That total serves as a sanity check against the supply’s capacity, but per-rail checks is what really matter to ensure your build is safe. Per-rail checks are what realy matter to ensure your build won’t be dangerous. Rail limits are law; total wattage is only a suggestion.
Preset builds demonstrate how various builds stress individual rails: A 12V Load with GPUs pushes more than four-hundred watts onto the +12V rail but barely touches the others. A Legacy 5V Drive Array flips it around, loading up a stack of solid-state and mechanical drives on the +5V rail. Presets fill out form and recalculate in an instant. Compare scenarios within seconds, no need to hunt for answers across manual charts. Want to check the numbers for yourself? They’re laid out clearly on the page’s reference table.
The summary of the analysis appears as four result cards. The first provides the current, in amps, on the +12V rail and how much it is using. The second provides the combined current, in amps, on the +5V and +3.3V rails. The third shows the wattage being used on the combined 3.3V + 5V rails versus what is available from the shared cap. The fourth presents a simple pass/fail/hot verdict. Fail indicates that one of the rails are exceeding its hard limit. Hot indicates that one of the rails exceeds your selected comfort ceiling. Pass indicates that all are below your target.
By default, the calculator assumes you’ll want your usage cap at 80 percent. This allows you to keep everything running at 80 percent or less of the rated amps on that rail continuously with headroom for short term transient increases which are generated by things like graphics cards and processors. These will spike usage above steady state levels by a significant amount, for a short period. An 80 percent cap on the same 550W unit with a 45 amp +12V rail would be 36 amps or less on the +12V rail. That’s far under the 45 amp trip point and yet there is still plenty of space for those transients. Builders looking for a quieter system can go as low as 70 percent and have even greater margin.
Most people don’t understand the other side of power supply selection very well: rail balance, which is where real stability come from. Use this to get a handle on rail balance: 1. Convert everything to amps by dividing your load by volts 2. Compare all of those rails to their stated limits in the PSU label Test the combined wattage cap for the lower rails; the +3.3V and +5V rails shares a single limit. Test both caps on the lower rail; they has to be split equally That turns a vague guess at watts into a clear verdict.
You start with a preset. Add in the rated amps on the PSU label for each rail. Read the cards. This gives you a clear yes/no answer, which is something you would of never get with just a single total-wattage number. It is one of those things where it either works or it won’t. Checking each rail separately tells you whether yours will or not. It is the difference between hoping it’ll work and knowing it will.