LED Circuit Resistor Calculator
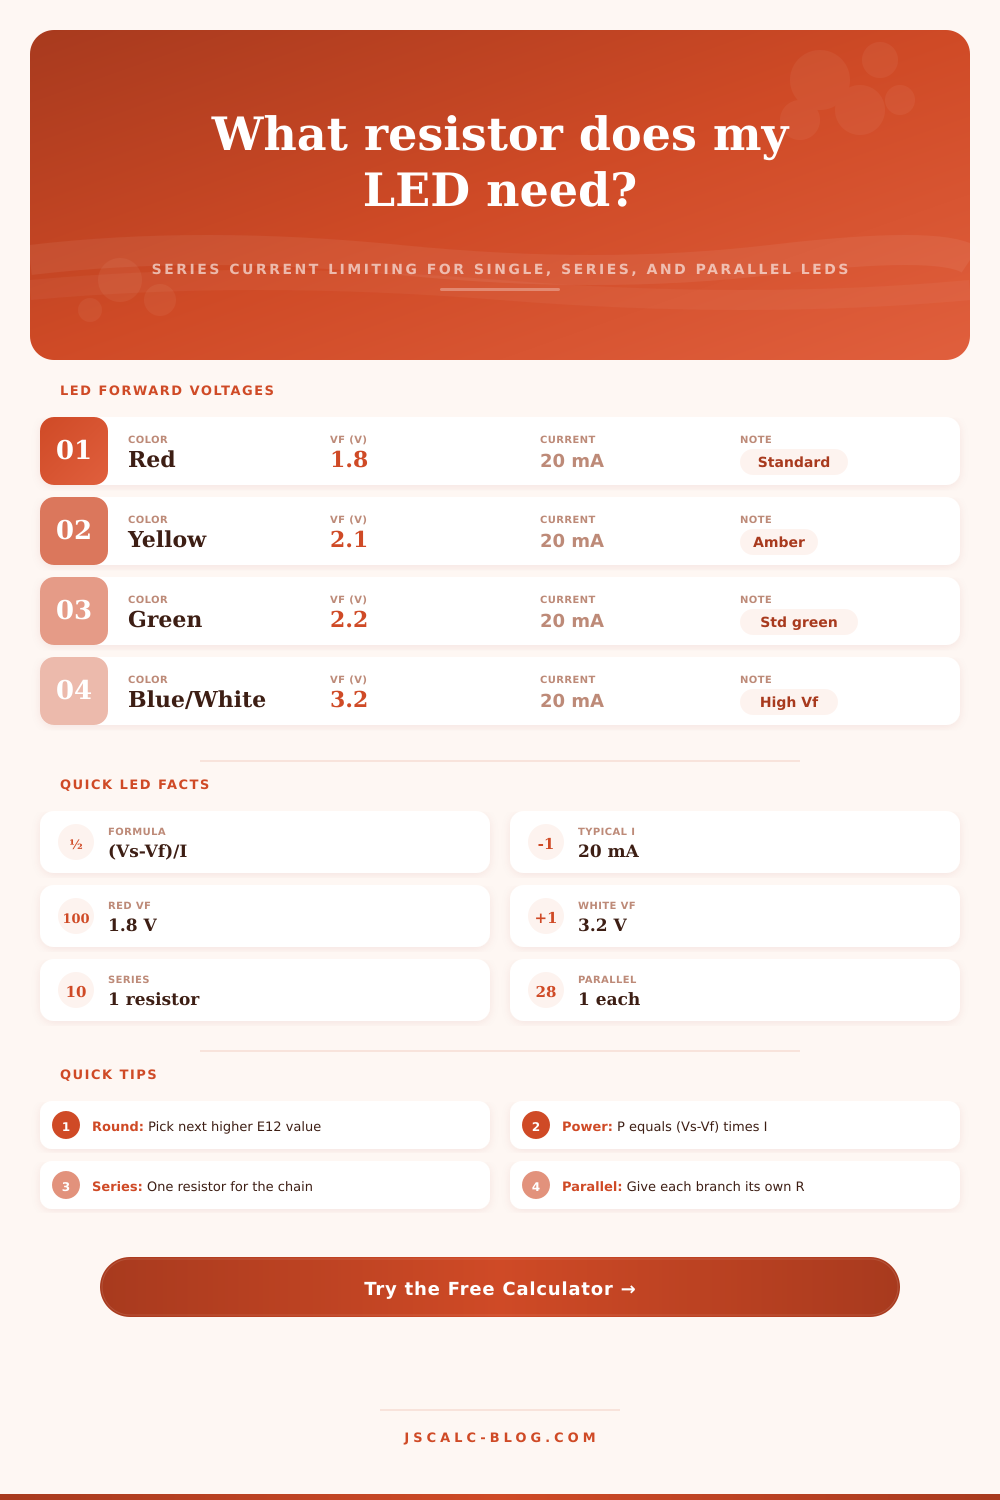
Size a series current-limiting resistor for a single LED, a series chain, or a parallel array using R = (Vs – Vf) / I, with the nearest E12 value and a safe power rating.
💡Common LED Presets
🔌Circuit Inputs
Set automatically by the color preset; editable for custom LEDs.
Series = LEDs in the chain. Parallel = number of branches.
🧮Formula Snapshot
🌈LED Forward Voltage & Current Guide
| LED Color | Typical Vf | Vf Range | Typical Current | Notes |
|---|---|---|---|---|
| Red | 1.8 V | 1.6 – 2.0 V | 20 mA | Lowest drop, most efficient |
| Yellow / Amber | 2.1 V | 2.0 – 2.2 V | 20 mA | Indicator and panel lamps |
| Green (standard) | 2.2 V | 2.0 – 2.4 V | 20 mA | Classic through-hole green |
| Green (pure) | 3.2 V | 3.0 – 3.4 V | 20 mA | InGaN emerald green |
| Blue | 3.2 V | 3.0 – 3.6 V | 20 mA | Needs 5 V+ supply |
| White | 3.2 V | 3.0 – 3.4 V | 20 mA | Phosphor-coated blue die |
| Warm white | 3.0 V | 2.8 – 3.3 V | 20 mA | Slightly lower than cool |
| High-power 1 W | 3.3 V | 3.0 – 3.6 V | 350 mA | Needs heatsink, high I |
🗂Supply vs Forward Voltage Comparison
| Supply | LED (Vf) | Current | Exact R | Nearest E12 | Power | Rating |
|---|---|---|---|---|---|---|
| 3.3 V | Red (1.8) | 20 mA | 75 Ω | 82 Ω | 0.030 W | 1/4 W |
| 5 V | Red (1.8) | 20 mA | 160 Ω | 180 Ω | 0.064 W | 1/4 W |
| 5 V | White (3.2) | 20 mA | 90 Ω | 100 Ω | 0.036 W | 1/4 W |
| 9 V | Green (2.2) | 20 mA | 340 Ω | 390 Ω | 0.136 W | 1/4 W |
| 12 V | Red (2.0) | 20 mA | 500 Ω | 560 Ω | 0.200 W | 1/4 W |
| 12 V | White (3.2) | 20 mA | 440 Ω | 470 Ω | 0.176 W | 1/4 W |
| 12 V | Blue (3.2) | 30 mA | 293 Ω | 330 Ω | 0.264 W | 1/2 W |
| 5 V | Power (3.3) | 350 mA | 5 Ω | 5.6 Ω | 0.595 W | 1 W |
🔢E12 & E24 Standard Resistor Values
| Series | Tolerance | Base Values (per decade) | Count |
|---|---|---|---|
| E12 | ±10% | 10, 12, 15, 18, 22, 27, 33, 39, 47, 56, 68, 82 | 12 |
| E24 | ±5% | 10, 11, 12, 13, 15, 16, 18, 20, 22, 24, 27, 30, 33, 36, 39, 43, 47, 51, 56, 62, 68, 75, 82, 91 | 24 |
| Example decade | – | x1: 10Ω – 82Ω · x10: 100Ω – 820Ω · x100: 1kΩ – 8.2kΩ | – |
⚙Full Formula Breakdown
🔗Series vs Parallel Wiring
| Aspect | Series Chain | Parallel Branches |
|---|---|---|
| Resistors needed | One for the whole chain | One per branch |
| Current draw | Same as a single LED (I) | m × I total from supply |
| Voltage needed | Vs > sum of all Vf | Vs > single Vf |
| Brightness match | Identical current, even light | Depends on matched resistors |
| If one LED fails open | Whole chain goes dark | Only that branch goes dark |
| Best for | High supply, few LEDs | Low supply, many LEDs |
💡Practical LED Resistor Tips
To recap: you wire up the LED to the battery and it lights up for three seconds and dims. Why does this happen? Most of the time it’s because someone forgot to add a resistor. The wires and power source are probably okay, but without that resistor, too much current flow through the circuit. The LED take in way too much current until it overheats and messes with its own internal structure.
Enter the calculator above. Plug in the LED color and the supply voltage. It’ll tell you what resistor value you need. You won’t have to guess on forward voltage coefficients any longer. Just follow recipe and turn a physics challenge into a straightforward parts list.
Why You Need an LED Resistor Calculator
An LED is a stiff item; it doesn’t flex to accommodate the force. It has a forward voltage where it drops some voltage based off the color you choose, then passes along whatever potential remains. For example, a red LED may drop 1.8 volts, whereas a white or blue one could be as high as three or more volts. The calculator figure in those values depending on what color you choose.
That’s important for two reasons: if you feed a diode like an LED with 3 volts and consider it “just like” a red one, current will spike. If you know how much voltage a diode need (and you should), you’ll power it safely. This is according to Ohm’s law. Take the supply voltage, minus the forward voltage of the LED, divided by your desired current. If you plan on having them run in the neighborhood of 20 milliamps (milliamps =.001 amps), that will be bright enough but won’t overheat the LED package.
The calculator automaticly translates milliamp into amp for you; no fiddling around with decimal points. It spits out a precise ohm value… Though odds are good there isn’t such a thing available anywhere. Not every store carries resistors with exactly 137 ohms. This availability problem has an easy solution: Standard resistor values. Resistors is manufactured in series like E24 or E12. These values is typically rounded up to the nearest available value on the chart. Since more resistance results in less current, rounding up (rather than down) protects life of the LED by running it cooler. This also means it will last longer. Running a diode too hot can eventually melt the plastic body. Small details like this determine if your project succeed or fails.
With several LEDs, you have additional parameter to consider: How do you wire them? Do you arrange them in parallel or in series? For example, if you wire them in series, then you’ll need a higher supply voltage (because each LED will add their voltage drop) but only a single resistor across all LEDs. If they’re wired in parallel the voltage stays low, but you’ll need a separate resistor for each branch. Connecting multiple LEDs in parallel with a single resistor doesn’t work, it creates an unbalanced current so that some LEDs becomes dim and one burns out. Depending on your configuration choice, the calculator will adjust to match your actualy setup.
The last thing that folks miss out on is power rating. Excess voltage turns into heat in resistors, and the tiny little 1/4 watt might be overheating because of too much power load. Is it a half-watt or a 1-watt size needed? That’s what the calculator tells you. It’s best to use a slightly larger resistor so your energy is controlled and thermal failures are not an issue. Keep the heat manageable, keep the light steady.
Let’s start with what we know: LED color and battery voltage. The LED color set its forward drop; the battery voltage sets the remaining equation. Protecting your LEDs doesn’t require an engineering degree. It requires a little respect for the components you’re using. Select a common-value resistor to keep things safe, give it some room, attach it, and watch it light up stabley. There is no magic, just good math.