Coffee to Water Ratio Pour Over Calculator
Dial in a V60, Chemex, or Kalita brew. Enter your water amount and ratio to get coffee grams, bloom water, staged pours, and estimated brewed yield with the math shown step by step.
☕Pour Over Presets
📝Brew Inputs
Read in the unit chosen below. Water and yield use ml or oz; coffee dose uses grams.
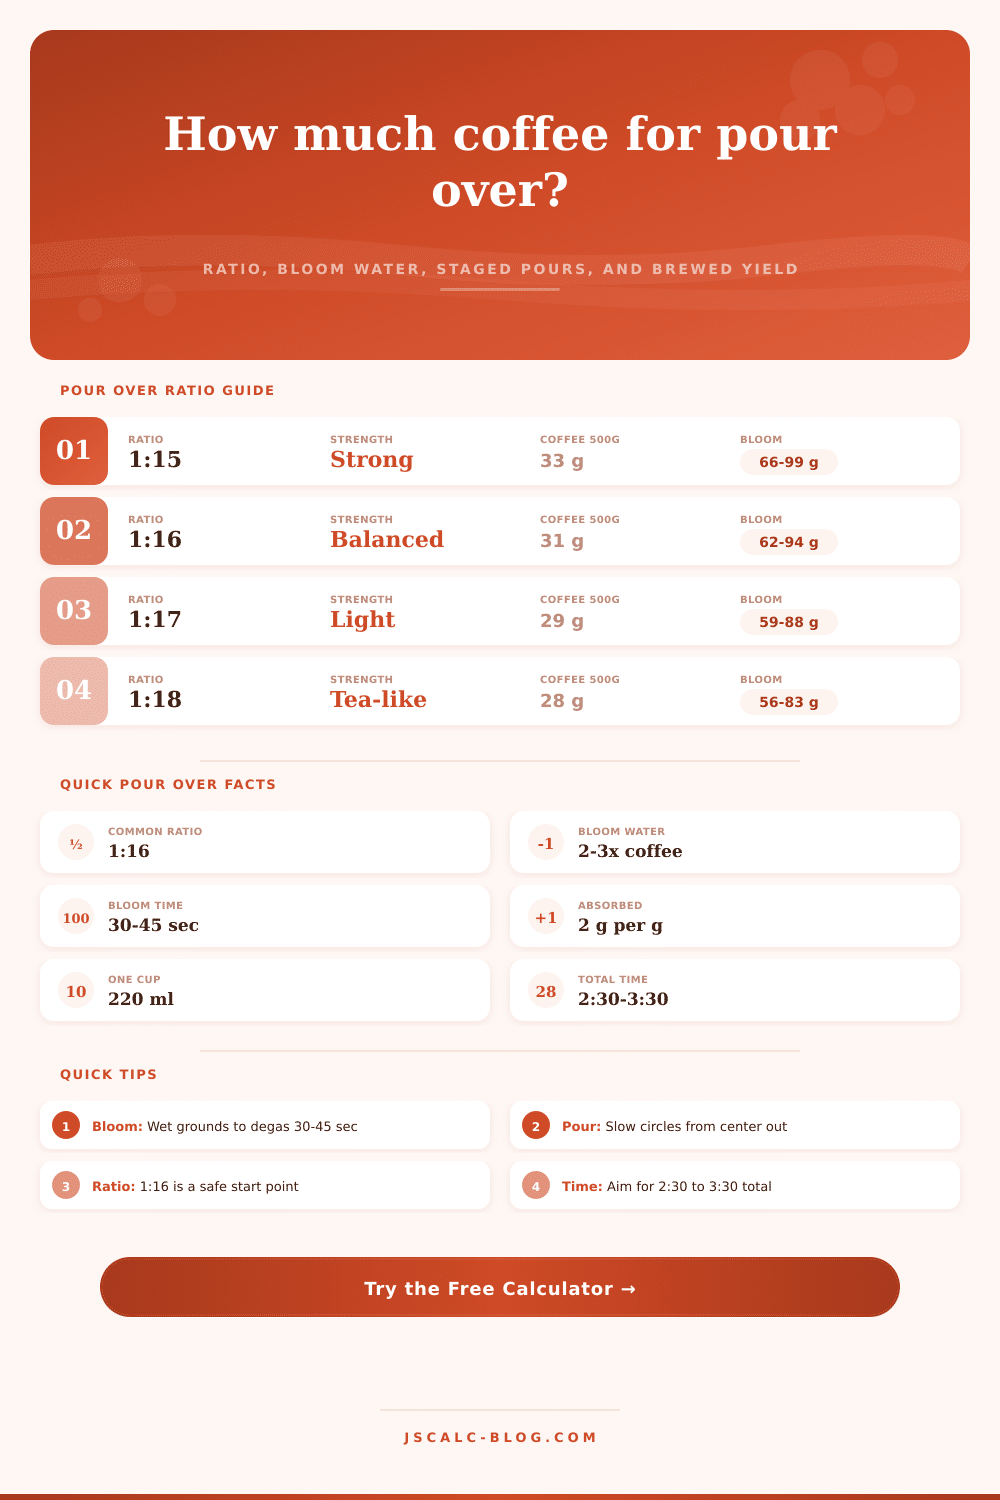
Lower is stronger (1:15), higher is lighter (1:17 to 1:18). 1:16 is a balanced start.
A pour-over cup is usually 200 to 250 ml. Used for the cups count and the cups unit.
Bloom water wets the grounds to release gas. Use 2× to 3× the coffee weight for 30 to 45 seconds.
Wet grounds hold roughly 2 g of water per gram of coffee, which lowers the brewed yield.
🔢Recipe Snapshot
📋Pour Schedule
| Stage | Add This Pour | Cumulative Water | Timing | Notes |
|---|---|---|---|---|
| Enter your inputs above to build the staged pour schedule. | ||||
📐Ratio to Strength Guide
| Ratio 1:N | Strength | Best For | Coffee per 250 g | Coffee per 500 g |
|---|---|---|---|---|
| 1:14 | Very strong | Dark roast, small cup | 17.9 g | 35.7 g |
| 1:15 | Strong | Bold morning brew | 16.7 g | 33.3 g |
| 1:16 | Balanced | Everyday all-rounder | 15.6 g | 31.3 g |
| 1:16.5 | Balanced light | Cafe-style clarity | 15.2 g | 30.3 g |
| 1:17 | Light | Fruity light roast | 14.7 g | 29.4 g |
| 1:18 | Tea-like | Delicate single origin | 13.9 g | 27.8 g |
📊Water vs Coffee Comparison
| Water (g/ml) | 1:15 Coffee | 1:16 Coffee | 1:17 Coffee | Bloom 2.5× | Yield 1:16 |
|---|---|---|---|---|---|
| 250 g | 16.7 g | 15.6 g | 14.7 g | 39 g | 219 ml |
| 350 g | 23.3 g | 21.9 g | 20.6 g | 55 g | 306 ml |
| 400 g | 26.7 g | 25.0 g | 23.5 g | 63 g | 350 ml |
| 500 g | 33.3 g | 31.3 g | 29.4 g | 78 g | 438 ml |
| 600 g | 40.0 g | 37.5 g | 35.3 g | 94 g | 525 ml |
| 750 g | 50.0 g | 46.9 g | 44.1 g | 117 g | 656 ml |
| 1000 g | 66.7 g | 62.5 g | 58.8 g | 156 g | 875 ml |
⚖Grams, Tablespoons, and Ounces
| Coffee Grams | Tablespoons | Ounces | Water at 1:16 | Rough Cups |
|---|---|---|---|---|
| 15 g | 2.8 tbsp | 0.53 oz | 240 g | 1 cup |
| 21 g | 4.0 tbsp | 0.74 oz | 336 g | 1.5 cups |
| 25 g | 4.7 tbsp | 0.88 oz | 400 g | 1.8 cups |
| 31 g | 5.8 tbsp | 1.09 oz | 496 g | 2.2 cups |
| 47 g | 8.9 tbsp | 1.66 oz | 752 g | 3.4 cups |
| 63 g | 11.9 tbsp | 2.22 oz | 1008 g | 4.5 cups |
⚙Full Formula Breakdown
💡Practical Pour Over Tips
Pour over coffee seems simple: Pour water over some beans. It’s not. The art form depend more on math than intuition. There is a proportion in your head: there are grounds and there is a cup, and they all fit together like a puzzle. When scaling that up from a small portion to something big enough to share with others, it’s hard to rely on intuition. Intuition never work anyway. Precision is key to avoiding a watery disappointment or muddy sludge.
Your first step in brewing a great cup of anything starts here: How much coffee per how much water? Sixteen grams of water per one gram of coffee, 1:16, is generally thought of as that sweet spot where it’s not too heavy but still full-bodied. If you’re looking for a little more oomph (maybe a midday pick-me-up), you could go to 1:15. That make all the difference in concentration of flavor.
The Math Behind Pour Over Coffee
If you’re using a lighter roast and just want to sip on the delicate details instead of trying to get a jolt from coffee, going up to 1:17 or even 1:18 allows that detail to come through without being overpowered by beverage itself. Once you’ve settled on what kind of drink you want, the calculator does the number crunching for you. You don’t need to use a mental abacus while balancing beans on the scale.
Understand absorption: What makes good coffee great? Sponges (coffee grounds) absorbs and retain water. Generally, grounds absorb about two grams of water for every gram of dry coffee. Therefore, amount of coffee brewed is never ever equal to the amount put into the filter; there’s always some left behind. In general, for each gram of dry coffee, there will be 2 grams absorbed by the grounds. So if you’ve got a specific target yield in mind and your grinds absorb more water than you accounted for, then the actualy amount of coffee you’ll end up with is less then what you were expecting, hence your cup coming out weaker than intended.
Once you realize this, you can alter how much water you’re putting in the overall system so that output you get is exactly the amount you want to get. This first, often rushed, part of the bloom phase has an important structural function. The freshly roasted beans is filled with gas (carbon dioxide). Adding too much water at once lets this gas shoot out violently. As it does so, it force water off parts of the coffee bed and leads to uneven extraction.
Instead, add just enough water to double or triple volume of your coffee grinds, wait 30 seconds for the gas to release slowly, wetting the whole puck evenly. It sets the stage for even contact between coffee and water throughout rest of the brew. This matters because each device has its own flow speed. Some are thicker, like a Chemex, and slow the water down. For these, a coarser grind is better so your coffee doesn’t get stuck in the paper. Others, like the Hario V60, has spiral ridges that let water pass more quickly, so you would want something a little finer. Because the device takes this into account by prompting you to choose what brewer you’re using, the recommended ratio and times will reflect way water flows through the chosen paper.
The last variable under your control is timing. You want to aim for two and a half to three and a half minutes total brew time. Too little contact time (drains too quickly) = thin tasting coffee that’s going to be sour in flavor. Too much contact time (dragging on) = bitter and harsh due to over-extraction.
The pour schedule feature walks you through a slow circle of pouring from the middle outwards, letting you know exactly how much water to add at which stage. Is it perfection or consistency? That’s an easy call. Chances are, you won’t like your initial brew with a new bean. But that’s okay; as long as you’re aware of all the variables involved to get where you did, you can begin to adjust them in a step-by-step way. To learn your equipment, change a variable at a time and hold the rest constant.
Use the basic 1:16 ratio and leave the rest to the math. Once you are confident in the process, you will enjoy the cup even more because of the work you put in. You should of tried it before. A few grams make the difference between knowing and guessing, and everything changes once you look into that glass.