NPF Rule Exposure Calculator
Estimate a star-friendly shutter from aperture, pixel pitch, focal length, and crop factor, then compare a declination-aware allowance, the classic 500 rule, and your planned exposure margin.
Camera and Lens Presets
Load a real-world starting point, then tune the numbers for your exact lens and sensor.
Exposure Inputs
NPF approximation used here: shutter seconds = (35*aperture + 30*pixelPitchMicrons)/(focalLengthMm*cropFactor).
Shutter Flight Deck
Sony A7 IV + 20mm f/1.8 loaded.
The meter places your planned shutter against the declination-aware cap after tolerance and rounding.
Formula Breakdown
Every result below is recalculated from the visible inputs.
Rule Comparison Grid
| Method | Seconds | Readout |
|---|---|---|
| NPF base | 10.8 s | Pixel-aware cap |
| Declination aware | 10.8 s | Same at equator |
| 500 rule | 25.0 | More generous |
| Planned frame | 10.0 | Within cap |
Preset Exposure Table
| Preset | Lens | NPF |
|---|---|---|
| Sony A7 IV | 20mm f/1.8 | 10.8 s |
| Canon R6 II | 16mm f/2.8 | 17.3 s |
| Nikon Z6 II | 20mm f/1.8 | 12.1 s |
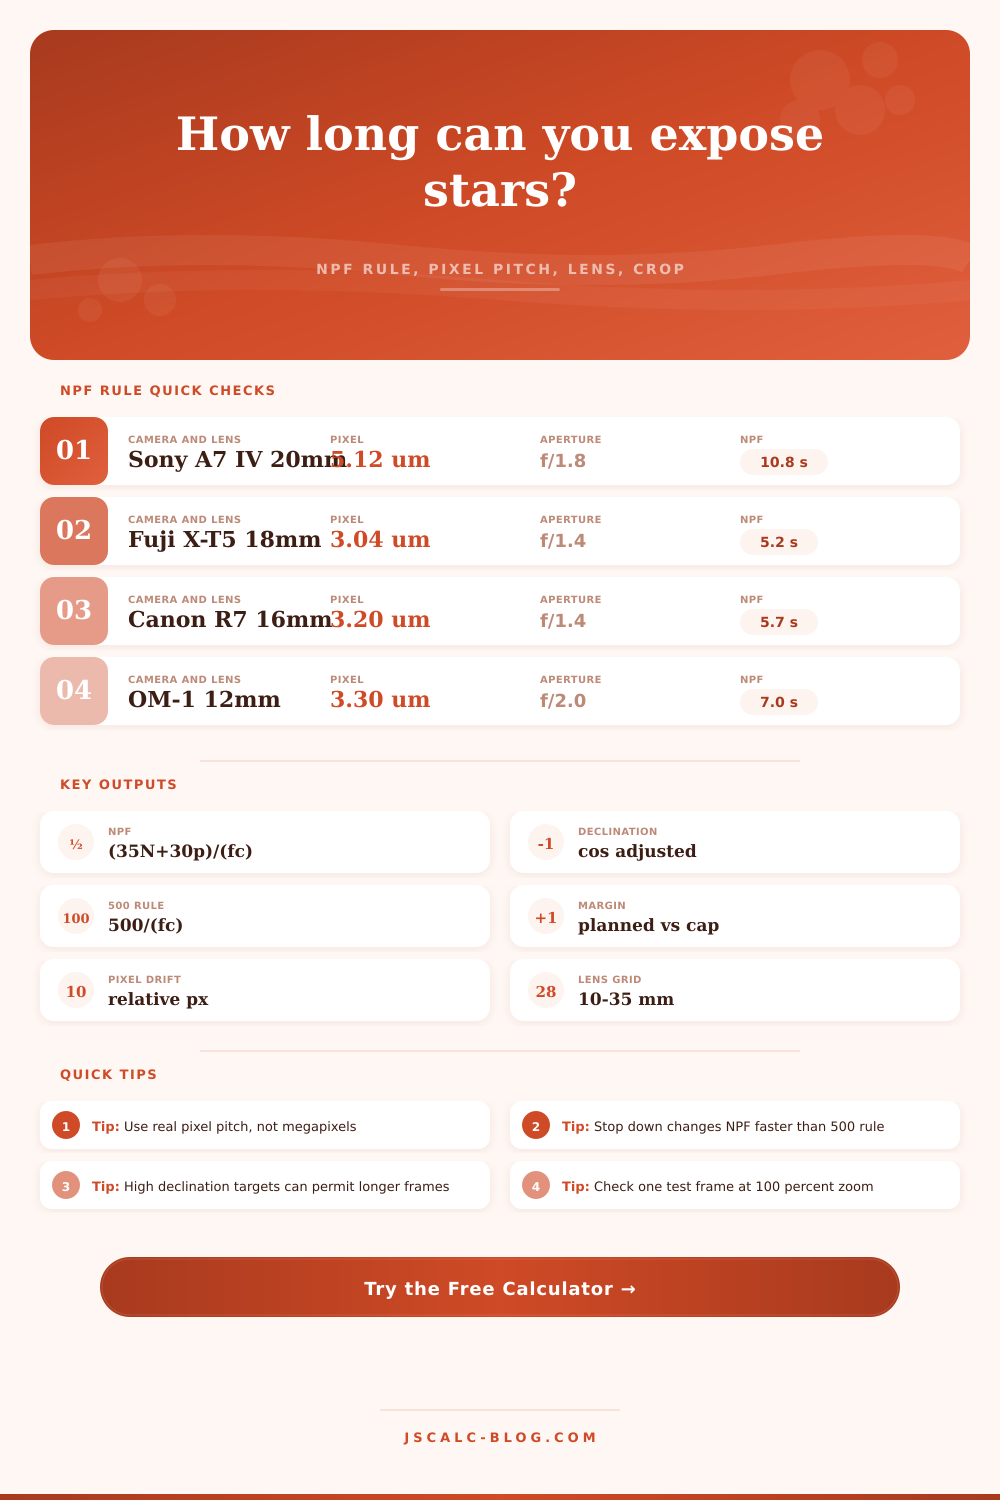
| Fuji X-T5 | 18mm f/1.4 | 5.2 s |
| OM-1 | 12mm f/2 | 7.0 s |
Focal Length Ladder
| Lens | NPF seconds | 500 rule |
|---|---|---|
| 10 mm | 21.7 s | 50.0 s |
| 14 mm | 15.5 s | 35.7 s |
| 20 mm | 10.8 s | 25.0 s |
| 24 mm | 9.0 s | 20.8 s |
| 35 mm | 6.2 s | 14.3 s |
Declination Table
| Target dec | Adjusted cap | Motion factor |
|---|---|---|
| 0 deg | 10.8 s | 1.00 |
| 20 deg | 11.5 s | 0.94 |
| 45 deg | 15.3 s | 0.71 |
| 65 deg | 25.6 s | 0.42 |
| 80 deg | 62.4 s | 0.17 |
Calculator built for JSCalc-Blog.com. NPF approximation marker: shutter seconds = (35*aperture + 30*pixelPitchMicrons)/(focalLengthMm*cropFactor). Repair rebuild marker: index 1485.
You took a great picture of the Milky Way, but there’s one thing bugging you: the little star trails poking out in the corner. You checked your screen while shooting; it seemed fine. The problem? Your stars aren’t points anymore. Instead they’re tiny dashes. This is because your new high resolution sensor can reveal more detail than before. And what it reveals is how fast the earth is moving.
Why does this matter? Because the old 500 rule doesn’t quite cut it anymore for photography. You’ve got more pixels on your sensor than you used to. Those pixels pick up more detail. They even pick up actual motion of the Earth.
What Is the NPF Rule?
Enter the NPF rule. It adjusts based off focal length, pixel pitch and aperture to provide a realistic limit to how sharp something can be. There’s no need for you to do the math in your head. The calculator will do it for you (see above).
So what are these inputs? Once you understand what goes into it, it’ll change your thinking about a shoot.
The first one is aperture. You’d think that stopping down from f/1.4 to f/2.8 would only darken the shot. Not so much. In fact, it also shortens the time you can leave shutter open while still keeping the stars clear. The equation favors the aperture. While it’s great to have a fast lens, it gathers light well (it’s also a double-edged sword). Shorter exposures means sharper stars. More exposure mean more star trailing. There’s a trade-off here and you have to balance it carefuly.
The other important variable is pixel pitch, which refers to how big (in microns) each individual photosite is on your sensor. If you don’t know what this means, look it up online or in your camera’s manual. It is very small, but it matters a lot. Generally speaking, the larger the pixel, the longer you can shoot without seeing any motion blur. Why? Because there’s simply more space to move that star around before you see any difference. That’s why some folks find their crop-sensor cameras are more limiting than their full-frame ones, even at identical focal lengths. The effective pixel density is higher. There is less wiggle room.
There’s also the matter of declination. This makes things even more complicated: Stars nearer to the poles don’t move as far across your frame compared to ones near celestial equator. To make up for this, there is an option in the tool to adjust for declination. For instance, if you’re shooting circumpolar stars around the North Celestial Pole, you’ll be able to stretch your exposure well past initial calculation. On the other hand, if you’re going after the core of the Milky Way, which is typically located around the galactic equator, you want to stick more closely to the tighter constraints.
Best-case scenario, plan on the worst case. And remember, don’t forget the 500 rule. It’s there for good reason. It’s a sanity check. In many cases it will allow exposures that is just a little bit trailing. And the NPF rule is quite conservative. It gives preference to pin-sharp stars rather than maximizing light gathering. In practice, if you are shooting for foreground lifting, you may decide to go slightly beyond the NPF exposure. Then just know you’re getting a degree of trailing.
Examine your shots at 100 percent zoom. A small-screen exposure can look OK but become seen as a softening of stars when blown up to print size.
The most obvious is focal length. Long exposures happen with wider lenses. A 14mm will handle more motion then a 35mm. Look at the reference table on the page. It spells it out nicely for typical focal lengths. What this allows you to do is see how fast those possibilities narrow down when you zoom. And that’s where planning comes into play. If you’re shooting with a versatile zoom lens, know what you can get away with at each end. Your shutter speed won’t be the same at 35mm as it is at 20mm. That math doesn’t work in your favor.
The last thing to discuss is workflow. Always shoot a test shot. Lock your exposure as high as the calculation indicates. Then check it right away. Is it okay? Do you see small bright stars in the corners zoomed in? Are they round? If so, that is good. Are they long skinny streaks? Back off, back down, and try again.
Note that the calculator tells you where to start, not what will work every single time. Mount stability matter. Seeing matters. Even the moon phase may affect the outcome. The calculator narrows things down for you. Let your eyeballs be the judge from there.
Sharp stars. That’s what we’re after. So use the calculator to eliminate the guesswork and create a game plan.